
Now, I know we all like a kiss now and then then, but did you know that Rubber Stamps can kiss too?
They can, I promise I am not making this up!! Honestly, truly!
And Stampin Up! is now helping this process with a fab kissing stamp
Oh Yes!! You heard that right!
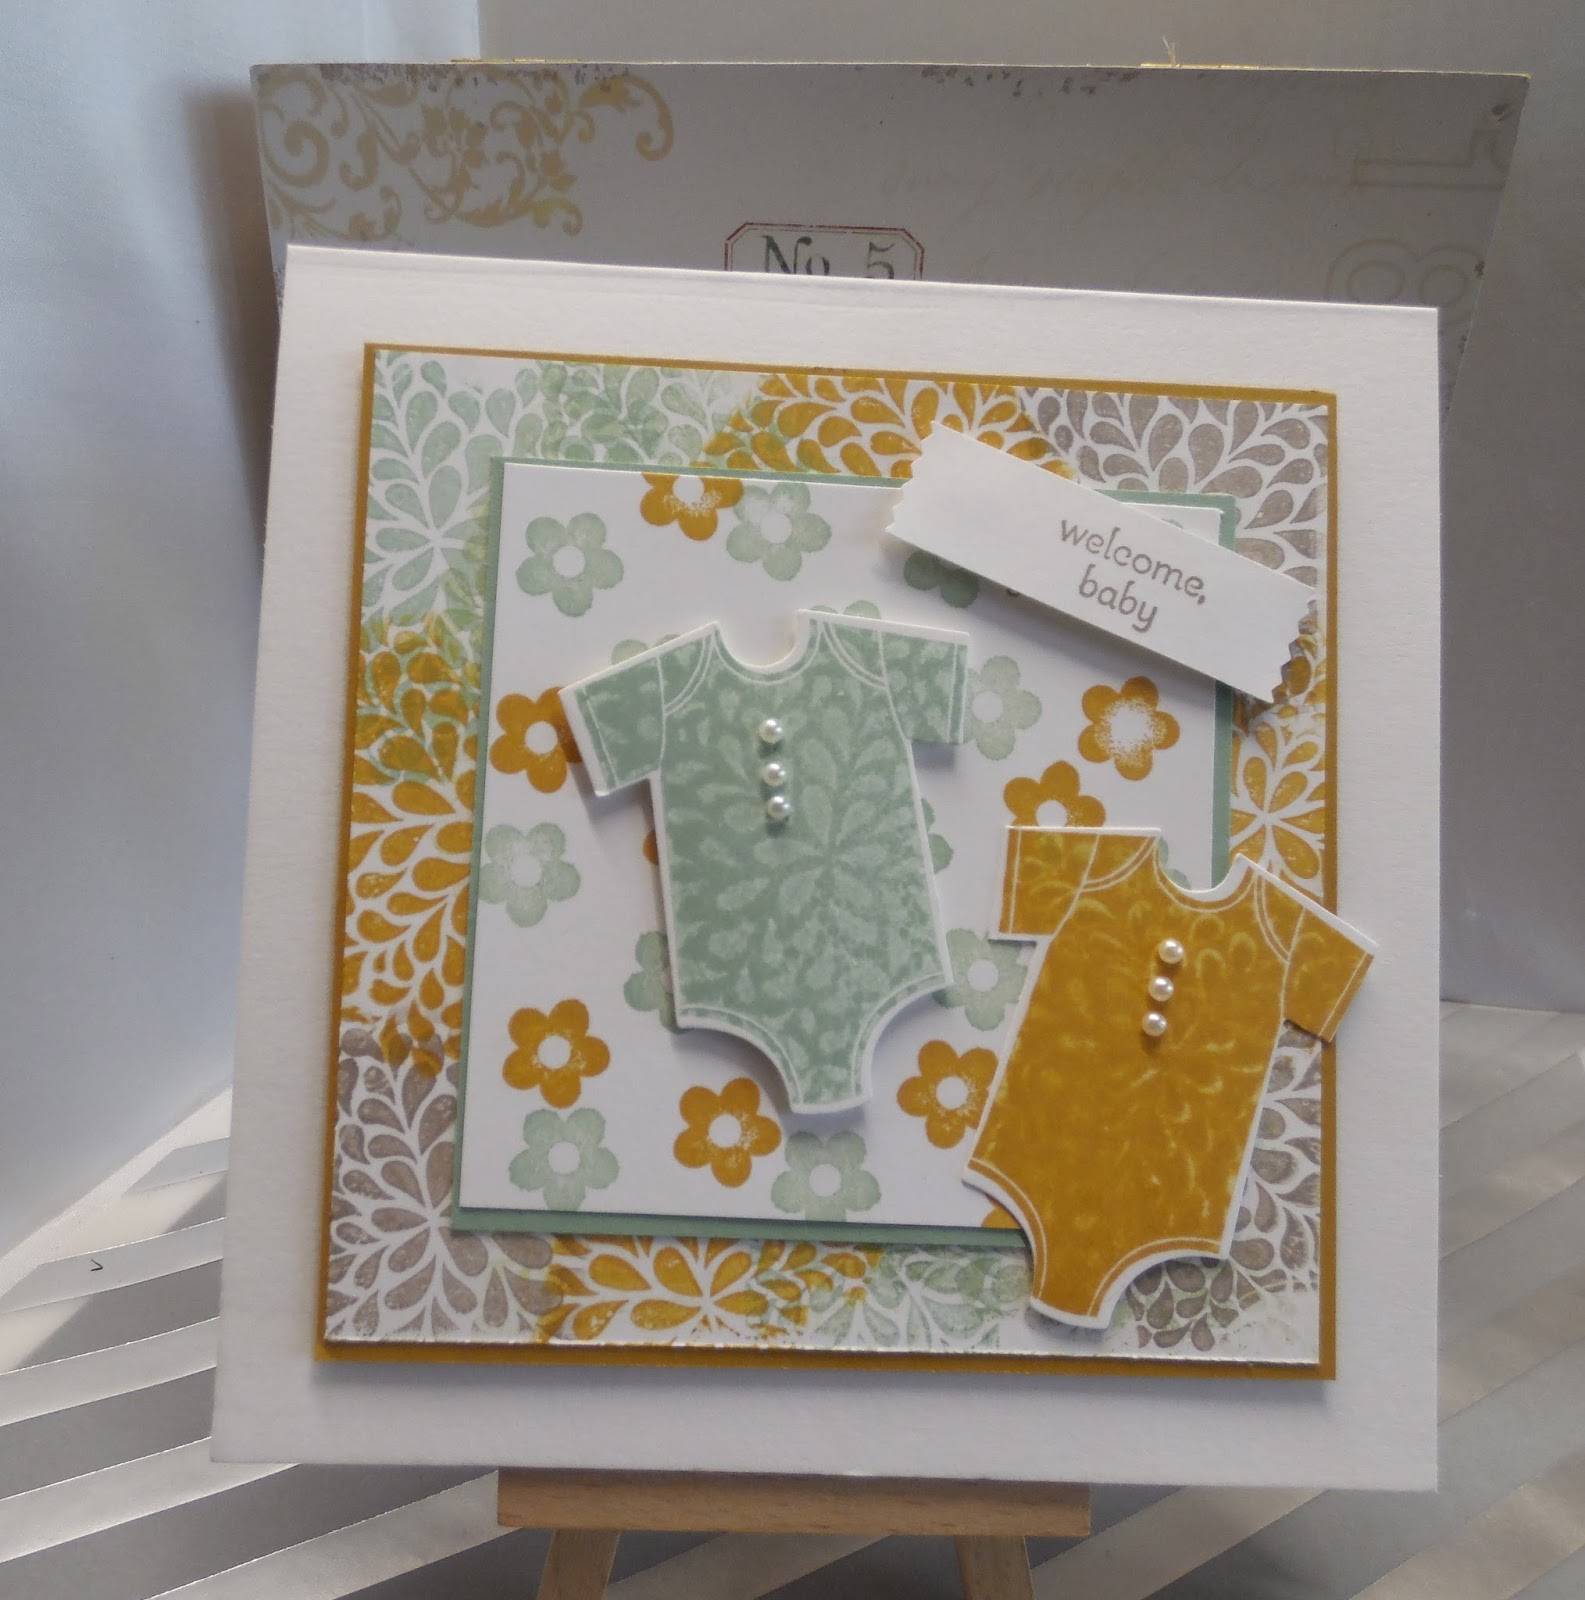
And here is my beautifully Kissed Card for today,
And I have used both the negative and positive images from those kisses to create the 1st layer background. and also the texture on the baby grows
So what is kissing all about?
Well, it is where you ink up a solid stamp (such as the baby grows in this card) and you take a clean, patterned stamp and kiss the two stamps together.
This leaves you with two inked stamps, and you could use one, or both stamps in your design
I have used both as I am a real cheapskate when it comes to wasting precious ink.
So how has stampin Up! helped us all out with kissed creations?
Well, in the new Catalogue, you can find a Kissing Stamp
Don't laugh, I promise you I am telling you the truth here
The stamp set is called
I THINK YOU'RE GREAT
And here are the products I have used
Click on the product icons to view the item in more detail
 |  |  |  |  |
 |  |  |  |  |
 |  |  |  |
Table built using Product Table Builder by The Crafty Owl - Independent Stampin' Up! Demonstrator.
And here is how I made this card
Begin by making your 15 cm (6") square card base using Thicker Whisper White Cardstock.
Next trim two pieces of Whisper White Cardstock to:
12 cms square
&
9 cms square
You will also need some scrap pieces of Whisper White Cardstock for stamping the baby grows onto
You will need the 12 cm square piece of cardstock as well as your scrap white cardstock as you will be working with both of these at the same time

Now for the kissing
Ink up the baby grow stamp with Mint Macaron ink
Next, take the patterned stamp of your choice from I think You're Great Stamp Set, and 'Kiss' the two stamps together
This will leave your baby grow with the pattern you see above, and the other stamp will hold the negative image, stamp this onto the 12 cm square panel using first and second generation stamping.
Repeat this process using a combination of Mint Macaron, Delightful Dijon & Tip Top Taupe classic ink pads.
Eventually, you will have a stack of baby grows ready for die cutting using
the Babies Firsts Framelits Dies, and you will also have the background for your larger panel. Mat this panel onto a piece of Delightful Dijon Cardstock.
Next, stamp the 9cm square panel with the small flower in the Something for Baby stamp set, using a combination of Mint Macaron & Delightful Dijon inks.
Mat this onto a piece of Mint Macaron cardstock.
Stamp your sentiment (I used a stamp from Petite Pairs Stamp Set) and punch this out using the Washi Label Punch.
Mount the baby grows onto the smaller panel using Fast Fuse Adhesive for one, and Stampin Dimensionals for the other.
Apply Stampin Dimensionals to the back of your sentiment label and mount at an angle at the top right of the panel.
Mount the smaller panel on top of the larger panel using Stampin Dimensionals
Adhere the whole card front to your card base using Fast Fuse adhesive
Finish with 3 small basic pearls to each baby grow.

Would like to JOIN my Pinterest Community
Board?
where you will be able to post your own
Stampin Up! Makes?
If the answer is YES
please email me via
Kim@stampinupatthewarren.com
If you have any
questions on techniques, orders, products
OR
Joining my Team as an Independent Stampin
Up! Demonstrator
contact me via:-
Email me: kim@stampinupatthewarren.com
Text: 07759587004 OR
Order Online 34/7

No comments:
Post a Comment