google-site-verification: google70410e9e92d4fda2.html

Sunday, 6 December 2015

Stampin Up! Jingle All the Way in an open Sleigh Ride Watercolour Wash

If you want to haave a good laugh at my expense, you just have to watch my video tutorial from today! I made a BIG blooper, but thankfully blagged my way out of it .... and the moral of the story is that the novice strives to know how to correct foo pah!s without throwing their creation in the bin, ... and the expert has made so many errors in their journey for excellence, and continue to make them, despite their skills, and don't mind sharing with the experience with others, so that they too may use the experts experience to their advantage when needed lol
Most of all, keep a sense of humor, and laugh at yourself often.
We are ALL full of imperfections, but don't let that put you off of striving for the best you can be :)

I hope you enjoy today's video and tutorial
Kim xxx

 Below you will find the product icons for the items I used to create today's Christmas Card
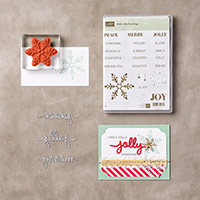
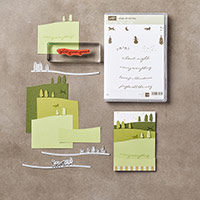
Click on the icons to vie or order them via my online Demonstrator Website


Table built using Product Table Builder by The Crafty Owl - Independent Stampin' Up! Demonstrator.
VIEW THE VIDEO BELOW

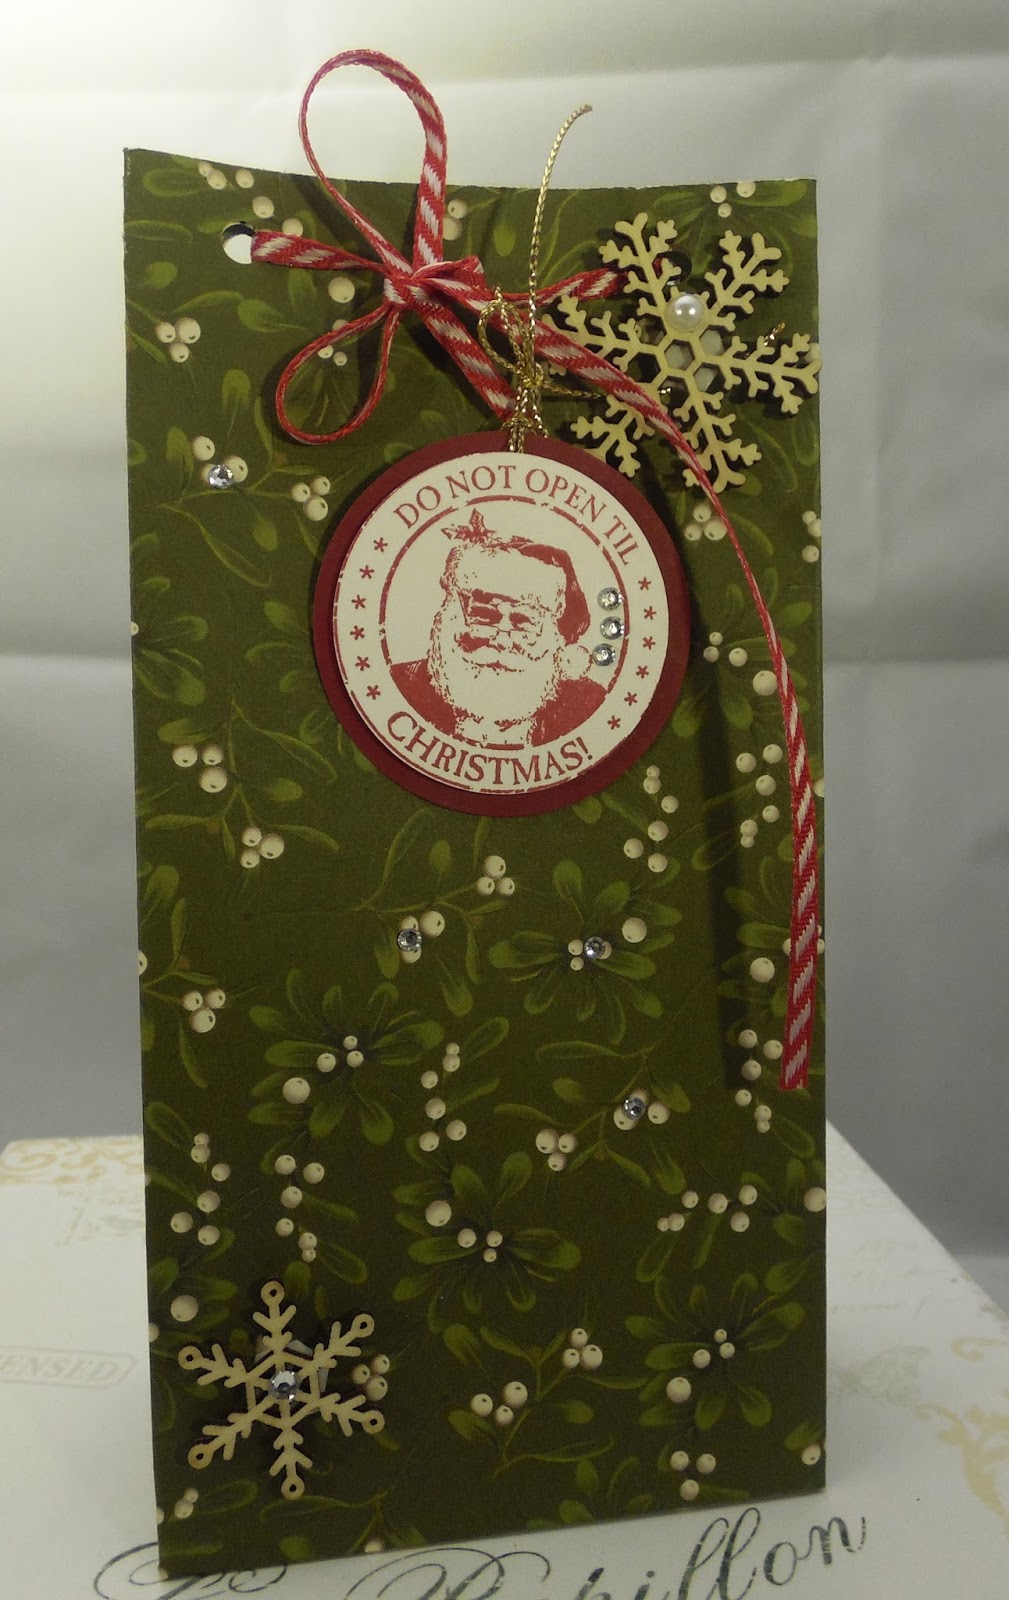
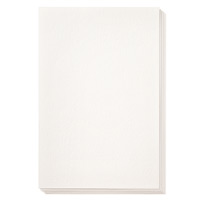
  1. Make your card Base by trimming a piece of Thicker Whisper White Cardstock to 14.8 cms x 21 cms; score the long side at 10.5 cms; fold and burnish
  2. Trim a piece of Watercolour Paper to 14 cms x 9.7 cms
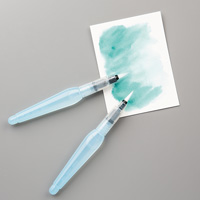
  3. Moisten the Watercolour Paper, and create the background for your starry sky
  4. Squidge your Night of Navy Ink Pad to transfer ink from the pad to the well. Pick up ink using the Aqua Painter and make your watercolour wash background. Allow to dry; once dry, mat onto a piece of Night of Navy Cardstock measuring 14.4 x 10.1 cms
  5. Die cut the Village from the Sleigh Ride Framelits from a piece of Whisper White Cardstock measuring 14.4 cms x 6 cms * mount onto the dry Watercolour Water using Stampin Dimensionals
  6. Using Night of Navy Classic Ink Pad and the Jingle All the Way Stamp Set
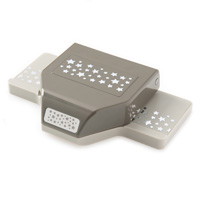
  7. Punch out the stars using Gold Foiled Sheets using the Confetti Stars Birder Punch
  8. Finish by sticking down your stars & mount the card from onto your card base

Kim Tolton, Independent Stampin Up Demonstrator.
Card & Papercraft Tutorials
Please feel free to comment below, and ask away with any questions. You can also find me via the links below
Blog:

Online Store:

Stamping @ The Warren Craft Forum:

Email:

Pinterest:

Google +

Facebook:

Twittert:

Instagram:
 @kim.tolton

 LinkedIn:

Saturday, 5 December 2015

Stampin Up! Gift Bag Punch Board With an Antique Tag, Snowflake Element & Metal Rimmed Pearls

No Video today as the high winds overnight has caused out internet to slow right down, so the videos I shot yesterday are still uploading from my PC (the upload began at at 6 pm last night!) and only half of one video has uploaded so far.
However, I am uploading a Gift Bag Tutorial using the GBPB using the Winter Wonderland DSP pack, that will be published next week.

Back to today, &  I am sharing with you a Gift Bag, made using the Gift Bag Punch Board, and the Antique Tags Hostess Stamp Set
The Home For Christmas Designer Series Papers are just so Retro/Vintage in style and makes me reminisce on Chris masses Past when I was growing up in the 60's & 70's!

The Gift Bag Punch board (GBPB) allows you to make your own Gift Bags from either cardstock, Vellum or Decorative Papers (Designer Series Papers (DSP)
The GBPB comes with full instructions, but play around with it, and you have the scope to make wide and short gift bags, or long and thin etc ... Just select the size of your cardstock and and start scoring and punching
The board comes with a built in punch that allows you to punch out ribbon holes when making your bag.


Below you will find icons of all the products I used today, just click on the icons to view or order them via my Demonstrator Website
Table built using Product Table Builder by The Crafty Owl - Independent Stampin' Up! Demonstrator.


  1. Trim your Designer Series Paper to 10" cms x 11"
  2. Follow the Large guide on the punch board, scoring and punching as you go
  3. Fold & burnish all score lines
  4. Run some Fast Fuse Adhesive along the long flap and adhere to the opposite edge of the DSP
  5. Add some Fast Fuse Adhesive to the base flap and adhere on top of the other base flap
  6. If you are putting something a little heavy inside the bag, it would be a good idea to trim 2 pieces of cardstock the same size as the base and attach one inside the bag, and the other on the outside bag
  7. concertina the bag sides together and punch the 2 holes onto the top of the bag using the integral punch
  8. Thread through some Real Red Striped Ribbon
  9. Stamp your tag onto Very Vanilla Cardstock using Cherry Cobbler Ink, Punch it out using the 2" Circle Punch.
  10. Mat that onto Cherry Cobbler Cardstock using the  2 1/2" Circle punch
  11. Punch a hole in the tag, and thread with Gold Cording Trim, attach to the ribbon
  12. Add a couple of Snowflake Elements, Basic Rhinestones and a Metal Rimmed Pearl


Stamping At The Warren
Kim Tolton

Independent Stampin Up! Demonstrator (UK)
Card & Paper Craft Classes & How To Tutorials
JOIN my Pinterest Community Board
 Where you will be able to post your own Stampin Up! Makes
Simply follow my Community Pinterest Board
And I will sent you an invitation to start pinning

If you have any questions on techniques, orders, products
OR
 Joining my Team as an Independent Stampin Up!  Demonstrator
contact me via:-
Text: 07759587004
Order Online 24/7


Stamping @ The Warren Craft Forum:

Pinterest:

Google +

Facebook:

Twitter:

Instagram:
@kim.tolton

LinkedIn:

Friday, 4 December 2015

Stampin Up! Holly Jolly Christmas Greetings in Mint Macaron, Real Red & Night of Navy

Welcome back to another day of the Quick and Simple Christmas Cards that I am featuring this week. They are all suited to anyone from Novice to Expert and anywhere in between

The Holly Jolly Greetings Stamp Set is fabulous as it gives you a variety of Christmas Sentiments and varies sizes of these, A Great stamp set for your crafting stash ...
I have also used a Die Cut Christmas Sentiment from Night of Navy Cardstock to add dimension and interest 
As always, there is a Video Tutorial included in today's post, plus written instructions to go alongside the video. I do try not to rush my dialogue, but appreciate it may be too fast for some, or you may prefer to read the instructions, so I just include everything and you can pick and chose'


 Below you will find the product icons for the items I used to create this really truly quick and easy card.
Click on the product icons to view or order them via my Demonstrator Website
Table built using Product Table Builder by The Crafty Owl - Independent Stampin' Up! Demonstrator.

WATCH THE VIDEO BELOW
  1. Make your card base using a piece of Thicker Whisper White Cardstock & trim to 21 cms x 14.8 cms; Score the long side at 10.5 cms; fold & burnish, put to one side
  2. Trim a piece of Regular Whisper White Cardstock to 14.4 cms x 10.1 cms
  3. Using Mint Macaron Classic Ink Pad, stamp the large snowflake from Holly Jolly Greetings Stamp Set, in the centre of the cardstock
  4. Use the teeny stars and snowfall stamp from the same stamp set, again using Mint Macaron Ink Pad, and create a halo of the stamped image only re-inking after you have stamped three times (third generation stamping)
  5. Using Soft Suede, stamp the WISHING YOU stamp to the top third of the cardstock, and the ON EARTH to the bottom third of the cardstock
  6. Die cut the PEACE Christmas Greeting, & adhere across the snowflake using the Fine Tip Glue Pen
  7. Apply Stampin Dimensionals to the back of the cardstock and mount onto your card base

Kim Tolton, Independent Stampin Up Demonstrator.
Card & Papercraft Tutorials
Please feel free to comment below, and ask away with any questions. You can also find me via the links below
Blog:

Online Store:

Stamping @ The Warren Craft Forum:

Email:

Pinterest:

Google +

Facebook:

Twittert:

Instagram:
@kim.tolton

LinkedIn: