

Thursday, 24 December 2015
Tuesday, 22 December 2015
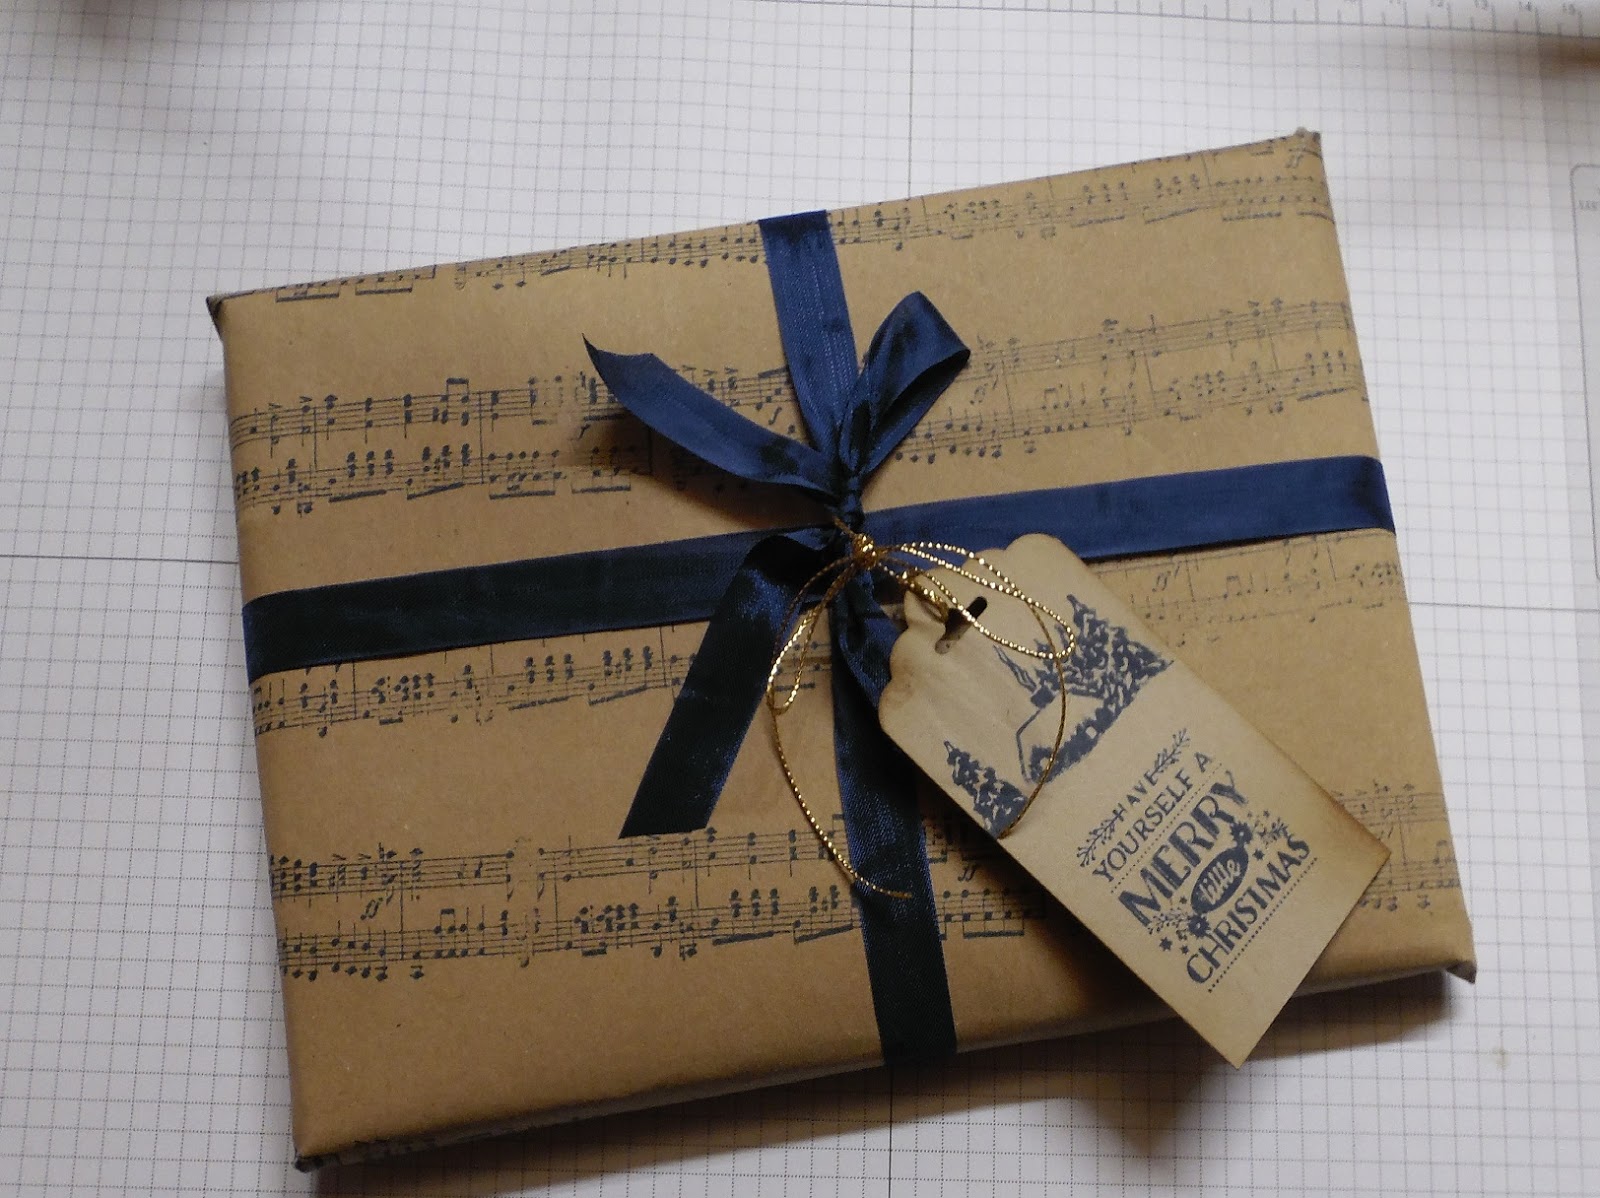
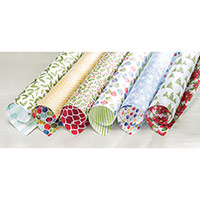
Last Minute Gift Wrapping & Tag Solutions using Recycled Paper and scraps from your crafting stash Stampin Up! UK
Today I am offering you some last minute Gift Wrapping and tag solutions
This is pretty much how I wrap my gifts each year, just using different stamps and accessories
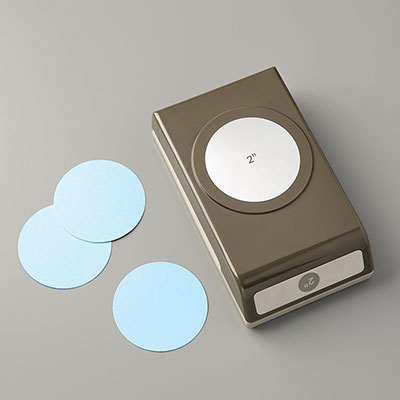
The Tags are made using Crumb Cake Cardstock and stamped in either Early Espresso, Cherry Cobbler, Mossy Meadow or Night of Navy Classic Ink Pads
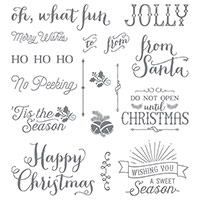
I have used a selection of this years Autumn/Winter Seasonal Catalogue Stamp Sets for the tags
For the wrapping paper, I used my Wheel stamps
Sadly they are now retired, but they remain in my stash and come out for all my gift packaging solutions throughout the year
I like to co-ordinate my tags, inks and ribbons/trims with my parcels as it has a classy look to it, and of course this year we had all that lush Cording Trim which has been used extensively in the run up to Christmas
I hope the photo's below will give you a little inspiration for wrapping your parcels this year.
Kim xx


Kim Tolton, Independent Stampin Up
Demonstrator.
Card & Papercraft Tutorials
Please feel free to comment below,
and ask away with any questions. You can also find me via the links below
Blog:
Online Store:
Stamping @ The Warren
Craft Forum:
Email:
Pinterest:
Google +
Facebook:
Twittert:
Instagram:
@kim.tolton
LinkedIn:
Monday, 21 December 2015
Home for Christmas Christmas XL Pillow Box using the Square Pillow Box Die,Oh What Fun! Stampin Up UK


Click on the items to view or order them via my online store
 |  |  |  |  |  |  |
 |  |  |  |  |  |  |
 |  |  |  |  |  |  |
 |
Table built using Product Table Builder by The Crafty Owl - Independent Stampin' Up! Demonstrator.

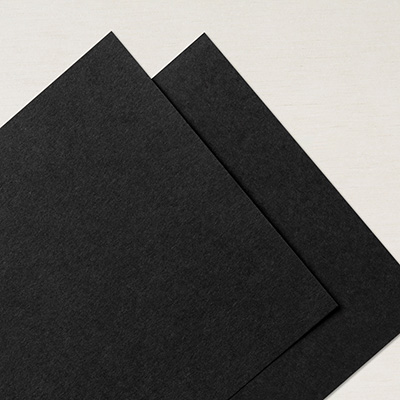
- Die cut x 4 pillow boxes pieces using the Square Pillow Box Die, from Basic Black Cardstock I cut down A4 sheets into A5 sheets so the cardstock would go through the Big Shot (15 cms wide
- Tape, fold and Burnish the tab on each piece, ensuring you keep the tabs on the right hand side
- Using a little Tombow, stick 2the boxes together at the semi circle scored area - again, ensuing you keep the tabs all on the right hand side, you should end up with each beox being x 2 die cuts wide, and x 2 die cuts long
- Fold the box in half and burnish the fold again (as it is now a thicker fold)
- Stick the 2 boxes with the tape you placed on the tabs earlier
- Gently run your finger around the score lines at the top and bottom of the box, and tease the concave edge into place
- Trim a piece of Designer Series Paper (decorative paper) to 6cms x 40 cms
- Usubg your Metric Scoring Plate, score at 10.5 cms & 21 cms
- Apply tape to one short end of the DSP, wrap around the box and stock the DSP together using the tape you just placed on one end.
- That is your basic box, now it is up to you how you decorate your lovely boxes, that can also be used to create luxury crackers for your festive table

Kim Tolton, Independent Stampin Up
Demonstrator.
Card & Papercraft Tutorials
Please feel free to comment below,
and ask away with any questions. You can also find me via the links below
Blog:
Online Store:
Stamping @ The Warren
Craft Forum:
Email:
Pinterest:
Google +
Facebook:
Twittert:
Instagram:
@kim.tolton
LinkedIn:
What's Up" ... A New Home Congratulations Card Stampin Up! UK
Today I have a New Home Card that has been made using products that are, in the main, in the End of Year Sale Section of my Demonstrator Website
So pop on over to my website today to browse what goodies are on offer by

Below you can find all the products used today
Click on the icons to view or order the item via my online store
 | |  |  | | | |
|  | | |  |  |  |
 |  | 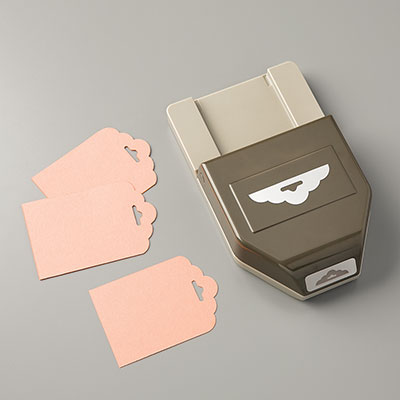 | 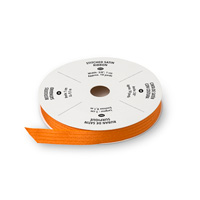 | 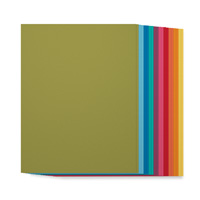 |  | |
Table built using Product Table Builder by The Crafty Owl - Independent Stampin' Up! Demonstrator.
Watch the Video Below
Tutorial
- Make your A4 Card Base by trimming a piece of Thicker Whisper White Cardstock to 21 x 14.8 cms; score the long side at 10.5 cms; fold & Burnish
- Trim a piece og regular Whisper White Cardstock to 5 cms x 10 cms; punch one end using the Scallop Tag Topper Punch
- Punch a leaf using the Bird Builder Punch and Whisper White Cardstock
- Using scraps of Brights Collection Cardstock punch 2 hearts from different coloured cardstock, centre the What's Up! punch over the heart shape and punch out to create a house with a heart cut out in the centre,
- Stick one house down on the tag using Tombow Adhesive, then add some cut down Stampin Dimensionals to the back of the second house, and attach to the tag also
- add a little Tombow to the stem of the leaf you punched out earlier and slot behind the popped up heart on the tag.
- Thread some Tangelo Twist Stitched Satin Ribbon through the slot at the top of the tag, and tie off using some Silver Cording Trim.
- Apply Stampin Dimensionals to the back of the tag and mount at an angle to the card front
- Stamp the Congrats from the Happy Happenings Stamp Set using the Archival Basic Black Classic Ink Pad, and punch out using the Washi Label Punch. Attach to your card front with Stampin Dimensionals.

How to Contact or Follow Me
Kim Tolton, Independent Stampin Up Demonstrator.
Card & Papercraft Tutorials
Please feel free to comment below,
and ask away with any questions. You can also
find me via the links below
find me via the links below
Blog:
Online Store:
Stamping @ The Warren
Craft Forum:
Email:
Pinterest:
Google +
Facebook:
Twittert:
Instagram:
@kim.tolton
LinkedIn:
Subscribe to:
Posts (Atom)