Below you will find the products used in todays card
Click on the product icons to view or order them via my online store (UK)
 |  |  |  |  |  |  |
 |  |  |  | 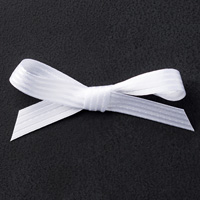 |  |  |
Table built using Product Table Builder by The Crafty Owl - Independent Stampin' Up! Demonstrator.
Watch the video below for the full tutorial
TUTORIAL
- Make your card base - trim a piece of Thicker A4 Whisper White Cardstock to 14.8 cms x 21cms' score the long side at 10.5 cms; fold along the score line & burnish with your Bone Folder; Put to one side
- Trim a piece of Blackberry Bliss Cardstock to 14.4 cms x 10.1 cms
- Trim a piece of Whisper White Cardstock to 14 cms x 9.7 cms
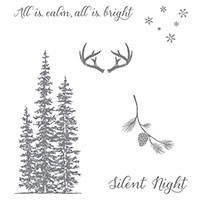
- Ink up the Pine tree Stamp with Blackberry Bliss, and without re-in
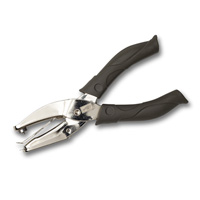
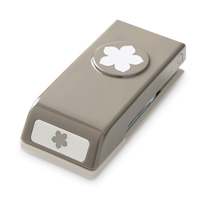
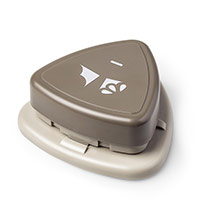
- Using the Triple Corner Punch, punch a one of the corner punces in the top two corners of the cardstock
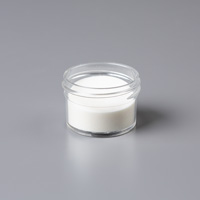
- king the stamp, stamp onto the Whisper White Cardstock 5 or 6 times (so you end up with multiple tones; add a little sponging to the around the edges of the cardstock and also to the sky area of the cardstock
- Fix this to your Blackberry Bliss Panel using a couple of strips of Fast Fuse Adhesive
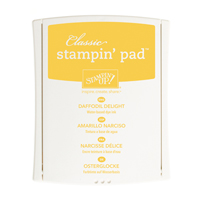
- Trim a piece of Whisper White Cardstock to 9.7 cms x 2 cms; stamp your Christmas Sentiment onto this using Blackberry Black Classic Ink Pad
- Mat the label onto a piece of Blackberry Bliss Cardstock measuring 10.7 x 2.4 cms, using Fast Fuse Adhesive. Add a few Stampin Dimensionals to the back of the label and fix to the card front.
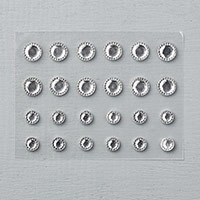
- Embellish with a coordinating ribbon and an iced Rhinestone Element

Happy Stamping
Kim xxx

JOIN my Pinterest Community Board
Where you will be able to post your own
Stampin Up! Makes
Simply follow my
Community Pinterest Board
And I will sent you
an invitation to start pinning
If you have any
questions on techniques, orders, products
OR
Joining my Team as an Independent Stampin
Up! Demonstrator
contact me via:-
Email me: kim.tolton@googlemail.com
Text: 07759587004
Order Online 24/7