Okay, Okay, I'm a bit late posting this, but we have SO much going on here at the Warren. One of our sons is getting married June 13th and I have the bride & Bridesmaid dresses to finish the final alterations (yes, I am a seastress as well!), we have buildings works going on in a race to finish the stabling and padocks for the homecoming of our new baby pygmy goats. They will be joining the rest of the menagerie! 2 dogs, 11 chickens, 50'ish purebred rabbits, 40'ish Cavies (guinea pigs), plus the grandchildren ... and and and!
My paper crafting is my way of zoning out and getting some 'me' time and enjoy the company of our class attendees. We have met so many lovely people through being Independent Stampin Up Demonstrators. My upline and co-team members have become amazing friends, and the atmosphere at Telford was electric! Taking the step of faith to join SU was one of the most right things I have done in my career and fills the void of having taken early retirement as a Lead Cancer Nurse in 2012,
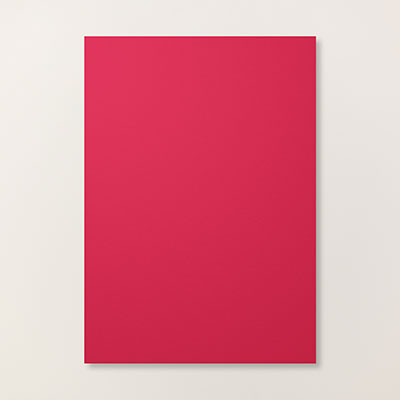
Anyway, getting back on track, here is my Telford Swap. I went with a red faux leather wallet made from cardstock. Why red? Well I had a stack of Real Red cardstock left from a wedding order, and thought I would give it a go ... and I was really pleased with the end result. I included a small window pocket for a small photo or business card.
To make this project you require the following:
1 x piece of Real Red cardstock measuring 22.5 x 13.5cms
1 x piece of Designer Series Paper (DSP) measuring 22 x 13cms
2 x pieces of Real Red cardstock measuring 7 x 6cms
1 x piece of Very Vanilla Cardstock measuring 10 x 7cms
Window Sheet (acetate)
Soft Suede & Sahara Sand Ink Pads
Stampin Sponges
Versamark Ink Pad (plus refill)
Clear Embossing Powder
Sticky Strip & Stampin Dimensionals
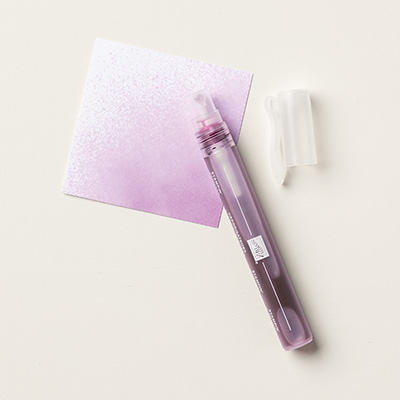
Stampin Spritzer
Heat Tool
Silicone Craft Sheet
Ovals Framelits
Big Shot (optional)
Simply Scored Board with metric plate
Sewing Machine (or piercing tool with hand sewing needle and thread)
Stamp Sets - Teeny Tiny Sentiments & Lovely Romance
Punches - word window, modern label, corner rounder
Instructions
- Round all corners of the largest piece of cardstock and the DSP
- Spritz all pieces of cardstock, scrunch in your hand, and repeat until you are happy with the 'weathered' look of the cardstock. Flatten under a heavy book or run it through your Big Shot. Allow to dry.
- Once the cardstock is dry, lightly sponge one side of the cardstock using Soft Suede ink, allowing to dry and repeat until you are happy with the effect. Apply a little more sponging to the edges/corners of the cardstock for a realistic effect. Allow the ink to dry.
- You need a really juicy Versamark ink pad, for this technique, so make sure you top up your ink pad with the refill. You do need to ensure the cardstock and ink are dry before proceeding the this step or you will damage your versamark ink pad.
- Cover the sponged side of the cardstock with the versamark ink, apply clear embossing powder. Set with the heat tool. You will need to repeat this step several times until you have a nice glossy finish.
- Next you need to sew the cardstock to the DSP (and please make sure you have the glossy side of the cardstock on the outside .... I ruined one purse by sewing the glossy side to the inside!! grrr). If you do not have a sewing machine, just pierce holes all around the outside of the 2 layers, and use a needle and thread to sew around the edges.
- Repeat the above technique with the 2 smaller pieces of Real Red cardstock (this will be the concertina folds at the sides of the wallet).
- Now you need to get out your scoring tool with the metric plate, and score the stitched wallet at 7.5cms & 15cms, burnish the folds.
- next you need to score the 2 smaller pieces of Real Red cardstock; with the shorter side at the top, score at 1,2,3,4 & 5cms. Fold into mountain and valley folds to create a concertina. Apply sticky strip the each of the edges and attach the concertina to one end of the sewn cardstock, and roll the cardstock to allow you to attach the opposite edge of the concertina's to the larger piece of cardstock to make the purse section of the wallet. (make sure you have the DSP on the inside of the of the wallet).
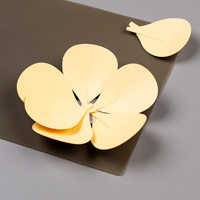
- Make a frame using the Very Vanilla piece of cardstock and the Oval framelits), stamp the frame using Lovely Romance stamp set in Sahara Sand ink, and attach a piece of window sheet to the back of the frame using sticky strip. Attach sticky strip to 3 sides of the window sheet to make a photo/business card pocket. Attach.

I have also made these slightly larger to take some note cards to give as Hostess Gifts - it is a great WOW project too!
You could also use the wallet as a business card holder.
I also added a sentiment attached to punched labels, but you can omit this if your wish. I also finished my swaps with a piece of Real Red 1/8" taffeta ribbon.
You can also contact me via:
Text: 07759587004
Phone: 08432896848
Oh ... and here is a picture of our baby goats ... SO excited