Oops, I came back in from the workshop just now and sat at my PC to upload some more video's, took a peek at the blog, only to realise I had forgotten to give you an intro!! Sack me someone please!
So here it is, if somewhat belated
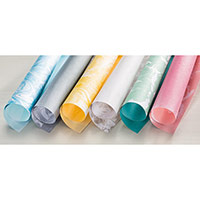
Today I have been playing around with the Watercolour Wash Background Stamp, and have lots of test runs to share with you. The 3 pigment ink pads remained the same, but I played around with the amount of water I added to the stamp, as well as how I cogitated the water to encourage the inks to blend. I hope you enjoy the results of my mornings labour.

_____________________________________________________________________________
- As you scroll down today's
blog post, you will find :
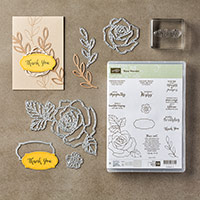
- icons of all the products
used to create today's card - click on them to visit my online store;
- A Video Tutorial
- & a typed tutorial
Feel free to CASE any of my creative
projects (Copy & Paste Everything)
Click on the icons below to view/order
any of the products used in today's tutorial
 |  |  |  |  |  |  |
 |  |  |  |  |  |  |
 |  |  |  |  |  |  |
Table built using Product Table Builder by The Crafty Owl - Independent Stampin' Up! Demonstrator.
Watch the Video Below
Tutorial
1. Trim a piece of Thicker Whisper Cardstock to 21 x 14.8 cms; score the long side at 10.5 cms; fold & Burnish
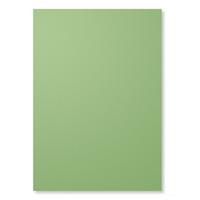
2. Trim a piece of Wild Wasabi Cardstock to 14.4 x 10.1 cms (Mat)
3
Trim a piece of Shimmery White Cardstock to 14 x 9.7 cms
4. Stamp the Shimmery cardstock using the Birthday Blooms Stamp Set & the Archival Black Ink Pad
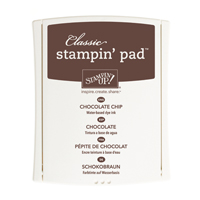
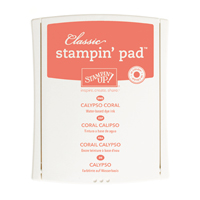
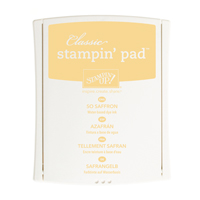
5. Ink up the Watercolour Wash Stamp using Calypso Coral, Blushing Bride & So Saffron Classic Ink Pads (using just the edge of the ink pads)
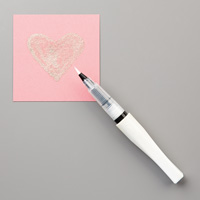
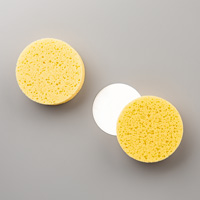
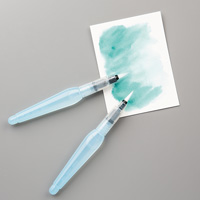
6. Fill your Aquapainter with water and gently squeeze 10 - 12 drops of water over the inked up stamp & give the stamp a good jiggle to help blend the inks
7. Place the stamped cardstock face down onto the Watercolour Wash stamp; use your bone folder to gently press over the cardstock, from the centre out. Carefully lift the cardstock off the stamp and leave to dry
8. Once dry, mat (layer) stamp your sentiment onto & mat (layer) onto the Wild Wasabi cardstock.

2. Trim a piece of Wild Wasabi Cardstock to 14.4 x 10.1 cms (Mat)
3
Trim a piece of Shimmery White Cardstock to 14 x 9.7 cms
4. Stamp the Shimmery cardstock using the Birthday Blooms Stamp Set & the Archival Black Ink Pad
5. Ink up the Watercolour Wash Stamp using Calypso Coral, Blushing Bride & So Saffron Classic Ink Pads (using just the edge of the ink pads)
6. Fill your Aquapainter with water and gently squeeze 10 - 12 drops of water over the inked up stamp & give the stamp a good jiggle to help blend the inks
7. Place the stamped cardstock face down onto the Watercolour Wash stamp; use your bone folder to gently press over the cardstock, from the centre out. Carefully lift the cardstock off the stamp and leave to dry
8. Once dry, mat (layer) stamp your sentiment onto & mat (layer) onto the Wild Wasabi cardstock.
How to Contact or Follow Me
Kim Tolton,
Independent Stampin Up Demonstrator.
Card & Papercraft
Tutorials
Please feel free to
comment below, and ask away with any questions. You can also find me via the
links below
Blog:
Online Store:
Stamping @ The Warren
Craft Forum:
Email:
kim.tolton@googlemail.com
youTube
Pinterest:
Google +
Facebook:
Twittert:
Instagram:
@kim.tolton
LinkedIn: