The card I am sharing with you all today, is a complete contrast to my usual style of Card Making.
However, I always enjoy trying something new
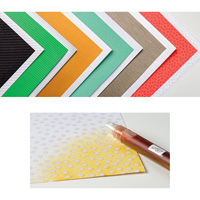
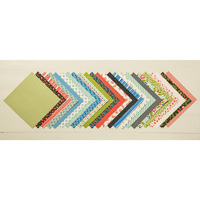
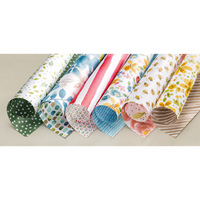
The main feature of this card, is the double sided Pretty Petals Designer Series Paper
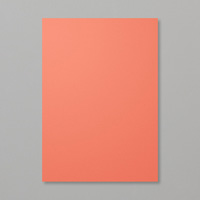
I used the colour scheme from the papers, for the cardstock
So I used:
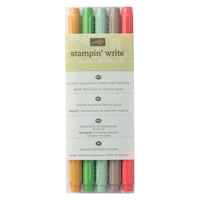
Calypso Coral,
Old Olive
& Very Vanilla
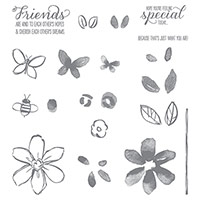
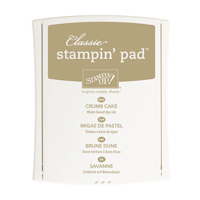
With a little stamped sentiment in Black Memento Ink
Once you have made the template to accurately score your circles, it is really simple to construct.
It is worth taking the time to make your template for best results
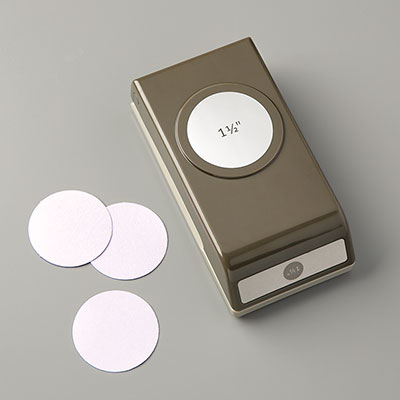
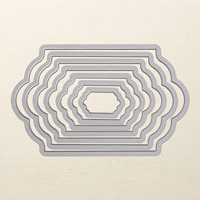
I have used the new 1 1/2" Circle for this card, but just change the size of the circles using smaller or larger circle punches, or circle Framelits Dies, to suit the size & proportion of your project.
This would be great to do as a shadow box too!
This is how to make the Template
Punch or Die Cut 7 Circles of the same size from Designer Series Papers (DSP)
I used the Pretty Petals 6" x 6" DSP Stack.
Take one of the circles and fold it into half, and then into quarters
Open the folded circle back out, and using a steel rule and a sharp pencil, draw your square
(where the lines meet)
Carefully cut out your square and adhere the square onto a piece of chipboard
(I used the thicker cardstock that comes with the 12" x 12" papers
Once your square has bonded onto the chipboard, cut out the square using sharp Craft Scissors, or a scalpel and steel rule.
This is your Template
Next, you are going to carefully place your square template on top of the next DSP circle, and using a the thinner end of your scoring Stylus and a stampin Pierce mat (works for scoring too),
gently score around the square.
Do not press too hard or you will tear the DSP
Repeat this with all 6 of your circles
Next, fold along each score line, and then make the fold nice and crisp by running your bone folder along the fold. Repeat with each score line on all 6 circles
This will leave you with sections that reveal the reverse side of the DSP as well as the side you have chosen for the front.
Next trim a rectangle of Old Olive cardstock, so it will be 4mm wider than the width of two of the folded circles, and also 4mm longer than with the length of the folded circles
Make sure that the semi circles all meet where they should, and then carefully adhere each circle the the Old Olive Mat (layer). I found Fast Fuse Adhesive best for this.
Mat this onto a A Calypso Coral Card Base using Stampin Dimensionals
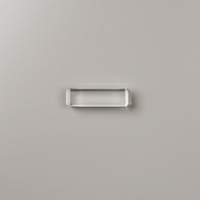
Stamp your sentiment from the And Many More ... Stamp Set using a black Memento Ink Pad onto a scrap of Very Vanilla Cardstock Trim, to 1.5 cms wide, and punch banner ends using the little Banner Punch (by inserting the cardstock through the top of the punch, and guiding the cardstock between the cutting blades., punch, and repeat with the opposite end.
Attach to the bottom of your card base using a couple of Stampin Dimensionals.
Try this technique with other punches, and you will discover ways of making bespoke labels!
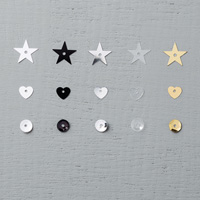
To finish this card off, I simply added pearls where each of the 'petals' meet
I would love to see your version of these cards, and the easiest way is to join my Community Pinterest Board (see the bottom of this blog post for more information)
Here are the products I have used in todays card
Have fun, and remember to share your photo's
Happy Stamping and Paper Crafting
Kim xxx
Why not JOIN my
Pinterest Community Board?
Where you will
be able to post your own Stampin Up! Makes?
To Join, simply
follow my Community Pinterest Board
(see the left
hand side bar on this blog)
And I will sent you
an invitation to start pinning
If you have any
questions on techniques, orders, products,
OR
Joining my Team
as an Independent Stampin Up! Demonstrator
contact me via:-
Text: 07759587004
Order Online 24/7