
I am on a mission this week
Oh Yes!
I rarely use Designer Series Papers as I love to stamp my backgrounds and make my own Decorative Papers, but Stampin Up! Has released some wonderful DSP packs and stacks this year
So I am going to try and sneak in some papers this week
I cannot promise it will be every day, otherwise my OCD is likely to go into crisis ha ha
But I am going to try my best
And so I am kicking off by going with mostly Designer Series Papers and just a tinsy winsy bit of rubber stamping
Impressed??
I Know ... I am totally out of my Comfort Zone here!
The Rubber Stamping comes from one of the new Stamp Sets to the Stampin Up! Catalogue
Birthday Blossoms
It is a stunning stamp set, and later this week I have another card, using the same colours and DSP, but a different template all together.
The Banner Triple Punch gives you triple the banner options in one punch.
You can make banners in three widths:
1 inch; 1 1/2 inches & 2 inches
in any length.
Just slide the paper in, punch, and get perfectly notched banners
or gift tags, bookmarks, belly bands every time.
You can go with a single banner end, or double end
The 1" banner is perfect for using as a base for the new Washi Label Punch, giving you stunning sentiment labels
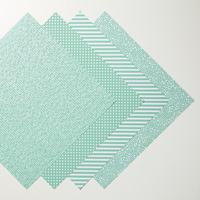
And today's colours are from the 2015-2017 In Colours, of:
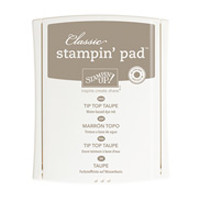
Mint Macaron & Tip Top Taupe
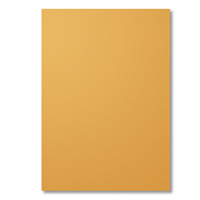
With a card base of Delightful Dijon cardstock
And the main panel is Whisper White Cardstock

& Here are the products I used in making today's card
Click on the product icons to view them in greater detail, or to order them (UK only)
 |  |  |  |  |
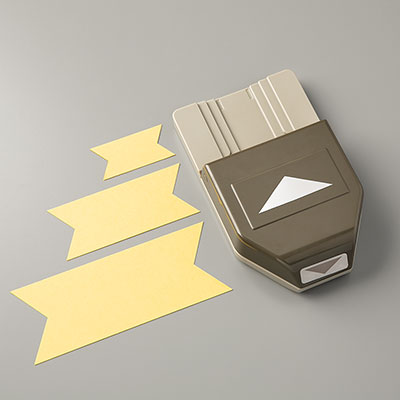 | 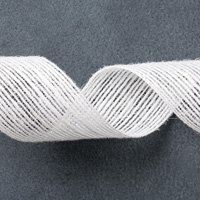 |  |  |  |
Table built using Product Table Builder by The Crafty Owl - Independent Stampin' Up! Demonstrator.
For today's card, I began by creating my A6 card base using Delightful Dijon Cardstock
I then trimmed a piece of Whisper White Cardstock and stamped the Birthday Sentiment from Birthday Blossoms, off setting the sentiment to the bottom left, using Tip Top Taupe Classic Ink Pad.
Next came the banners
For these I used 2 different papers from the 2015-2017 In Colour Designer Series Paper Stack
As these papers are double sided, I only needed 2 strips, trimmed to the sizes mentioned above
As you can see, the create perfectly nestled banners.
I went with one banner end and the other end was straight.
All strips were cut to the same length, as I wanted an Art Deco style
With those wonderful angles,,

I placed Stampin Dimensionals on the reverse of each banner and layered then up
Next I tool some White Jute Ribbon, and pulled through a long single strand ( the individual strands of the ribbon can be teased apart quite easily)
I made some lovely large looping circles with the strand and attached this to the reverse of the widest banner using some Fast Fuse Adhesive
Then the banners were mounted onto the Stamped Panel.
Finally, I used Fast Fuse Adhesive to mount the card front onto the card base.
Quick, simple and effective.
Swap the DSP with any of the others in the Stampin Up Catalogue to change the 'theme' of the card, and the possibilities are endless!

Happy Stamping
Kim xxx
Would like to JOIN my Pinterest Community
Board?
where you will be able to post your own
Stampin Up! Makes?
If the answer is YES
please email me via
Simply Follow my
Stampin Up At The Warren Community Pinterest Board
& I will send you an invitation to Join and start sharing on my
board
(Paper Craft items only)
If you have any
questions on techniques, orders, products
OR
Joining my Team as an Independent Stampin
Up! Demonstrator
contact me via:-
Email me: kim@stampinupatthewarren.com
Text: 07759587004
Order Online 34/7
No comments:
Post a Comment