google-site-verification: google70410e9e92d4fda2.html

Sunday 31 May 2015

Flower Shop & Teeny Tiny Sentiments Meets Gorgeous Grunge in Watermelon Wonder & Crumb Cake

Oh my Goodness! 
I have been trying to type up this blog post all day, bu we have had one visitor after another.
Not that I am complaining, as I adore seeing family and friends.
But I am also a little hung over as it was one of my younger brothers, Shaun's 50th Birthday Party last evening. We have a BIG family and are known locally as the Elliott Mafia
No we do not run cartels, neither do we smuggle drugs, or any other illegal practices.
But we are a big family originating from London Boroughs, and we look after out own, but also welcome new members of the family with open arms

I know 100% that my parents and 3 brothers, and my 4 children will jump into action when any member of our family needs support, help or similar, we will all come together
No arguments, no angst ... just love and respect for each other!

Anyway he he

Be sure to scroll all the way to the bottom of today's blog post for a sneak peek of the new catalogue

Now, if you haven't seen a Stampin Up! Catalogue before, you won't be aware that the catalogue is filled with many, many creative ideas
That makes it really easy to get ideas for cards and gifts on days when creativity seems in short supply
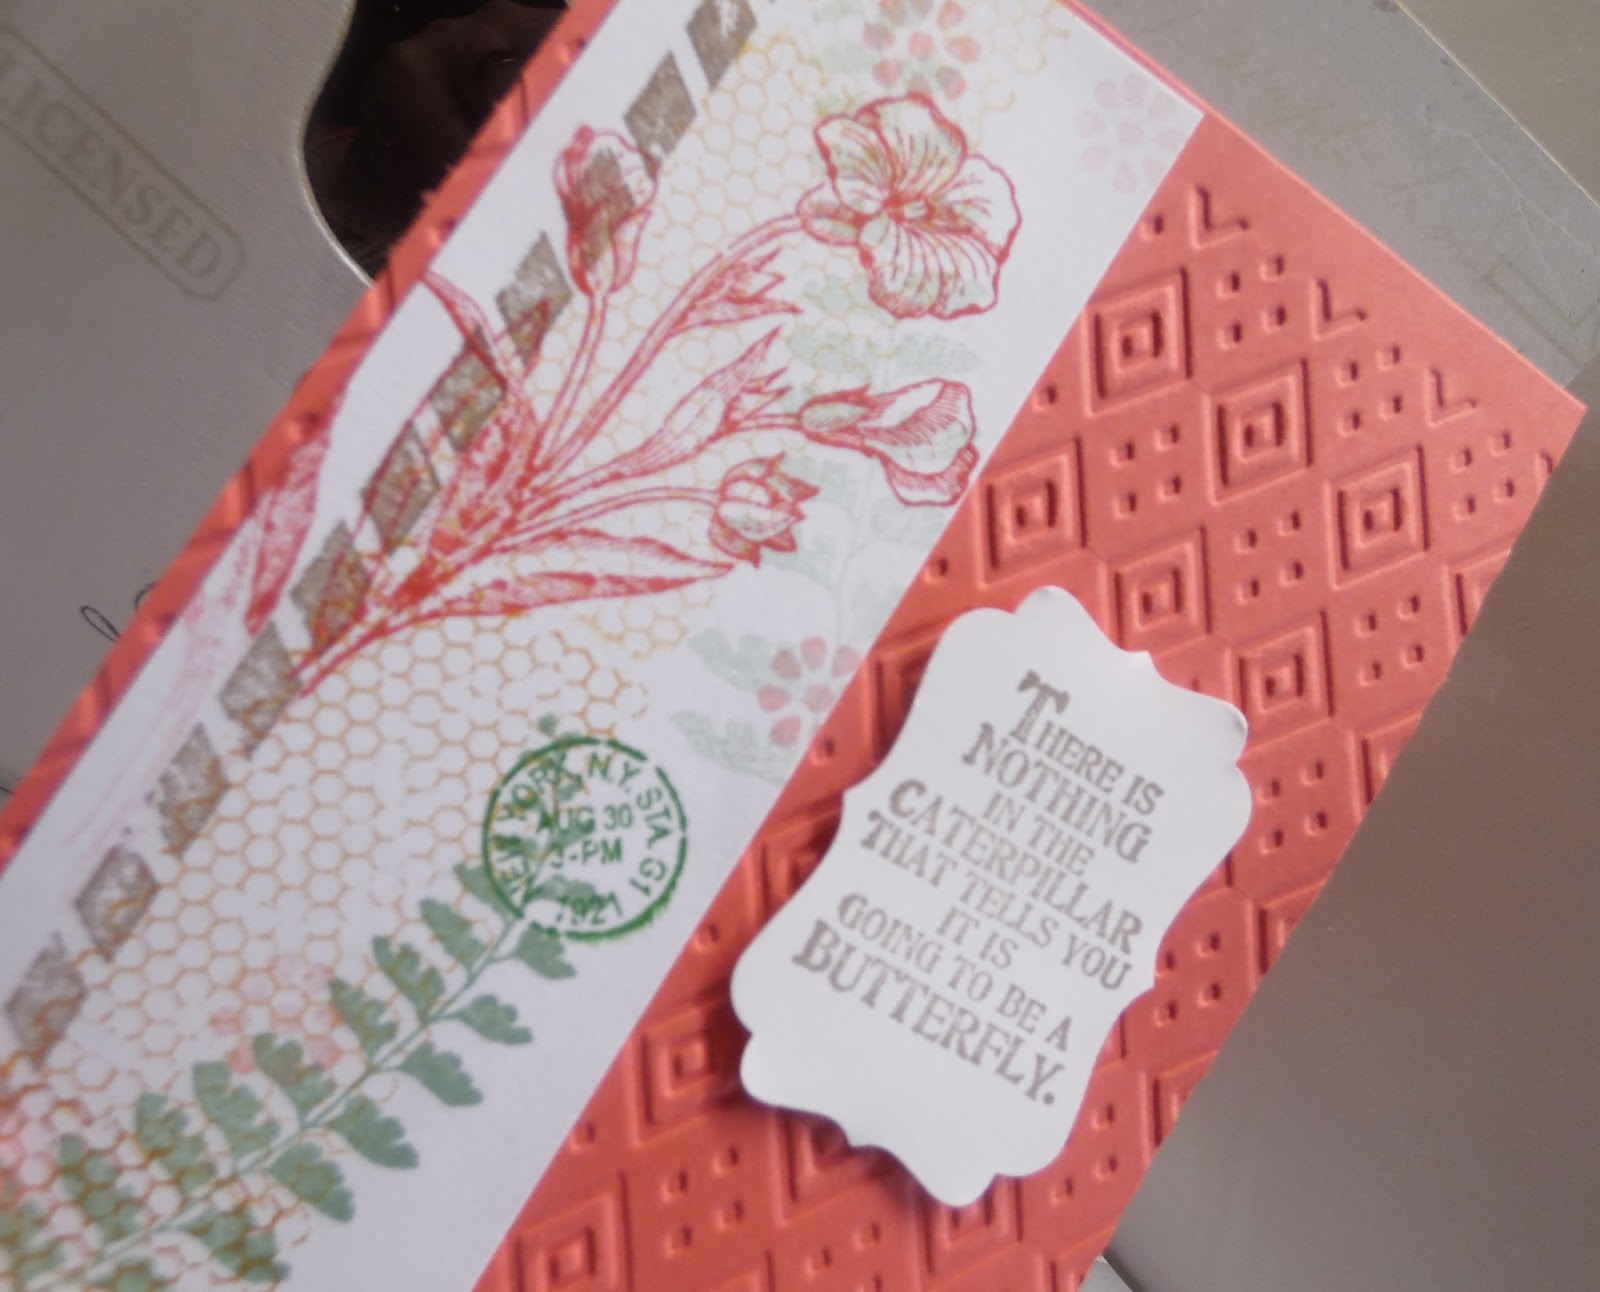
 & so I have CASED this card from the new catalogue.

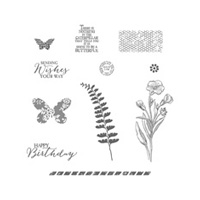
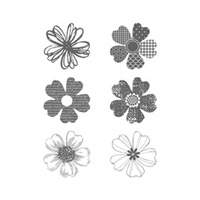
I decided to go with the Flower Shop & Gorgeous Grunge Stamp Sets
And the Watermelon Wonder Cardstock
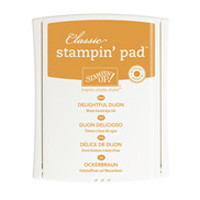
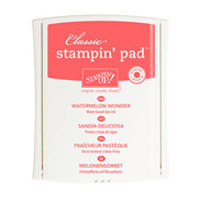
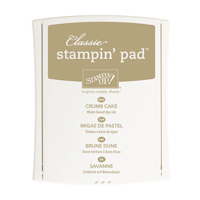
With Crumb Cake and Watermelon Wonder Classic Ink Pads
I also snuck in a teeny tiny Stamp Set sentiment
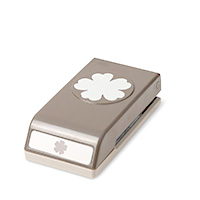
The card was embellished with the assistance of the Hearts Confetti Border Punch (you saw the punched out hearts in my granddaughters card that I posted yesterday)
Plus a heart shape cur from the Whisper White Jute Ribbon, Venetian Crochet Trim and a Designer Very Vintage button


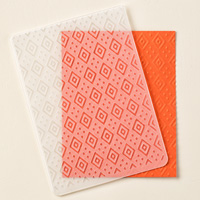
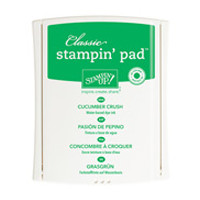
Below you can see all the products used in todays card
Just click on the product icons to view them in more detail / or order online

Table built using Product Table Builder by The Crafty Owl - Independent Stampin' Up! Demonstrator.

I began by creating a 6" (15 cm) square card base using Watermelon Wonder Cardstock
I then trimmed a piece of Whisper White cardstock to 11,4 x 11.4 cms
This was then randomly stamped using a couple of stamps from the Flower Shop Stamp Set and a combination of Crumb Cake and Watermelon Ink.
I then stamped the 'THANKS' stamp 3 times in the bottom right corner of the card front, again using a combination of the two ink pads.
I then stamped another flower onto Whisper White Cardstock using Watermelon Wonder ink.
INext, I punched the flower out using the Pansy Punch and using a finger dauber, added some ink to the centre of the flower


The next job, was to use the fine splatter stamp from Gorgeous Grunge Stamp Set using 1st & 2nd generation stamping (i.e. don't re-ink the stamp between stamping the cardstock twice).

Trim a strip of Watermelon cardstock to 1.4 cm wide and punch the length of cardstock with the Hearts Confetti Border Punch. Lining up the pattern using the marks on the base and front of the punch,
Adhere the heart strip to the cardstock using a smapp amount of Chrystal Effects as it dries clear.
The attach a strip of Venetial Crochet Trim using sime Fast Fuse Adhesive.
Using a piece of the Whisper White Jute Ribbon trim, cut a heart shape and fray the edges a little.
Thread a piece of the jute ribbon cut offs through the button, secure the ends on the back using a Stampin Dimensional and attach to your card front.

And breath!!!!! she says, letting out a long slow relaxing breath 


Oh ... and guess what?
Yes, the new Stampin Up! Catalogue goes live in 2 days time!!
And here is a sneak peek of the catalogue with me (in the wheelchair) and my colleague and friend, Donna

 Would like to JOIN  my Pinterest Community Board where you will be able to post your own Stampin Up! Makes?
If the answer is YES please email me via


 If you have any questions on techniques, orders, products etc, please ask away by adding comments below, or you  contact me via:-
Text: 07759587004 OR

Flwer

Saturday 30 May 2015

Stamps, Ink Paper & Grandaughters

 Now, today I cannot take the credit for the card I am sharing with you.
But my 5 year old Granddaughter can
Yes, that's right, she is FIVE YEARS OLD!

And whilst she is used to making cards with me, they have previously consisted of ready made toppers from my very old card making supplies stash, that I keep here for the children to use when they visit.
But yesterday, Ayala came to spend a few hours with us whilst our grandson went to have his ear test done.
I was working on the card that was scheduled to be published today, and saw me using my stamps and punches .
Now she has watched me do this many many times, but yesterday she decided she wanted to use rubber stamps.
I showed her how to ink the stamp just once, and she got it straight away!

She picked the cardstock, the stamps and the ink pads.
She was quite clear about what she wanted, and the card below is the result.

The card was for her Daddy (our eldest son)

I am SO proud of her!! and astounded at her natural sense of creativity

And the message of today, is that you are never too young, nor too old to connect with your inner creativity and learn how to make cards and other card craft gifts,
If a 5 year old child can stamp with this precision and cleanness, then anyone can with a little practice,


And bless her, the outside and inside were embellished with all manner of card candy from my previously mentioned stash.
And she had a field day with the Epic Day Washi Tape (which retires forever in 2 days time)

And here are the products used in her card
Simply click on the item products below to view them in more detail or purchase them

Table built using Product Table Builder by The Crafty Owl - Independent Stampin' Up! Demonstrator.


She also found a left over banner I made for my Telford Regional Swaps and that got added too because she liked the words when I read them out to her.

I hope her card brings as big a smile to your face as it does mine!


And here we are Grandmother and Granddaughter having a big cuddle when Alaya first arrived.
I have 3 grandchildren, and they are all so precious to me, and adore every time I get to spend a few hours with them


To view what remains of the Stampin Up! Products that will retire for good in 2 days time,
or to take a sneak peek at new products in the new catalogue that launches 3rd June,
Click on one of the banners below
To take a look

 Would like to JOIN  my Pinterest Community Board where you will be able to post your own Stampin Up! Makes?
If the answer is YES please email me via


If you have any questions on techniques, orders, products etc, please ask away by adding comments below, or you  contact me via:-
Text: 07759587004 OR


Thursday 28 May 2015

Back to Basics With Butterflies In Watermelon Wonder

Well I am a little late getting  my blog post out today 
I had a delightful visit with my accountant, that always seems to end up taking ages!
Trust me to have an end of year that co-incides with the launch of the new Stampin Up Catalogue, when I tend to be so busy getting makes and takes, samples, and catalogues ready for the launch day next week
But I am SO excited as I have a HUGE wish list haha 

(shhhh .... don't tell my husband)

The hardest part is listing what I really cannot live without ... and that means quite a few stamp sets, especially some of the new background stamps and background builder stamps ... my favourites for sure


Anyway, today's card had to be super quick as time has been in short supply today.


So I began by making an A6 Card Blank using Watermelon Wonder Cardstock
This was dry embossed with the new Boho Chic Embossing Folder (TIEF).
Next I stamped the Caterpillar 
 sentiment onto a scrap of Whisper White Cardstock using the Tip Top Taupe Classic Ink Pad.
This was punched out using the Decorative Label Punch

I then cut a panel of Whisper White Cardstock to cover half of the card front.
I then stamped each of the stamps from Butterfly Basics Stamp Set (except for the other sentiments and  the butterflies) using the inks shown on the product list below.
The panel was adhered to the card front using Fast Fuse adhesive and as a final touch I added a Watermelon Wonder Blossom Accent, and adhered to the card front using a small dot of Chrystal Effects.

How fast was that?? And a pretty card to boot!!

Simply click on the Product icons below to view then in more detail or to place an order

Table built using Product Table Builder by The Crafty Owl - Independent Stampin' Up! Demonstrator.
Kim xx


 Would like to JOIN  my Pinterest Community Board where you will be able to post your own Stampin Up! Makes?
If the answer is YES please email me via


If you have any questions on techniques, orders, products etc, please ask away by adding comments below, or you  contact me via:-
Email me: kim@stampinupatthewarren.com
Text: 07759587004 OR
Order Online: http://www.stampinupatthewarren.stampinup.net

Place your orders by clicking on the product images below and it will take you straight to my online Store