It was my middle sons 2nd Wedding Anniversary this week, and I knew exactly which Stamp Set I was going to use ... and that would be
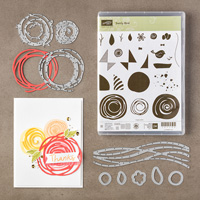
FLORAL PHRASES
This is one of the stamp sets new to this years Annual Catalogue, and I fell in love with it, the moment I set eyes on it. And of course, I just HAD to HAVE it he he
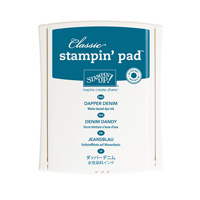
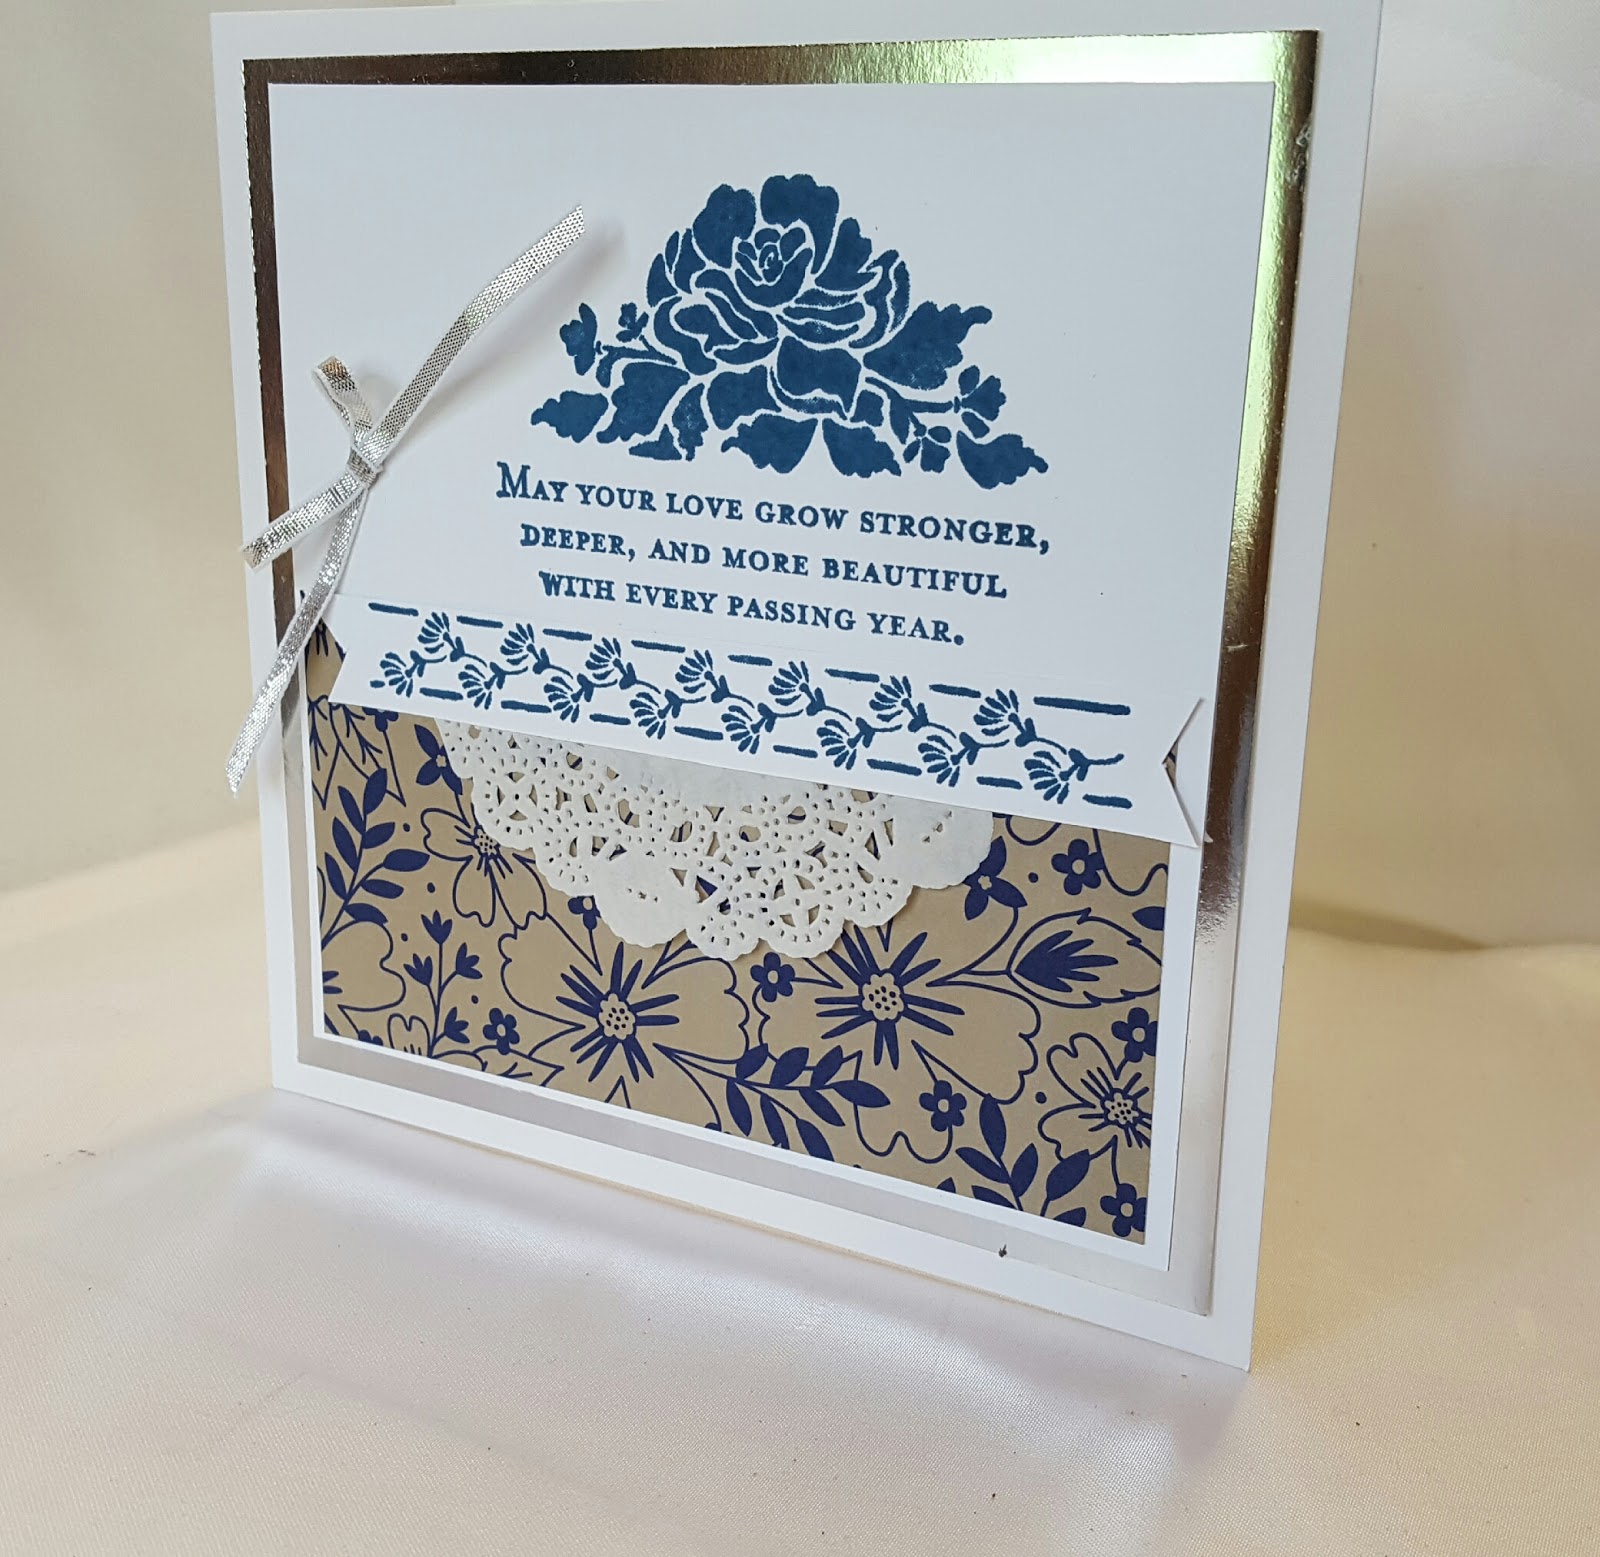
I went with Dapper Denim, just because I adore this warm Blue. Blue's have a tendency to be a little cool, but not this one. It sits nicely between Night of Navy and Marina Mist.
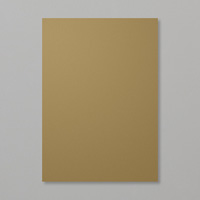
I coupled it with this Dapper Denim paper from the Affectionately Yours Suite, as it co-ordinates so well with today's colour scheme, and really sets off the Silver Foil Mat.
The Doily gives extra interest, and I stamped the floral accent onto onto a long narrow banner that I popped up on Stampin Dimensionals to give some added lift, and finished with some Silver Ribbon.
Tutorial is below

Feel free to CASE any of my creative projects (Copy & Paste Everything)
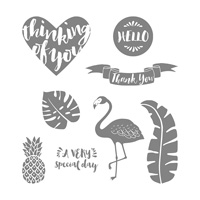
STAMP SET
FLORAL PHRASES
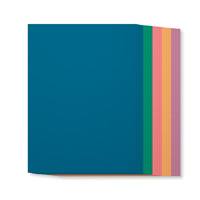
CARDSTOCK
THICKER WHISPER WHITE
SILVER FOIL
INK PADS
DAPPER DENIM
ACCESSORIES
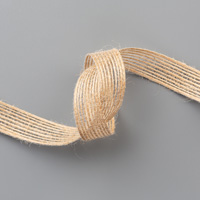
1/8" SILVER RIBON
DELICATE WHITE DOILY
DESIGNER SERIES PAPER
AFFECTIONATELY YOURS
TOOLS
STAMPIN TRIMMER
ACRYLIC BLOCK BUNDLE
BONE FOLDER
PAPER SNIPS
ADHESIVES
FAST FUSE
STAMPIN DIMENSIONALS
MINI GLUE DOTS
The beauty of Stampin' Up!'s range of products, is that it is fully co-ordinated, and their range of ink pads, cardstock etc, is so wide , that you could make this card in any colour-scheme you or your customer wants ... what more could you want?
Just make sure to follow Stampin' Up!s Angel Policy
so take a peek at the BETTER THAN EMAIL Stamp Set whilst browsing my online store...

Tutorial
- Trim a piece of Thicker Whisper White Cardstock to 15 x 30 cms (6" sq)'; Score at 15 cms; fold & Burnish
- Trim a piece of Silver Foiled Cardstock to 14 x 14 cms
- Trim a piece of regular Whisper White Cardstock to 13.4 x 13.4 cms
- Trim a piece of Affectionately Yours Designer Series Paper to 13 x 4 cms and adhere to the lower section of the Whisper White Cardstock
- Trim a piece of Delicate White Doily and mount over the Designer Series Paper
- Using Dapper Denim Ink Pad, and the Large Floral Stamp, Stamp the art piece to the upper portion of the cardstock
- Stamp the Floral Flourish stamp into a scrap of Whisper White Cardstock measuring 13 x 2 cms, and using Paper Snips, create Banner Ends, add Stampin Dimensionals to the back and mount on the card front so it overlaps the doily
- Finally, add a silver ribbon bow
How to Contact or Follow Me
Kim Tolton, Independent Stampin Up Demonstrator.
Card & Papercraft Tutorials
Please feel free to comment below, and ask away with any questions. You can also find me via the links below
Blog:
Online Store:
Stamping @ The Warren Craft Forum:
Email:
kim.tolton@googlemail.com
youTube
Pinterest:
Google +
Facebook:
Twitter:
Instagram:
@kim.tolton
LinkedIn: