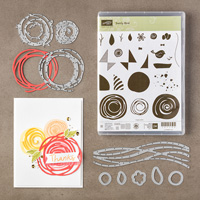
Today's card is another Vintage Inspired Card using a combination of the Touches of Texture Stamp Set, with the Layering Love Stamp Set.
The Touches of Texture Stamp setl is a super Collage set, with infinite possibilities of where you go with it.
In this card I have used just 3 colours,
So Saffron, Wisteria Wonder & Soft Suede.
I have also used some Burlap Ribbon and some left over Venetian Trim, as I hadn't had my most recent order at the time of making this card. I now have a supplie of the new, and very dlicate, Very Vanilla Lace Trim.
The card base was made using Wisteria Wonder Cardstock. and The Bold sentiment was stamped over the Background. The card was finally embellished using some of the new Subtles Enamel Shapes

STAMP SETS
TOUCHES OF TEXTURE
LAYERING LOVE
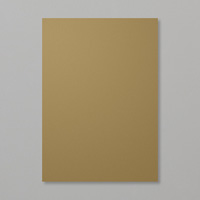
CARDSTOCK
WHISPER WHITE
WISTERIA WONDER
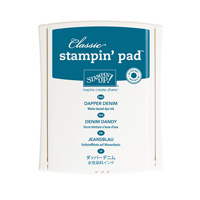
INK PADS
SOFT SUDE
WISTERIA WONDER
SO SAFFRON
ACCESSORIES
SUBTLES ENAMEL SHAPES
BURLAP RIBBON
VERY VANILLA LACE TRIM
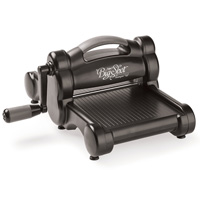
TOOLS
STAMPIN TRIMMER
BONE FOLDER
ADHESIVES
TOMBOW MULTI-PURPOSE LIQUID GLUE
TEAR & TAPE

Feel free to CASE any of my creative projects (Copy & Paste Everything)
How to Contact or Follow Me
Kim Tolton, Independent Stampin Up Demonstrator.
Card & Papercraft Tutorials
Please feel free to comment below, and ask away with any questions. You can also find me via the links below
Blog:
Online Store:
Stamping @ The Warren Craft Forum:
Email:
kim.tolton@googlemail.com
youTube
Pinterest:
Google +
Facebook:
Twitter:
Instagram:
@kim.tolton
LinkedIn: