Now yesterday I showed you a Wedding Favour./Gift Tag
& today I have another Wedding Themed Tag, with a different Technique
So today is going to combine Stampin Write Markers with Rubber Stamping
& here is your Product List for today:
Big News Stamp Set
Subtles Stampin Write Markers
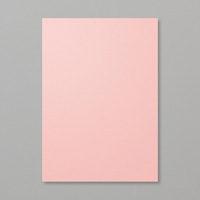
Angled Tag Topper Cardstock
Soft Suede Classic Ink Pad
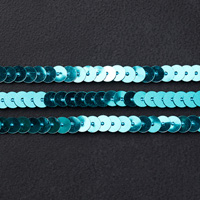
Venetian Crochet Trim
Linen Thread
1/4" Cotton Ribbon (Blushing Bride, Marina Mist, % Pear Pizzazz)
Clothespins

The tag is made exactly the same as yesterday's tag, by trimming a piece of Kraft Cardstock to 5 cms x 12 cms
Use the Angled (or scallop) Tag Topper Punch to create a tag top to one of the short ends.
Ink up the HAPPILY EVER AFTER stamp from BIG NEWS Stamp Set using Soft Suede ink
Give this a few moments to dry, and then get out your collection of Subtles Stampin Write Marker Pens. I have used a combination of Blushing Bride, Marina Mist & Pear Pizzaz.

Stampin up has done all the hard work for you by adding accent lines to guide you on where to add the accent colour.
I found it best to use the Brush Tip for this, and the photo below is probably the best one to show you where the accesnt colour goes. Keep a very light hand when colouring and your will get a subtle accent that looks sublime.
Add a few stamped hearts (also from the Big News Stamp Set)
The tag below I added some Stacked With Love Washi Tape
Once you have finished with your colouring and Stamping, thread through some ribbon and Venetian Crochet Trim.
Secure with some Linen Thread and a Clothespin.
A perfect tag to use for your very own Homemade Wedding!

If you
would like to join my Pinterest community board where you will be able to post
your own Stampin Up creations. Simply email me and I will add you to the board
kim@stampinupatthewarren.com
If you would like
to ask any questions on techniques or products, or anything else related to my
blog posts, please feel free to ask away
Happy Stamping
Kim xxx
Contact me to
order:
Telephone/Txt:
07759587004
Email: kim@stampinupatthewarren.com
Or Order
Online 24/7
Or Click on the
image of the products used below and it will take you straight to my online
store
 |  |  |  |  |
 |  |  |  |  |
 |  |  |  |  |
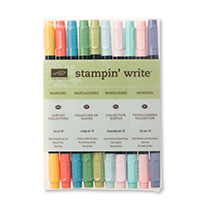 | 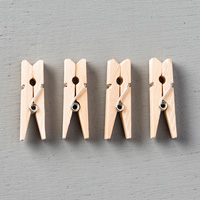 |
Table built using Product Table Builder by The Crafty Owl - Independent Stampin' Up! Demonstrator.