
Today we are going back to Butterfly Basics!
And us girls do love the Butterflies, don't we?
Before we start, here is your supplies list
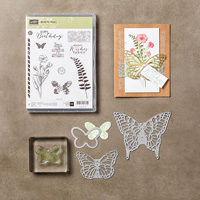
Stamp Set
Butterfly Basics
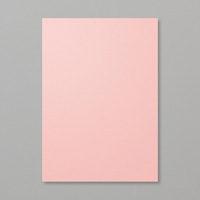
Cardstock:
Whisper White
Marina Mist
Soft Sky
Blushing Bridge
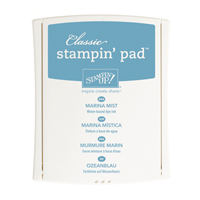
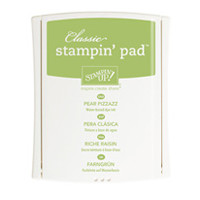
Classic Ink Pads:
Marina Mist
Blushing Bride
Pear Pizzaz
Basic Black
Punches:
3/4" Circle
2 1/2" Circle
Large Scallop Circle
Scallop Border
Bitty Butterfly
Die:
Butterfly Framelits
Adhesives
Tombow Multi-Purpose Liquid Glue
Stampin Dimensionals
Glue Dots
Tools:
Big Shot with Magnetic Platform

Begin by trimming a piece of Marina Mist cardstock to 14.3 cms x 10 cms
Then trim a piece of Whisper White cardstock to 13.8 cms x 9.5 cms
Using the Broken line stamp and Marina Mist ink, stamp a couple of horizontal lines just above the middle of the card front.
Next, using Pear Pizzazz ink, stamp the ferm a couple of times to the middle/upper section of the card front using 1st & 2nd generation stamping technique.
Now stamp the butterfly using Blushing Bride ink and die cut using your Big Shot.
Punch a 2 1/2" circle from Soft Sky cardstock
Punch the large scallop circle from Whisper White cardstock
Stamp the butterfly on the scallop circle using Blushing Bride Ink
Overstamp this with the Sentiment in Basic Black ink.
Stamp the post mark stamp in Basic Black ink onto Whisper White cardstock, Punch this out using the 3/4" circle punch.
Trim a piece of Whisper White Cardstock to 2cms x 14.3cms and stamp with the honeycomb stamp in Blushing Bride ink, using first and second generation stamping.
Trim a piece of Blushing Bride Cardstock to 2.5cms x 14.3cms & punch both of the long side using the Scallop Border Punch.

Now it is a matter of assembly
First, mount the Honeycomb panel on top of the scallop strip and mount that onto the card from on the left hand side.
Mount the Sentiment Stamped Scallop Circle on top of the Soft Sky Circle using Stampin Dimensionals, and then mount this so it overlaps the scallop trim on the left hand side of the card front, again using Stampin Dimensionals.
Mount the Butterfly over the 2 marina mist lines using Glue Dots and add 3 Basic Rhinestones
Finally, stamp the small butterfly stamp onto Whisper White cardstock using Marina Mist ink, and punch using the Bitty Butterfly Punch and mount it so it appears to have just landed on the fern. Add a Basic Rhinestone

If you
would like to join my Pinterest community board where you will be able to post
your own Stampin Up creations. Simply email me and I will add you to the board
If you would like
to ask any questions on techniques or products, or anything else related to my
blog posts, please feel free to ask away
Happy Stamping
Kim xxx
Contact me to
order:
Telephone/Txt:
07759587004
Email: kim@stampinupatthewarren.com
Or Order
Online 24/7
Or Click on the
image of the products used below and it will take you straight to my online
store
 |  |  |  |  |
 |  |  |  |  |
 |  |  |  |  |
 |  |  |  |  |
 |  |  |
Table built using Product Table Builder by The Crafty Owl - Independent Stampin' Up! Demonstrator.


No comments:
Post a Comment