Welcome back for todays Stamp Set Showcase using the
BRIGHT & BEAUTIFUL
Stamp Set
And today we are going with ice blues for those star twinkling skies

You know the score by now (excuse the pun) bu making your card blank by trimming A4 piece of Whilsper White cardstock to 15cms x 30cms. Score the long side at 15cms, fold along the score line and burnish with your bone folder and put to one side,

Trim another piece of Whisper White cardstock ro 14.5cms x 14.5cms. Using Island Indigo Ink, stamp the sentiment of your choice in the top left corner.
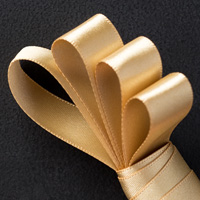
Wrap around a piece of 5/8" Organza Ribbon and tie a bow.
Now for some heat embossing.
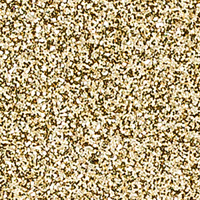
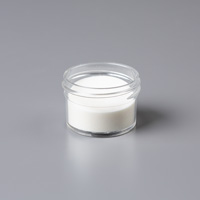
Using Versamark ink randomly stamp the cardstock with a combination of the small and medium stars from the stamp set. Sprinkle with Silver embossing powder, shake off the excess and give a sharp rap in the back to remove any loose embossing powder. Heat set using your Heat Tool.
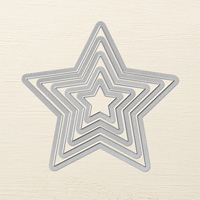
Next, on a separate piece of A4 cardstock, stamp all three of the stamps in Versamark ink, leaving enough space to allow for die cutting these out using the Stars Framelits.
Sprinkle with Silver Embossing Powder and heat set as above.
Before die cutting them, you need to sponge them as follows:
Largest star - sponge with Bermuda Bay ink
Medium Star - sponge with Coastal Cabana ink
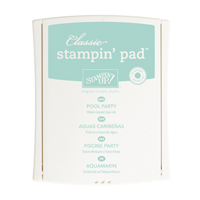
Smallest Star - sponge with Pool Party ink
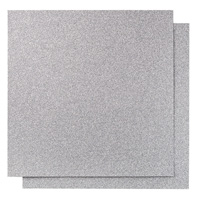
Die cut the largest star in the Framelits collection from Silver Glimmer cardstock.
Die cut the stars, and then ink the edges of the cardstock using a sponge dauber and Silver Encore ink
Stack all the stars one on top of the other adding Stampin Dimensionals between each star, add a Basic Rhinestone to the centre of the smallest star.
and
TaDah! All done - Easy huh?
But your family and friends are going to :Love It!

If you
would like to join my community board on my Pinterest account to post your own
photo's
ping me
your email address and I will add you
kim@stampinupatthewarren.com
If you would like
to ask any questions on techniques or products, or anything else related to my
blog posts, please feel free to ask away
Happy Stamping
Kim xxx
Contact me to
order:
Telephone/Txt:
07759587004
Email: kim@stampinupatthewarren.com
Or Order
Online 24/7
Or Click on the
image of the products used below and it will take you straight to my online
store
 |  |  |  |  |
 |  |  |  |  |
 |  |  |  |  |
 |  |  |  |  |
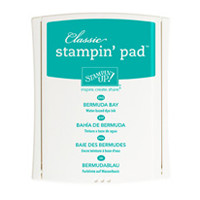 |  |
Table built using Product Table Builder by The Crafty Owl - Independent Stampin' Up! Demonstrator.