
Good Day to you all, and I must apologise for being a day late getting today's blog.
After losing a whole nights sleep the day before yesterday, I sat down to type up this blog at 11pm, and found myself waking up at 2am having fallen asleep with my finger still on the keyboard with hundreds and thousands of GGGGGGGGGGGGGGGGGGGGGGGGGGGGGGGGGGGGGGGGGGGGGGGGGGGGGGGGGGGGGGGGGGGGGGGGGGGGGGGGGGGGGGGGGGGGGGGGGGGGGGGGGGGGGGGGGG ... on my screen. I was so exhausted, that I could not bear the thought of trying to remove 3 hours of GGGGGGGGGGGGGGGGGGGGGGGGGGGGGGGGGGGGGGGGGGGGGGGGG's and so went to bed and slept like a baby, waking at 6am today as we were going out for the day.
I have now removed all but one of those G's and now making my second attempt to deliver my blog to you all ... but if you see thousands and thousands of G's again, you know I have fallen asleep again! ... so keep everything crossed for me he he
So this weeks Showcase is ...
So Drum Roll Please .......
HOLIDAY HOME
This is a fab Stamp Set from the 2014/15 Seasonal (Christmas) Catalogue
But this stamp set (and co-ordinating Framelits Die) is much more than a Christmas Stamp Set and I hope this week will demonstrate how versatile this set can be in your craft collection
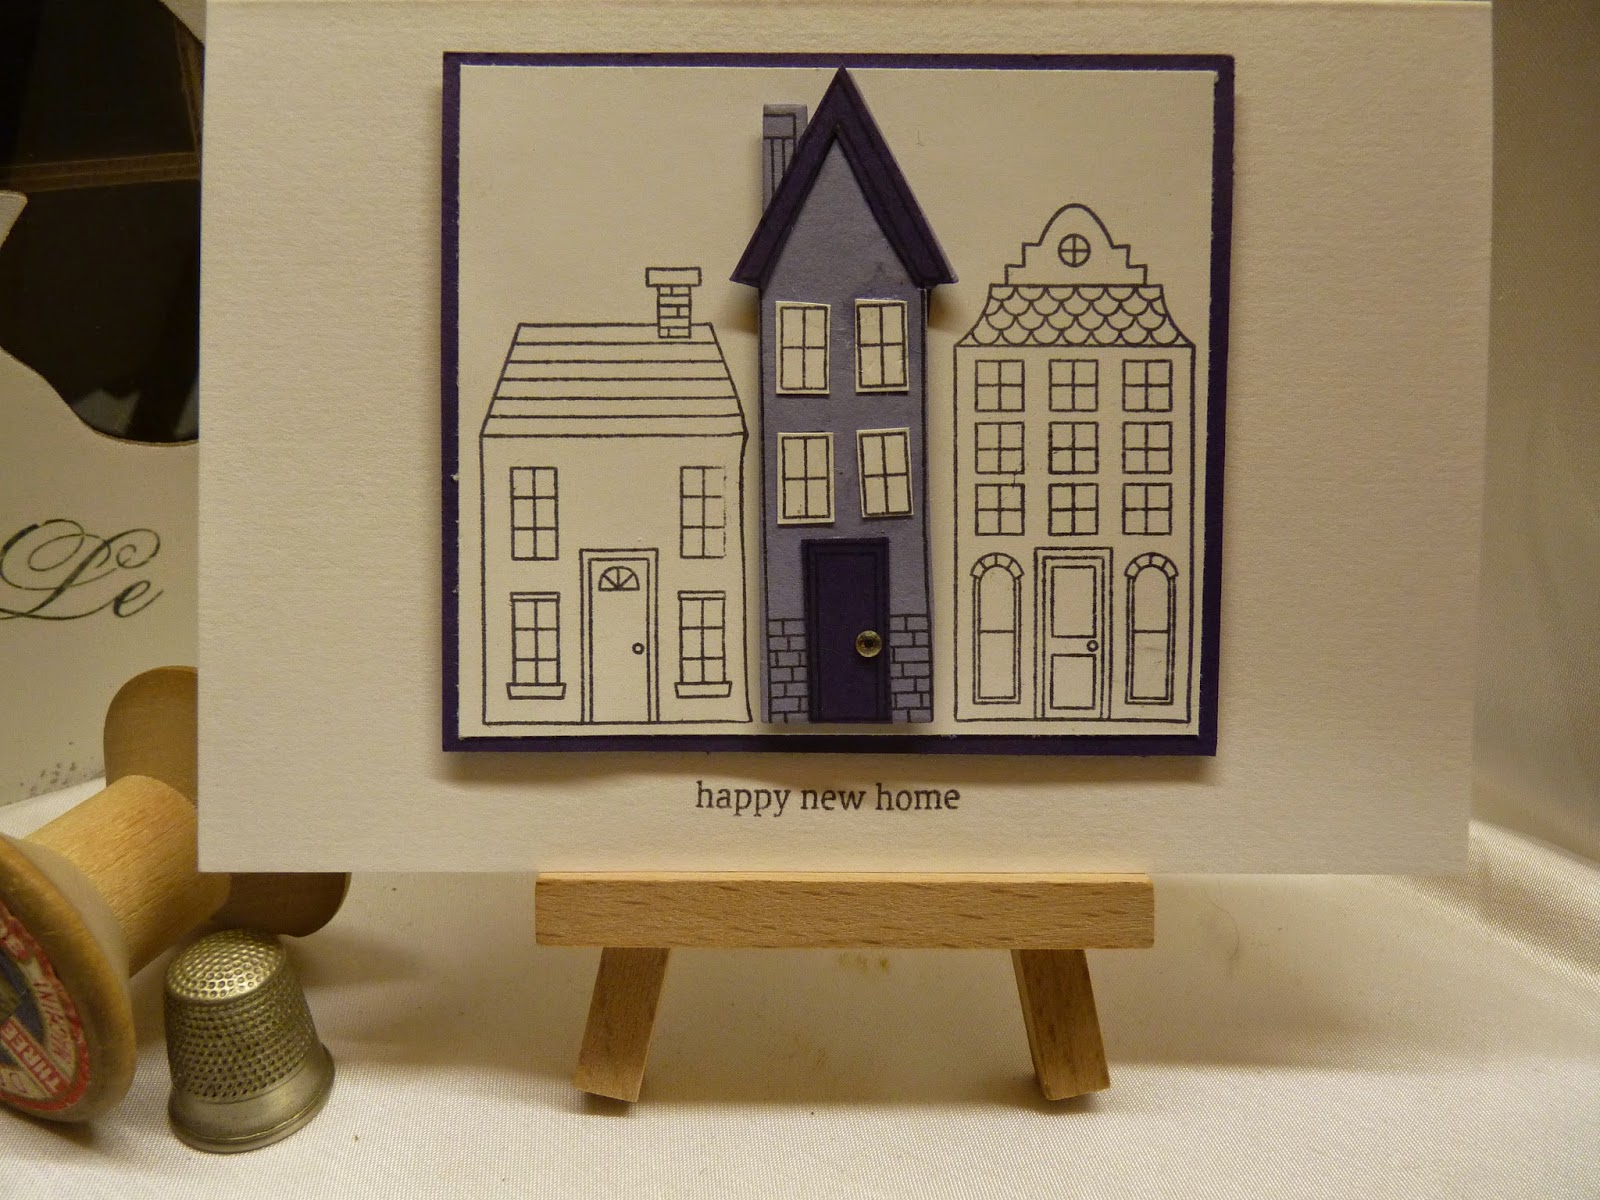
To kick the week off we have a New Home card
the sentiment is part of this photo-polymer stamp set.
Photo-polymer stamps are a fairly recent addition to the Stampin Up! Catalogue.
They are cheaper than their Clear Stamps and their Wood Mounted Stamps, meaning you can buy more stamps for your money, you can also see what and where you are stamping
The photo-polymer does stain on the raised stamp image, but this is normal and does not interfere with the stamps usability.

Today's card is a fairly quick and simple card with a quick bit of stamping, a little die cutting and some paper piecing
Begin by making your A6 card blank by trimming a piece of Whisper White cardstock to 14.8cms x 21cms
Score the long side at 10.5cms, fold along the score line and create a nice crisp edge by using your bone folder along the fold., put to one side to prevent contamination of your card blank from inks.
Next trim a piece of Whisper White cardstock to 9cms x 7.8cms
Mount the 3 House stamps onto an acrylic block in the order of your choice.
Using Black Stazon ink, stamp onto the Whisper White cardstock you have just trimmed to size.
Stamp the centre house again onto a scrap piece of Whisper White cardstock & Die cut using the co-ordinating Framelits
Stamp two more center houses onto, one onto each of the following cardstock:
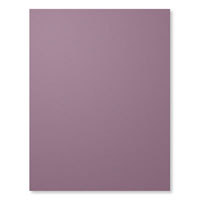
Perfect Plum cardstock
Elegant Eggplant cardstock
Die cut this also
Using your Paper Snips, cut out the windows on the whisper white cardstock, and the eaves of the roof and the door in the Perfect Plum
Using Stampin Dimensionals, attach the Perfect Plum house on to p of the house on the first Whisper White panel you stamped using Stampin Dimensionals to pop it up.
Add the windows, roof eaves and door that you have cut out.
Use your piercing tool to make a hole where the door at the door knob, and add a mini silver brad.
Mount this panel on a piece of Elegant Eggplant cardstock measuring 9.2cms x 8.3cms using a little Tombow MP glue.
Attach Stampin Dimensionals to the back of this panel, and attach to your card blank,
Finally, you need to stamp your sentiment of choice directly onto the card blank using Elegant Eggplant ink.

If you have
any questions on techniques, orders, products etc., please ask away by adding
comments below, or you can contact me via:-
Email: kim@stampinupatthewarren.com
Telephone/Text:07759587004
OR
Order Online
24/7 @ http://www.stampinupatthewarren.stampinup.net
Or simply click on the images below showing the products used for today's card and it will take you straight to my online store
Or simply click on the images below showing the products used for today's card and it will take you straight to my online store
 |  |  |  |  |
 |  |  |  |  |
 |  |  |  |  |
 | 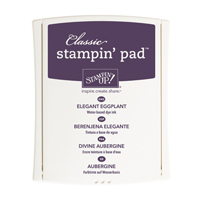 |
Table built using Product Table Builder by The Crafty Owl - Independent Stampin' Up! Demonstrator.


No comments:
Post a Comment