Today see's the first of the THANK YOU ideas.
I made this tag to be tied around a bouquet of flowers given as a special thank you for a Christmas Gift or thoughtfulness
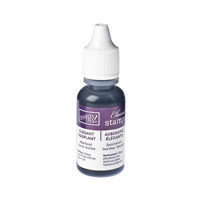
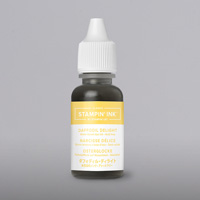
It uses the baby Wipe Ink Pad technique and the result is quite striking by using a combination of Elegant Eggplant, Daffodil Delight & Pumpkin Pie re-inkers
This could easily b made into a thank you card, by mounting the tag onto a card blank in Landscape orientation, and popping the tag up using Stampin Dimensionals.

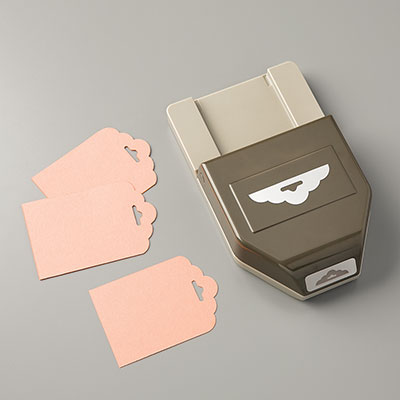
To make this tag, trim a piece of Elegant Eggplant cardstock to 6 cms x 14 cms
Mark the centre of the short edge and insert into the Tag Topper Punch, by slipping the cardstock over the top of the guide (the cardstock is wider than the guide for the punch), and punch
Round off where there is some excess cardstock on each side by the tag top.
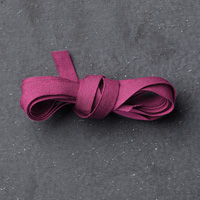
Insert a piece of Pumpkin Pie Chevron Ribbon through the tag top. Secure this with a piece of 2/8" Pumpkin Pie Taffetta Ribbon, and tie in a bow.

Next, trim a piece of Whisper White cardstock to 5 cms x 11 cms
Punch the short edge of the cardstock with the Spiral Border Punch
Now for the baby wipes.
I use old stamp set cases or old DVD cases to make my 'ink pad'.
Pop a couple of baby wipes into a plastic container that is large enough to take the stamp and it's acrylic or wood block.
Use the Elegant Eggplant re-inker, cover and area to take the THANKS section of the stamp.
Then use the other two re-inkers to put colour in the surrounding areas, giving patches of each colour, that will also blend into one another. I give just a light misting of water and leave the inks to blend for a couple of minutes, and then you are good to go. Do practice using some scrap or grid paper , making sure you clean the stamp between each inking. Once you are happy, stamp the Whisper White cardstock,
Adhere to the tag using a little Tombow Multi-Purpose Glue
Add some basic Rhinestones for some added bling and you are good to go!

If you would like
to ask any questions on techniques or products, or anything else related to my
blog posts, please feel free to ask away
Happy Stamping
Kim xxx
Contact me to order:
Telephone/Txt:
07759587004
Email: kim@stampinupatthewarren.com
Or Order
Online 24/7
Or Click on the
image of the products used below and it will take you straight to my online
store
 |  |  |  |  |
 |  |  |  |  |
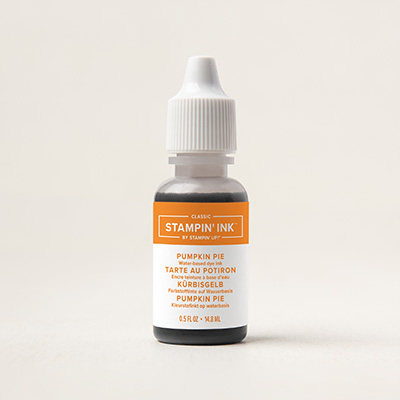 | 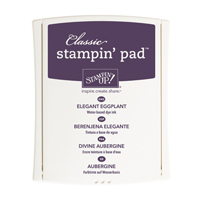 |
Table built using Product Table Builder by The Crafty Owl - Independent Stampin' Up! Demonstrator.