google-site-verification: google70410e9e92d4fda2.html
Showing posts with label my digital studio. Show all posts

Wednesday, 21 January 2015

Sale A Bration Week 3 Day 3

Today is a Day for the Men in your life!

I still struggle coming up with ideas for masculine cards, and I have loved the more masculine stamps that Stampin Up have offered, but the feminine stamps still outway the more masculine
But I was delighted with the stamp sets that were maculine or unisex in this years Seasonal Catalogue
But this set HAS to be my favourite from these offerings

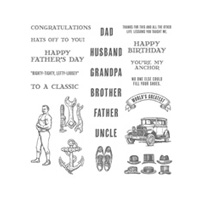
GUY GREETINGS Stamp Sets
coupled with 
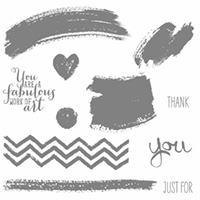
A WORK OF ART Stamp Set

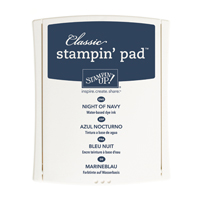
I have gone with a combination of the following ink pads and cardstock:

Night of Navy
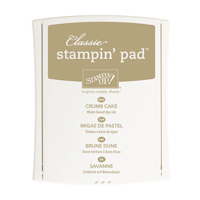
Crumb Cake


The largest layer was stamped with the arching brush stroke stamp from Work of Art in both inks
The middle sizes layer uses the chevron stamp from Work of Art, again using both colours f ink
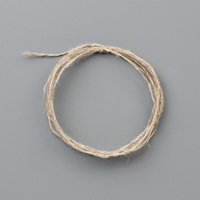
And the smallest layer was stamped with Night of Navy ink, with some Linen Thread and an Antique Brad,

The Stamped Whisper White layers were all mat'd (layered) onto Night of Navy cardstock, layering up in an asymmetrical manner.


I will be using somd of the other stamps in the stamp set in the coming days and weeks


Example Bundle to qualify for a 
Free Exclusive Stampin Up Sale A Bration Product

Guy Greetings Stamp Set  (photo-polymer)
Work of ArtStamp Set  (clear)
Antique Brads
Total £49.40

If you would like to join my Pinterest community board where you will be able to post your own Stampin Up creations. Simply email me and I will add you to the board


If you would like to ask any questions on techniques or products, or anything else related to my blog posts, please feel free to ask away

Happy Stamping
Kim xxx

Contact me to order:
Telephone/Txt: 07759587004

Or Order Online 24/7
                                                                                               
Or Click on the image of the products used below and it will take you straight to my online store
Table built using Product Table Builder by The Crafty Owl - Independent Stampin' Up! Demonstrator.


PRODUCT OF THE WEEK

Lotus Blossom Stamp Set #139143:
This gorgeous stamp set makes anyone feel like an artist in three quick steps. It creates a beautiful flower that looks painted, but it is amazingly easy. The individual stamps have a tab at the top to help you align them, and the tabs are numbered so you will know which part of the flower to stamp first, second, and third. Try playing around using one ink pad with the stamping off technique, or multiple different ink pads to create many different looks.


Friday, 16 January 2015

Sale A Bration 2015 Week 2 Day 5

Today I have a little Paper Piecing with a little stamping to finish

I hope you enjoy making your own version of this card
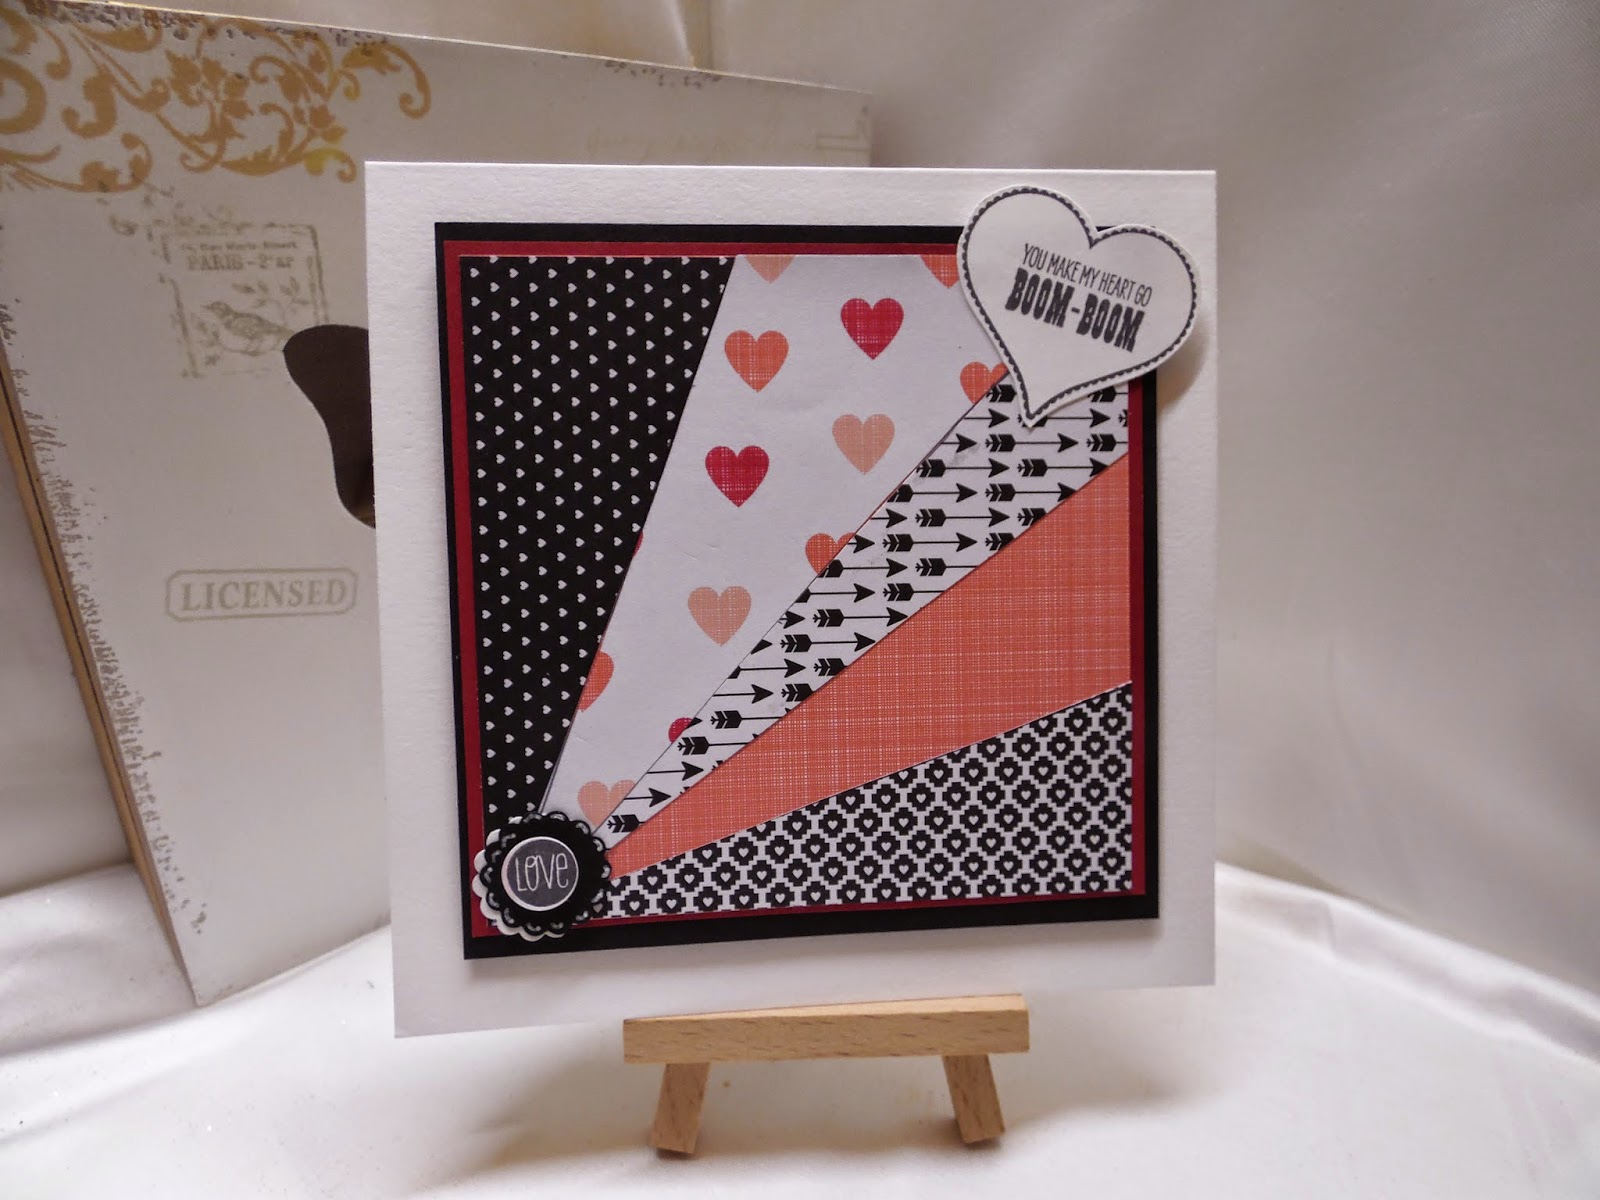
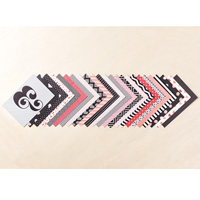
I have used the Stacked with Love Designer Series Paper (DSP) Stack from the Spring/Summer Catalogue using shades of

Cherry Cobler, Real Red and Basic Black.


To recreate the Panesl, you will need to trim  5 pices of DSP to 12cms x 12 cms (use reversible papers to minimise wastage.

Use a pencil to mark the right had side  edge of each piece at 4cms & 8.8cms
Mark the top edge at 4.8cms & 22.2 cms
Draw a line from each mark to the bottom left corder of the DSP
Cut along the pencil lines.


Trim a piece of Cherry Cobbler cardstock to 12.5cms x 12.5cms and put the DSP square back together again, using a different piece of patterned paper for each segment (this will allow you to make 5 cards really quickly)
I used small amounts of Tombow Multipurpose Glue to adhere the panels to the cardstock.
Once finished, Mat the onto a 13cm x 13cm piece of Basic Black cardstock.

The stamp set GROOVY LOVE is only available via my online store or by contacting me in person (see details futher down this blog post)

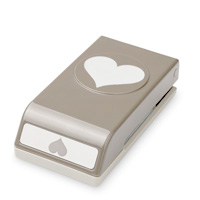
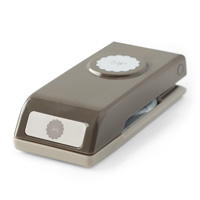
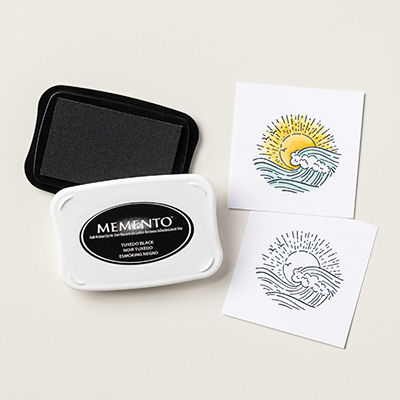
I used my Stamp A Ma Jig to get good alignment  for stamping the sentiment in the heart, I stamped the Open Heart first onto Whisper White Cardstock using Memento Black Ink and then used the Stamp A Ma Jig to place the sentiment inside the heart. Punch the heart using the Sweetheart Punch
Finally, I stamped the small circular LOVE stamp onto Whisper White cardstock using Black in also. I punched out the LOVE using the 1/2" circle Punch, Punch a 7/8" scallop circle from black cardstock and mount that teeny Love sentiment onto the scallop circle, and punch that up on a dimensional too and pop the layered sentiment in the bottom left hand corner.
Now go have some fun with this yourself!


 If you would like to join my Pinterest community board where you will be able to post your own Stampin Up creations. Simply email me and I will add you to the board

If you would like to ask any questions on techniques or products, or anything else related to my blog posts, please feel free to ask away
Happy Stamping
Kim xxx

Contact me to order:
Telephone/Txt: 07759587004
Email: kim@stampinupatthewarren.com

Or Order Online 24/7
                                                                                               
Or Click on the image of the products used below and it will take you straight to my online store
Table built using Product Table Builder by The Crafty Owl - Independent Stampin' Up! Demonstrator.


Thursday, 15 January 2015

Sale A Bration 2015 Week 2 Day 4

Today I have another loved up card creation featuring:

Stacked with Love DSP Stack
Confetti Heart Border Punch
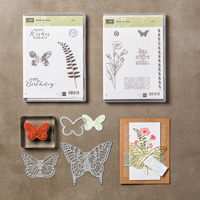
Butterfly Basics Stamp Set & Butterfly Thinlets Dies
Artisan Embellishment Kit


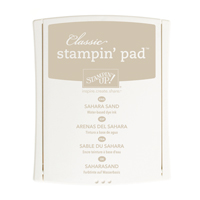
I randomly stamped the honeycomb stamp from Butterfly Basics stamp set using Sahara Sand ink, and matted this onto Soft Suede cardstock

I then made a diagonal Stripe using the Stacked with Love DSP Stack

I used the same ink and honecombe stamp to create the smaller square, which was also matted onto Soft Suede cardstock.

Finally, I stamped the sentiment and die cut it using the Bitty Banners thinlets, and added some Linen Thread to embellish, plus a small metal button from the Artisan Embellishment Kit
I stamped the smaller butterfly (from the Butterfly Basics stamp set) and die cut it using the Butterfly thinlets dies.


Attach the butterfly and the die cut sentiment using the Bitty Banner thinlets.

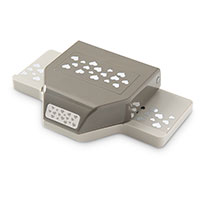
I had a curved piece of Soft Suede cardstock that I had die cut and punched with the Confetti Hearts border punch, and decided to add it to the botton edge of the card. I think it works well? I then used the Banner Punch) using scraps of the DSP
And there we have it! ...


If you would like to join my Pinterest community board where you will be able to post your own Stampin Up creations. Simply email me and I will add you to the board


If you would like to ask any questions on techniques or products, or anything else related to my blog posts, please feel free to ask away

Happy Stamping
Kim xxx

Contact me to order:
Telephone/Txt: 07759587004
Email: kim@stampinupatthewarren.com

Or Order Online 24/7
                                                                                               
Or Click on the image of the products used below and it will take you straight to my online store
Table built using Product Table Builder by The Crafty Owl - Independent Stampin' Up! Demonstrator.