I hope you are having a Super Sunday, because I have a Sweet & Sassy Watercolour Card for you today!
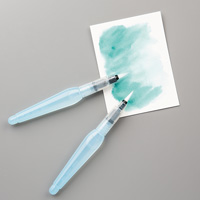
I will be showing you how to use Shimmery White Cardstock with an aquapainter to give you a very pretty watercolour Card without the need for Watercolour Paper
The three main elements is the Birthday Blooms Stamp Set with the Watercolour Technique
Second is the Die Cutting using the Sweet & Sassy Framelits Die
& Thirdly, is the Dry Embossing with either the Happy Hearts, or the Fluttering Textured Impressions Embossing Folder (TIEF)

Tutorial

Kim Tolton, Independent Stampin Up Demonstrator.
I will be showing you how to use Shimmery White Cardstock with an aquapainter to give you a very pretty watercolour Card without the need for Watercolour Paper
The three main elements is the Birthday Blooms Stamp Set with the Watercolour Technique
Second is the Die Cutting using the Sweet & Sassy Framelits Die
& Thirdly, is the Dry Embossing with either the Happy Hearts, or the Fluttering Textured Impressions Embossing Folder (TIEF)

Feel free to CASE any of my creative projects (Copy & Paste Everything)
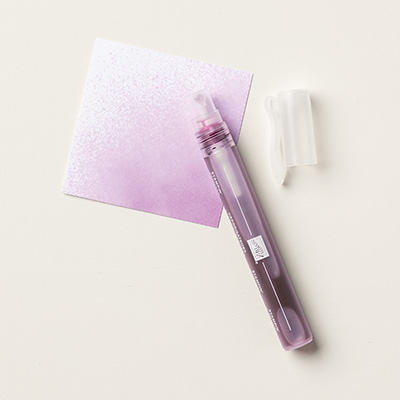
Click on the icons below to view/order any of the products used in today's tutor
 |  |  |  |  |  |
 |  |  |  |  |  |
 |  |  |  |  |  |
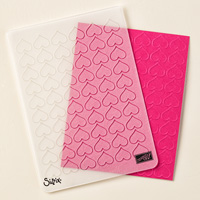 |  |  |  |
Table built using Product Table Builder by The Crafty Owl - Independent Stampin' Up! Demonstrator.
Tutorial
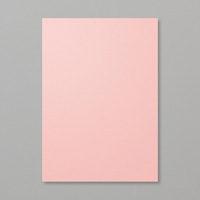
- Trim a piece of Rich Razzelberry Cardstock to 30 x 10.5 cms; score at 14.8 cms; fold & Burnish
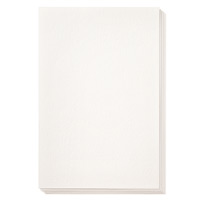
- Trim a piece of Shimmery White Cardstock to 14.4 x 10.1 cms.
- Using Archival Black Ink Pad, Randomly Stamp the Birthday Blooms stamp, so there is some of the image on all 4 sides, Allow the ink to dry
- Gently add a little water using the aquapainter to each of the areas that will be coloured in,
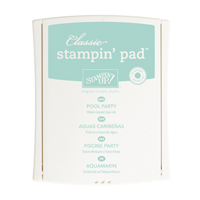
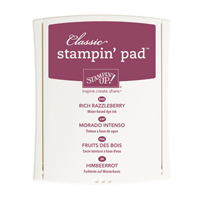
- Using the Rich Razzelberry Ink Pad, squeeze to transfer the ink from the ink pad into the well.
- Pick up small amounts of the ink and paint all the flowers
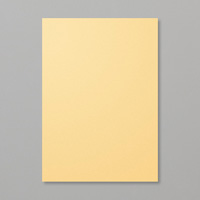
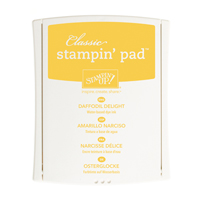
- Repeat the process with Old Olive ink pad for the leaves; and Daffodil Delight ink for the stamens.
- Leave the cardstock to dry
- Stamp your sentiment onto a smaller piece of Shimmery White Cardstock using Archival Black ink, and create banner ends using Paper Snips.
- Using a scrap of Old Olive Cardstock, die cut a heart, and then change to the Multipurpose Platform, and dry emboss the heart using the Happy Hearts Textured Impressions Embossing Folder (TIEF)
- Now for the assembly. Wrap around some Melon Mambo Thick Bakers Twine and tie a bow. Add stampin Dimensionals to the back of the stamped cardstock and mat onto the card base.
- Mount the heart onto the card front using Stampin Dimensionals and finally, add some Stampin Dimensionals to the back of the sentiment label and mat onto the heart.
Watch the Video Below
How to Contact or Follow Me

Card & Papercraft Tutorials
Please feel free to comment below, and ask away with any questions. You can also find me via the links below
Blog:
Online Store:
Stamping @ The Warren Craft Forum:
Email:
kim.tolton@googlemail.com
youTube
Pinterest:
Google +
Facebook:
Twittert:
Instagram:
@kim.tolton
LinkedIn: