
I hope you are having a good day? I certainly am, and I want to share with you a card I made this-morning. It uses one of the stamp sets that will be rolling over from the current Seasonal Spring/Summer Stampin' Up! Catalogue into the new Annual Catalogue that launches 1st June. So until the new catalogue launches, you can order via the seasonal catalogue. If you do not have the seasonal catalogue, and you live in the UH,, just email me your address details and I will get one out to you (while my stocks last)
Alternatively, you can view or order the products via my on Online Store

You can also click on the icons below to view/order any of the products used in today's tutor


Watch the Video Below
Tutorial
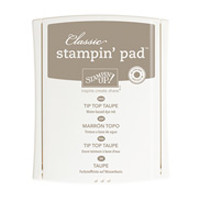
- Make your card base using a piece of Tip Top Taupe Cardstock to 3. x 10.5 cms; score at 14.9 cms; fold and burnish
- Trim a piece of Very Vanilla Cardstock to 14.4 x 10.1 cms
- Using Tip Top Taupe Ink Pad, stamp thesand dunes' in the top third of the card
- Using Mint Macaron ink pad, and a wedge of Stampin Sponge, Sponge the sky, over the sand dune image
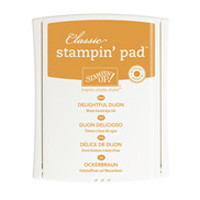
- Using anther wedge of sponge, use Delightful Dijon Ink Pad to sponge the bottom 2 thirds of the panel to create the sand, leaving a white section running at an angle (to create the light/.shade from the sun); Mat onto your card front using Fast Fuse, Tombow or Tear & Tape Adhesive
- Trim a piece of 2015-2017 In Colour Designer Series Paper to 10.1 x 5 cms and mat onto the bottom third of the card front
- Trim a piece of Tip Top Taupe Cardstock to 10 x 2 cms, stamp the sentiment using Chocolate Chip Ink Pad, placing the image toward to right hand side of the cardstock, but leaving space to create a banner end
- Using Paper Snips, make banner end on the right hand side of the sentiment strip & adhere onto the card front
- Die cut a square of Very Vanilla Cardstock using the Layering Squares Framelits Dies (it needs to be small enough that the square once in place, doesn't obscure the sentiment)
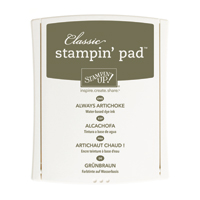
- Stamp the Flower Stamp onto the die cut square using Always Artichoke Ink Pad
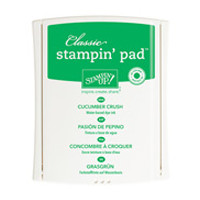
- Sponge the edges lightly using another wedge of Stampin sponge and Cucumber Crush Ink Pad; Apply Stampin Dimensionals to the back of the die cut and mount onto the left hand side of the card front, overlapping the sentiment banner
Feel free to CASE any of my creative projects (Copy & Paste Everything)


How to Contact or Follow Me
Kim Tolton, Independent Stampin Up Demonstrator.
Card & Papercraft Tutorials
Please feel free to comment below, and ask away with any questions. You can also find me via the links below
Blog:
Online Store:
Stamping @ The Warren Craft Forum:
Email:
kim.tolton@googlemail.com
youTube
Pinterest:
Google +
Facebook:
Twittert:
Instagram:
@kim.tolton
LinkedIn:
No comments:
Post a Comment