Saying goodbye when you lose a special friend or family member (they are the same to me as friends are my chosen family) is always difficult.
How do you find the right words to say, when you are feeling that loss too.
What do I do, I make a card that captures the essence of the person I am saying goodbye to.
Those of you that follow my blog, will also have seen the card I made for my friend who was losing his 'second mother', and He happens to be a gardener.
He spent many hours at my friends, and the garden was a passion they both enjoyed.
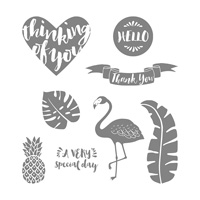
So I decided to use the HOPEFUL THOUGHTS STAMP SET
Since my fiend loved the colours that come with the changing seasons, I tried to embody that feeling in this card
I used second generation stamping technique (this is the amount of times you stamp the image before re-inking the stamp). I also inverted the stamp image for the bottom section of the card
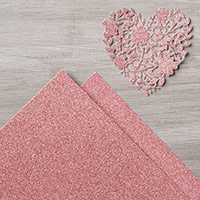
The final touch, was some d Dazzling Diamonds Glimmer Paper. Anne loved some subtle bling
Just start following the board, and so long as I can see you have an interest in papercraft, I will send you an invitation to start posting your own card & papercraft creations

STAMP SET
HOPEFUL THOUGHTS
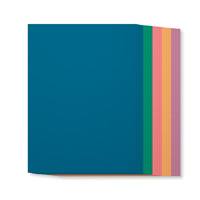
CARDSTOCK
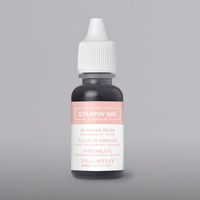
BLUSHING BRIDE
MACARON
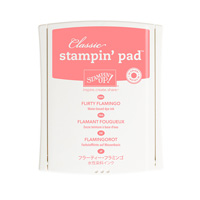
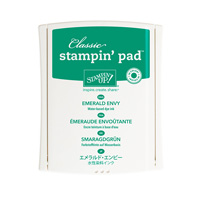
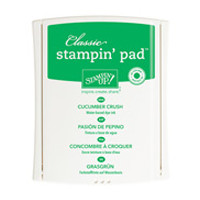
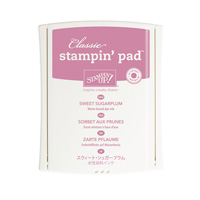
INK PADS
SOFT SUEDE
SPECIALTY PAPER
DAZZLING DIAMONDS GLIMMER PAPER
TOOLS
STAMPIN TRIMMER
BONE FOLDER
ADHESIVESS
TOMBOW MULTIPURPOSE LIQUID GLUE
FINE TIP GLUE PEN

·
Feel free to CASE any of my creative projects (Copy & Paste Everything)
Tutorial
- Trim an A4 piece of Blushing Bride cardstock in half at 10.5 cms;score at 14.9 cms; fold & burnish
- Randomly stamp the panel using Soft Suede Ink Pad & second generation stamping technique, and invert the stamp for the bottom edge of the card to create the effect of fallen leaves beneath the tree
- Trim a piece of Mint Macaron Cardstock to 7,5 cms and stamp the tree and sentiment(s) using Soft Suede Ink Pad; mount onto the centre section of the card Base
- Trim two pieces of Dazzling Diamonds Glimmer Paper to 10.5 x 1 cms and attatch one at the top and bottom of the Mint Macaron Cardstock using a little Tombow or Fine Tip glue Pen
How to Contact or Follow Me
Kim Tolton, Independent Stampin Up Demonstrator.
Card & Papercraft Tutorials
Please feel free to comment below, and ask away with any questions. You can also find me via the links below
Blog:
Online Store:
Stamping @ The Warren Craft Forum:
Email:
kim.tolton@googlemail.com
youTube
Pinterest:
Google +
Facebook:
Twitter:
Instagram:
@kim.tolton
LinkedIn: