The card I am sharing with you today is the card I made for my husband as it is his 53rd Birthday Today.
But instead of an easy, carefree day, poor Steve has been looking after me as I have full blown Influenza and I feel like death warmed up, and every bone and muscle in my body is screaming out in pain! urgh ... cough cough, splatter splatter ....
So as I type from my laptop, I am going to keep things quick and simple
Fortunately, I had made my hubbies card well in advance and already uploaded the images to blogger.

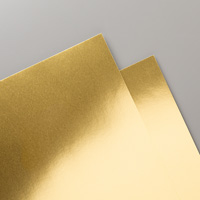
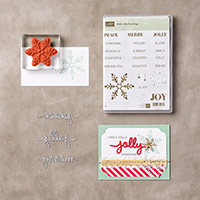
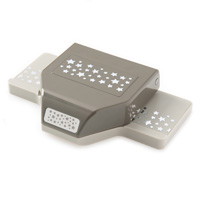
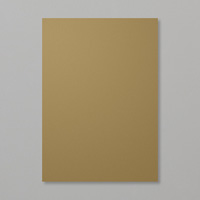
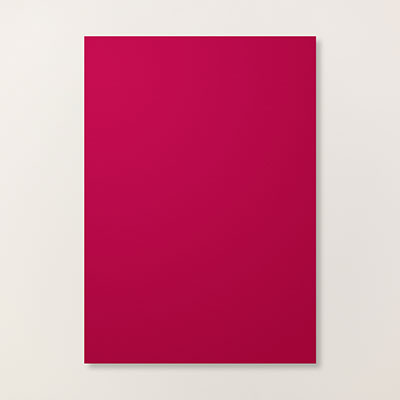
So, here are the products I used in making today's card
click on the product icons below to view/order them via my online store 24/7
 |  |  |  |  |
 |  |  |  |  |
 |  |  |  |  |
 |  |  |  |  |
 |

- begin by making your card base by trimming a piece of Thicker Whisper White Cardstock to 15 cms x 15 cms, score the long side using either the scoring blade on your Stampin Trimmer, or your Simply Scored Tool at 15 cms.
- Randomly stamp
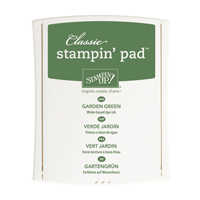
- Trim a piece of Whisper White Cardstock to 13 cms x 13 cms and randomly stamp the panel using the Gorgeous Grunge Stamp set (splatter stamps) using a combination of Night of Navy and Garden Green Classic Ink PAds.
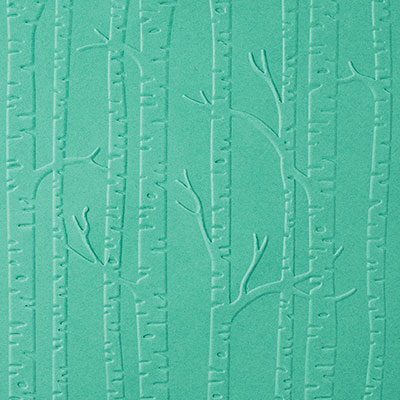
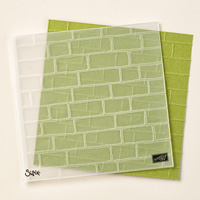
- Dry Emboss the panel using the Brick Wall Textured Impressions Embossing Folder (TIEF) and your Big Shot.
- Cut your Stampin Sponge into 6 segments, and ink up one with Sahara Sand ink (Classic Ink Pad) and build the colour by adding extra in layers, and allowing the ink to dry between layers to avoid making the cardstock 'bobble'.
- Mat (layer) this panel onto a piece of Night of Navy Cardstock measuring 13.4 cms x 13.4 cms, using a couple of strips of Fast Fuse Adhesive.
- Add some Stampin Dimensionals (foam sticky pads) to the back of the Night of Navy Panel and adhere to the centre of your Card Base.
- Next stamp the large Birthday Sentiment from the Happy Birthday Everyone Stamp Set, onto a piece of Night of Navy Cardstock using Versamark Ink, Sprinkle with White Embossing Powder , remove the excess powder and heat set with your Heat Tool
- Die cut the sentiment using the best fitting Banner Framelit Die. Use the magnetic platform with your Big Shot for best results,
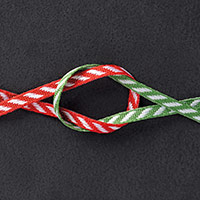
- Apply some Stampin Dimensionals to the back of the banner, & add some fast fuse adhesive to the centre of the back of the banner. Adhere some loops of Thicker Bakers Twine to the fast fuse adhesive on the back of the banner. I used some left over Thicker Bakers Twine from this years Sale A Bration, but there are 5 other colours to chose from in the current catalogue,
- Mount your banner onto your card front
- Finally Using Versamark Ink Pad, Stamp the 'to a wonderful man' stamp onto a scrap of Night of Navy Cardstock, sprinkle with White Embossing powder and heat set as before. Trim to size and mount onto your card front
- Finish with adding some Garden Green Candy Dots to the banner
- And that is it.
Just one final note, if there are any typo's or oddities, in today;'s post, please forgive me, and hope you can understand my meaning. I am hopeful that I will begin to feel a little better tomorrow

JOIN my Pinterest Community Board
Where you will be able to post your own
Stampin Up! Makes
Simply follow my
Community Pinterest Board
(See the left hand side
bar of this Blog)
And I will sent you
an invitation to start pinning
If you have any
questions on techniques, orders, products
OR
Joining my Team as an Independent Stampin
Up! Demonstrator
contact me via:-
Email me: kim@stampinupatthewarren.com
Text: 07759587004
Order Online 24/7
http://www.stampinup.net/esuite/home/stampinupatthewarren/