
You have gotten a rather premature view of my papercraft share for today
Yup, I hit PUBLISH before I had written anything he he
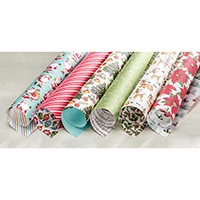
Anyhow, I have made 6 gift bags using the Gift Bag Punch Board
I purchased the punch board ages ago, intending to practice using it before the festive season was approaching, but I enjoy making cards SO much, that I kept putting it off
So today I set myself a mission, and that was to practice, practice and practice.
And my biggest tip to pass on to you regarding the Gift Bag Punch Board, is that if your Designer Series Paper (DSP) has a one way pattern, make sure you are punching the right end!!
I could try and blag my way out of my error on THREE occasions,, but I'm not going to ... but it was a faster way to getting different sized bags.
The Gift Bag Punch Board has full instructions, and you can always contact me for tips if you are struggling. But if you start with the 3 sizes (small, medium & Large), and you can adapt from there.
The great thing though, is that you can make your bag as long as the length of your DSP (i.e. 12" or 30 cms.
You will see all 6 bags over the next few weeks, some will be using retired products, and these were my prototypes, as I didn't want to make too many errors with my delightful Designer Series Papers from this year's Seasonal Catalogue.

But take into account the size of the bag, and/or the heavier the items inside the bag, will require cardstock and not DSP. But that's ok, as then you can stamp the bags!!
To Dress the bag, I have used some of that delightful retired Cherry Cobbler Ribbon
Thishas been on offer in the clearance rack, so if you are quick, you may still be able to grab yourself
a cheaper reel or two

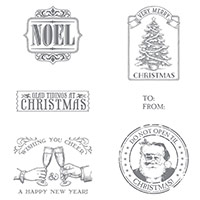
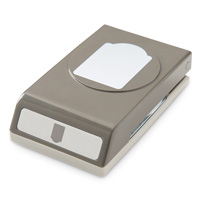
And todays beautiful Antique Stamp, was stamped using Mossy Meadow Classic Ink, and punched out using the co-ordinating Note Tag Punch, which makes short work of creating your bespoke handmade tags.
They are a great way to start crafting, as the stamps are easy to use and the matching punch can be used for multiple projects for that personal touch,
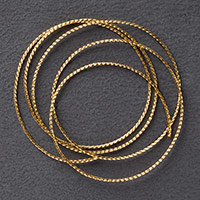
The tag was attached to the ribbon using some of that glorious Gold Cording Trim, tying s bow leaving long tails.
 |  |  |  |  |
 |  |  |  |  |
 |
Table built using Product Table Builder by The Crafty Owl - Independent Stampin' Up! Demonstrator.

Join my Pinterest community board,
where you can share your own Stampin Up Creations?
Follow the Pinterest Board on the left hand side
bar and I will send you an invitation to follow the Stampin Up! At The Warren
Community Pinterest Board
If you have any
questions on techniques or products, or Joining my Team/discussing the business
opportunities Stampin Up! Can offer
Contact Me
Or telephone/text
07759587004
Happy Stamping
Kim
xxx
Order your Craft
Supplies on line 24/7
http://www.stampinup.net/esuite/home/stampinupatthewarren/
No comments:
Post a Comment