Today I have a sunset snow scene to share with you
This has been made using a baby wipe and in refills
you will also need a pallette or an acrylic block
It is super Quick and super easy, and every time you use the technique, the effect will be different.
I have used the following inks:
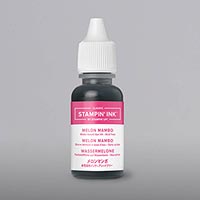
Melon Mambo
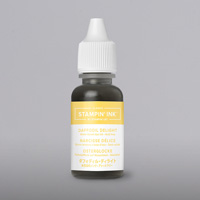
Daffodil Delight
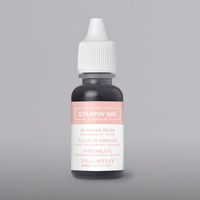
Blushing Bride
This has been combined with Smokey State, & Wishper White Cardstock
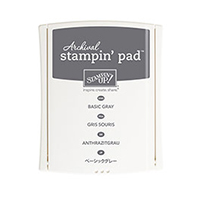
Plus the Archival Basic Grey Classic Ink Pad
to create this Happy Scene
And below are the products used to create todays card
Click on the product icons to view them in more detail and/or place an order via my online store
Table built using Product Table Builder by The Crafty Owl - Independent Stampin' Up! Demonstrator.
And here is the tutorial so you can CASE (copy & paste everything) this card if you so chose- Begin by making your card base by trimming a piece of Thicker A4 Whisper White Cardstock to 14.8 cms x 21 cms Score the long side (using the scoring blade on your Stampin Trimmer) at 10.5 cms
- Trim a piece of Smokey Slate cardstock to 14.4 cms x 10.1 cms
- Trim a piece of Whisper White Cardstock to 14 cms x 9.7 cms ... this is the panel you are going to be working on.
- Place a drop of each of the ink refills either into a Palette, or onto a an acrylic block, ensuring the inks do not mingle.
- Roll the baby sipe up into a sausage shape, fold in half, and then draw the baby wipe through the inks slowly so all the inks are absorbed.
- In a single motion, swipe the baby wipe across the panel in a wide arch
- Swipe residual ink on the baby swipe across some scrap Whisper White Cardstock
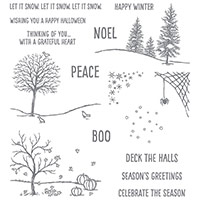
- Mount the Conifer Stamp onto an acrylic block and ink up with Basic Grey Classic Ink Pad and stamp onto the background, re-ink, and stamp again either further up or further down the panel to provide the impression of depth.
- Stamp the teeny stars in one top corner using Basic Grey ink.
- Mat (layer.mount) this panel onto the Smokey Slate panel you trimmed to size earlier, using Fast Fuse Adhesive.
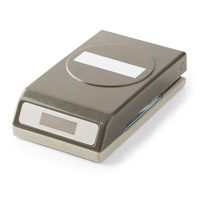
- Take the scrap paper you swiped with the residual inks, and punch a Washi Label ensuring the striped are vertical, and overstamp with your Christmas Sentiment.
- Punch 2 additional Washi Labels from Smokey Slate Cardstock, Cut one in half on the horizontal, and the other in half on the horizontal.
- Run a couple of strips of Fast Fuse Adhesive along the back of the inked cardstock, and adhere the two long strips of the washi label onto the back of the label leaving a 2mm (approx) vorder. Repeat with the opposite side.
- Apply some more Fast Fuse Adhesive to the back of the label, this time at either end, and attach the two serrated ends in place. Apply a couple of Stampin Dimensionals to the reverse of the label and attach it to the card front.
- Apply Fast Fuse Adhesive to the back of the card front and attach to your card base.
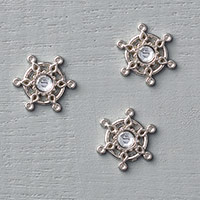
- Finish by adding a Winter Wonderland Embellishment and some tiny Basic Pearls and your card is complete.
Join my Pinterest community board,
where you can share your own Stampin Up Creations?
Follow the Pinterest Board on the left hand side
bar and I will send you an invitation to follow the Stampin Up! At The Warren
Community Pinterest Board
If you have any
questions on techniques or products, or Joining my Team/discussing the business
opportunities Stampin Up! Can offer
Contact Me
Or telephone/text
07759587004
Happy Stamping
Kim
xxx
Order your Craft
Supplies on line 24/7
http://www.stampinup.net/esuite/home/stampinupatthewarren/







No comments:
Post a Comment