google-site-verification: google70410e9e92d4fda2.html
Showing posts with label Project Life. Show all posts

Monday, 4 July 2016

Touches of Texture with Layering Love in shades of So Saffron & Wisteria Wonder Stampin' Up! UK

Today's card is another Vintage Inspired Card using a combination of the Touches of Texture Stamp Set, with the Layering Love Stamp Set.

The Touches of Texture Stamp setl is a super Collage set, with infinite possibilities of where you go with it.

In this card I have used just 3 colours, 
So Saffron, Wisteria Wonder & Soft Suede.

I have also used some Burlap Ribbon and some left over Venetian Trim, as I hadn't had my most recent order at the time of making this card. I now have a supplie of the new, and very dlicate, Very Vanilla Lace Trim.

The card base was made using Wisteria Wonder Cardstock. and  The Bold sentiment was stamped over the Background. The card was finally embellished using some of the new Subtles Enamel Shapes


STAMP SETS
TOUCHES OF TEXTURE
LAYERING LOVE

CARDSTOCK
WHISPER WHITE
WISTERIA WONDER

INK PADS
SOFT SUDE
WISTERIA WONDER
SO SAFFRON

ACCESSORIES
SUBTLES ENAMEL SHAPES
BURLAP RIBBON
VERY VANILLA LACE TRIM

TOOLS
STAMPIN TRIMMER
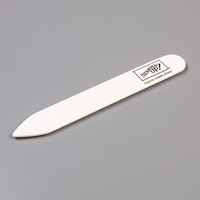
BONE FOLDER

ADHESIVES
TOMBOW MULTI-PURPOSE LIQUID GLUE
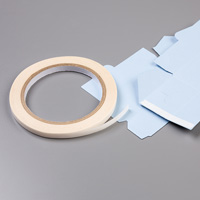
TEAR & TAPE

Feel free to CASE any of my creative projects (Copy & Paste Everything)


How to Contact or Follow Me


Kim Tolton, Independent Stampin Up Demonstrator.
Card & Papercraft Tutorials
Please feel free to comment below, and ask away with any questions. You can also find me via the links below


Blog:

Online Store:

Stamping @ The Warren Craft Forum:

Email:
kim.tolton@googlemail.com

youTube


Pinterest:

Google +

Facebook:

Twitter:

Instagram:
@kim.tolton

LinkedIn:

Friday, 17 June 2016

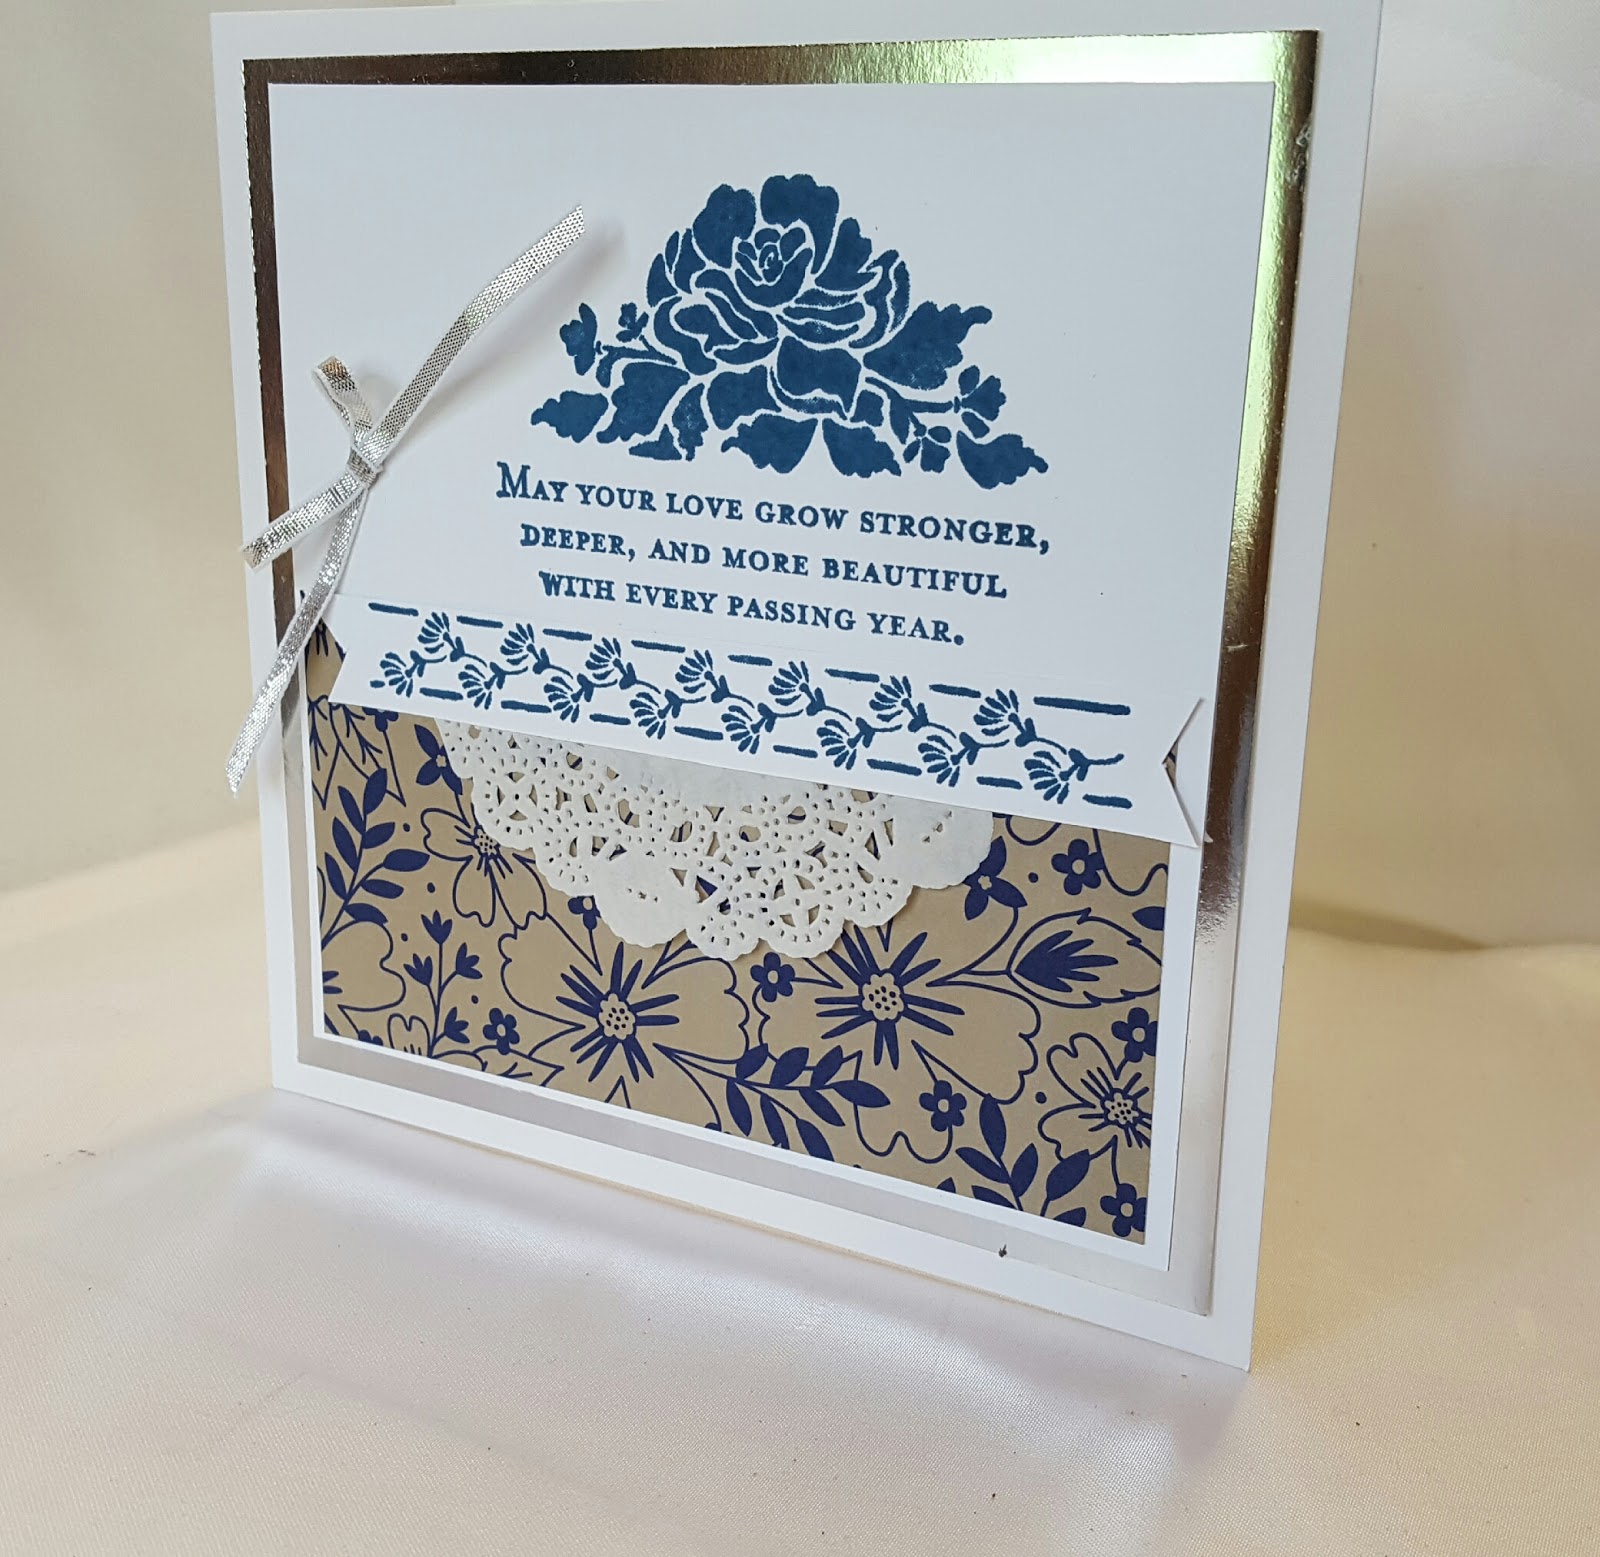
Floral Phrases Dapper Denim & Silver Foil Anniversary Card Stampin' Up! UK

It was my middle sons 2nd Wedding Anniversary this week, and I knew exactly which Stamp Set I was going to use ... and that would be 

FLORAL PHRASES

This is one of the stamp sets new to this years Annual Catalogue, and I fell in love with it, the moment I set eyes on it. And of course, I just HAD to HAVE it he he

I went with Dapper Denim, just because I adore this warm Blue. Blue's have a tendency to be a little cool, but not this one. It sits nicely between Night of Navy and Marina Mist.

I coupled it with this Dapper Denim paper from the Affectionately Yours Suite, as it co-ordinates so well with today's colour scheme, and really sets off the Silver Foil Mat.
The Doily  gives extra interest, and I stamped the floral accent onto onto a long narrow banner that I popped up on Stampin Dimensionals to give some added lift, and finished with some Silver Ribbon.
Tutorial is below


Feel free to CASE any of my creative projects (Copy & Paste Everything)


STAMP SET
FLORAL PHRASES

CARDSTOCK
THICKER WHISPER WHITE
SILVER FOIL

INK PADS
DAPPER DENIM

ACCESSORIES
1/8" SILVER RIBON
DELICATE WHITE DOILY

DESIGNER SERIES PAPER
AFFECTIONATELY YOURS

TOOLS
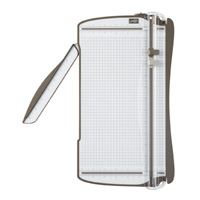
STAMPIN TRIMMER
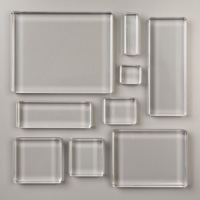
ACRYLIC BLOCK BUNDLE
BONE FOLDER
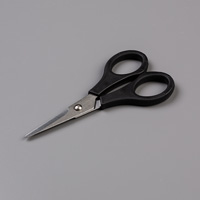
PAPER SNIPS

ADHESIVES
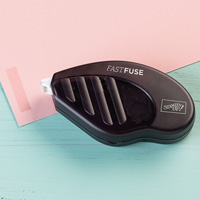
FAST FUSE
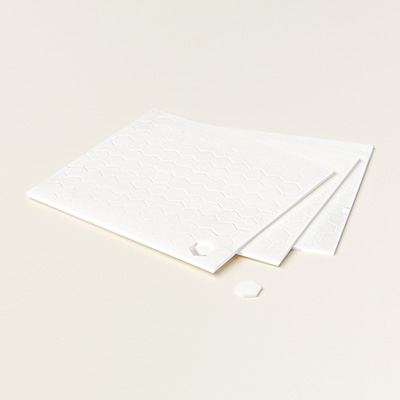
STAMPIN DIMENSIONALS
MINI GLUE DOTS

 The beauty of Stampin' Up!'s range of products, is that it is fully co-ordinated, and their range of ink pads, cardstock etc, is so wide , that you could make this card in any colour-scheme you or your customer wants ... what more could you want?
Just make sure to follow Stampin' Up!s Angel Policy
so take a peek at the BETTER THAN EMAIL Stamp Set whilst browsing my online store...

Tutorial

  1. Trim a piece of Thicker Whisper White Cardstock to 15 x 30 cms (6" sq)'; Score at 15 cms; fold & Burnish
  2. Trim a piece of Silver Foiled Cardstock to 14 x 14 cms
  3. Trim a piece of regular Whisper White Cardstock to 13.4 x 13.4 cms
  4. Trim a piece of Affectionately Yours Designer Series Paper to 13 x 4 cms and adhere to the lower section of the Whisper White Cardstock
  5. Trim a piece of Delicate White Doily and mount over the Designer Series Paper
  6. Using Dapper Denim Ink Pad, and the Large Floral Stamp, Stamp the art piece to the upper portion of the cardstock
  7. Stamp the Floral Flourish stamp into a scrap of Whisper White Cardstock measuring 13 x 2 cms, and using Paper Snips, create Banner Ends, add Stampin Dimensionals to the back and mount on the card front so it overlaps the doily
  8. Finally, add a silver ribbon bow

How to Contact or Follow Me


Kim Tolton, Independent Stampin Up Demonstrator.
Card & Papercraft Tutorials
Please feel free to comment below, and ask away with any questions. You can also find me via the links below


Blog:

Online Store:

Stamping @ The Warren Craft Forum:

Email:
kim.tolton@googlemail.com

youTube


Pinterest:

Google +

Facebook:

Twitter:

Instagram:
@kim.tolton

LinkedIn:

Friday, 13 May 2016

Sassy Salutations Meets Gorgeous Grunge Quick Note Cards Stampin Up! UK

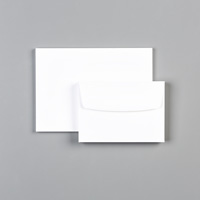
Today's Paper Craft Project is Quick and Simple Pack of Co-ordinating One Layer Note Cards and envelopes.
Stampin Up! has packs of 20 Note Cards & Envelopes to purchase. 
The note cards & Envelopes come in Wisher White and Crumb Cake, which I find covers pretty much any design you chose
Here, I have used a combination of two stamp sets:
Sassy Salutations 
Gorgeous Grunge
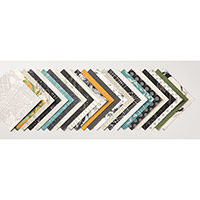
Along with one of the decorative Designer Series Papers from the Going Places Stack
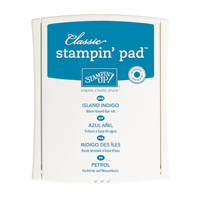
I have stamped both the envelope flap as well as the card front using Island Indigo Ink Pad

Stampin Up! has packs of 20 Note Cards & Envelopes to purchase. So pop over to my online store to order yours - or just click on the product icons below
Table built using Product Table Builder by The Crafty Owl - Independent Stampin' Up! Demonstrator.


TUTORIAL

  1. Stamp the card front of your note cards using the Splatter stamp from Gorgeous Grunge Stamp Set, using Island Indigo Ink Pad, stamping off some of the ink onto scrap paper before stamping the cardstock. Repeat with each card
  2. Stamp the flap of each envelope in the same way as the card front
  3. Over stamp the envelope flaps a couple of times using the small splodge stamp from Gorgeous Grunge
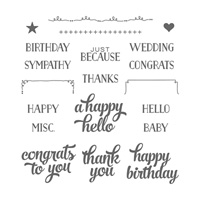
  4. Over-stamp each card front using the Thank You stamp from the Sassy Salutations Stamp Set, using Island Indigo Ink again.
  5. Select the paper of your choice from the Going Places DSP Stack, and trim five pieces to 12.5 x 1.5 cms; Apply Tear & Tape adhesive to the back of each strip of paper; Srap some Silver Thread around a couple of fingers, several times and stick the the back of each piece of decorative paper
  6. Adhere each strip to the lower third of each card front,
  7. Add some Basic Rhinestones, and you are all done

VIDEO

How to Contact or Follow Me


Kim Tolton, Independent Stampin Up Demonstrator.
Card & Papercraft Tutorials
Please feel free to comment below, and ask away with any questions. You can also find me via the links below


Blog:

Online Store:

Stamping @ The Warren Craft Forum:

Email:
kim.tolton@googlemail.com

youTube


Pinterest:

Google +

Facebook:

Twittert:

Instagram:
@kim.tolton

LinkedIn:


Tuesday, 10 May 2016

Tin of Cards for Everything Eleanor With a Striped Scallop Overlay & a touch of Lace Stampin Up UK


___________________________________________________________
As you scroll down today's blog post, you will find :

·        icons of all the products used to create today's card - click on them to visit my online store;
·        A Video Tutorial
·        & a typed tutorial
Feel free to CASE any of my creative projects (Copy & Paste Everything)


Click on the icons below to view/order any of the products used in today's tutor

Table built using Product Table Builder by The Crafty Owl - Independent Stampin' Up! Demonstrator.


Watch the Video Below


Tutorial

  1. Tim a piece of Kraft  Cardstock to 30 x 10.5 cms; Score at 14.8 cms; Fold & Burnish
  2. Trim a piece of Rose Red Cardstock to 14.4 x 10.1 cms & mat onto the card base
  3. Trim a piece of Very Vanilla Cardstock to 14 x 9.7 cms, stamp with the large flower in the Everything Eleanor Stamp Set.
  4. Add some Venetian Lace Trim across the centre of the panel
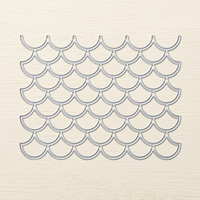
  5. Die cut the Striped Scallop Thinlet Die using Sahara Sand Cardstock; Adhere to the card front using the Fine Tip Glue Pen.
  6. Sta,p the large label stamp onto a piece of Sahara Sand Cardstock using Tip Top Taupe ink pad. Fussy cut around the label; mat onto a piece of Rose Red Cardstock, and Fussy Cut around the label,
  7. Stamp the 'Just Because' sentiment from the Tin of Cards Stamp Set in Tip Top Taupe ink onto a scrap of Very Vanilla Cardstock; Punch out using the XL Oval Punch
  8. Using the Tip Top Taupe Stampin Write Marker with the fine nib end, add faux stitches around the edge of the oval label. Layer up the Labels using Stampin Dimensionals and add to the card front.
  9. Stamp two more large flowers and fussy cut them out with your paper snips, add to the front os your card
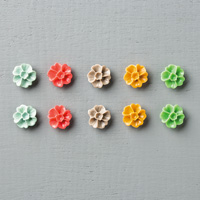
  10. Add an In Colour Blossom Accent resin flower with a drop of Chrystal Effects; finish with a few basic rhinestones


How to Contact or Follow Me


Kim Tolton, Independent Stampin Up Demonstrator.
Card & Papercraft Tutorials
Please feel free to comment below, and ask away with any questions. You can also find me via the links below


Blog:

Online Store:

Stamping @ The Warren Craft Forum:

Email:
kim.tolton@googlemail.com

youTube


Pinterest:

Google +

Facebook:

Twittert:

Instagram:
@kim.tolton

LinkedIn:


Monday, 14 March 2016

Guy Greetings From Land To Sea By The Tide Masking Technique, Stampin Up! UK


Today's card was featured briefly in a recent video talking about my submissions as part of a selection process with Stampin Up!
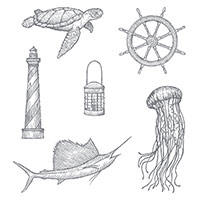
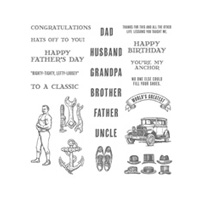
Today I  have this super masculine card made with a combination of stamp sets, and a Masked sentiment. I have gone with a colourscheme that mimics the colours ofsea, and therefore the Retiring 2014 - 2016 In Colours were perfect for the job. I added in some Basic Black and Basic Gray to get those under water images of the Turtles and seahorses.

As always there is an accompanying Video. For the time being I am reducing my video's to 3 times weekly. Hopefully, BT will be able to resolve the errors on our broadband connection. As soon as that happens, I will return to 5 video's per week.
_______________________________________________________

As you scroll down today's blog post, you will find :

  • icons of all the products used to create today's card - click on them to visit my 
  • online store;
  • A Video Tutorial
  • & a typed tutorial

Feel free to CASE any of my creative projects (Copy & Paste Everything)

Click on the icons below to view/order any of the products used in today's tutorial

Table built using Product Table Builder by The Crafty Owl - Independent Stampin' Up! Demonstrator.

Watch The Video Below

Tutorial
  1. Trim a piece of Lost Lagoon Cardstock to 21 x 14.8 cms; score long side at 10.5 cms; fold & Burnish
  2. Trim a piece of Whisper White Cardstock to 14.4 x 10.1 cms
  3. Stamp your sentiment in the bottom left of the cardstock using Archival Basic Black Ink Pad, using a black & a sentiment from Guy Greetings Stamp Set journalling Marker and a steel rule, draw a line above, and below the sentiment
  4. Cut down some Post It Notes, retaining the sticky strips; use the sticky trips to mask the sentiment between the two lines  and stamp your card from using a combination of the In Colour inks pads, plus Basic Black and Basic Gray ink pads. Add some medallion stamps using Tip Top Taupe ink pad,  ... use stamps from the By The Tide & From Land To Sea stamp sets. Remove the Mask
  5. Mount the stamped panel onto your card base.
  6. Onto a scrap of Whisper White Cardstock, stamp a combination of the stamps used above, with the co-ordinating ink pads. Then die cut using the Lots of Labels Framelits Dies. Cut off the scallop top of this panel
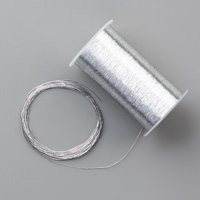
  7. Die cut the next size up Framelit using Blackberry Bliss Cardstock, remove the top scallop edge and mount the stamped label onto the Blackberry Bliss label (you may need to trim off more  of the label to get a snug mat.'Wrap around some Silver Metallic Thread, then mount the label onto the card front using Stampin Dimensionals.


How to Contact or Follow Me


Kim Tolton, Independent Stampin Up Demonstrator.
Card & Papercraft Tutorials
Please feel free to comment below, and ask away with any questions. You can also find me via the links below


Blog:

Online Store:

Stamping @ The Warren Craft Forum:

Email:
kim.tolton@googlemail.com

youTube


Pinterest:

Google +

Facebook:

Twittert:

Instagram:
@kim.tolton

LinkedIn: