google-site-verification: google70410e9e92d4fda2.html
Showing posts with label scrapbooking Sale A Bration. Show all posts

Tuesday, 10 May 2016

Tin of Cards for Everything Eleanor With a Striped Scallop Overlay & a touch of Lace Stampin Up UK


___________________________________________________________
As you scroll down today's blog post, you will find :

·        icons of all the products used to create today's card - click on them to visit my online store;
·        A Video Tutorial
·        & a typed tutorial
Feel free to CASE any of my creative projects (Copy & Paste Everything)


Click on the icons below to view/order any of the products used in today's tutor
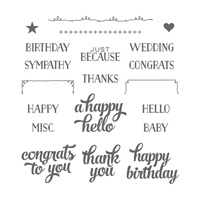
Table built using Product Table Builder by The Crafty Owl - Independent Stampin' Up! Demonstrator.


Watch the Video Below


Tutorial

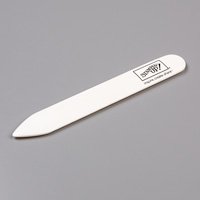
  1. Tim a piece of Kraft  Cardstock to 30 x 10.5 cms; Score at 14.8 cms; Fold & Burnish
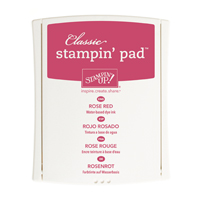
  2. Trim a piece of Rose Red Cardstock to 14.4 x 10.1 cms & mat onto the card base
  3. Trim a piece of Very Vanilla Cardstock to 14 x 9.7 cms, stamp with the large flower in the Everything Eleanor Stamp Set.
  4. Add some Venetian Lace Trim across the centre of the panel
  5. Die cut the Striped Scallop Thinlet Die using Sahara Sand Cardstock; Adhere to the card front using the Fine Tip Glue Pen.
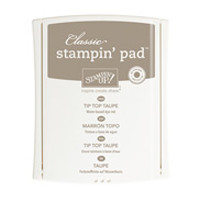
  6. Sta,p the large label stamp onto a piece of Sahara Sand Cardstock using Tip Top Taupe ink pad. Fussy cut around the label; mat onto a piece of Rose Red Cardstock, and Fussy Cut around the label,
  7. Stamp the 'Just Because' sentiment from the Tin of Cards Stamp Set in Tip Top Taupe ink onto a scrap of Very Vanilla Cardstock; Punch out using the XL Oval Punch
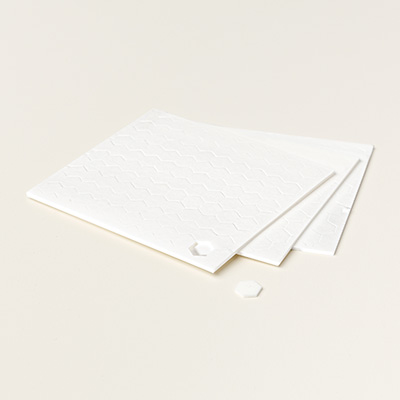
  8. Using the Tip Top Taupe Stampin Write Marker with the fine nib end, add faux stitches around the edge of the oval label. Layer up the Labels using Stampin Dimensionals and add to the card front.
  9. Stamp two more large flowers and fussy cut them out with your paper snips, add to the front os your card
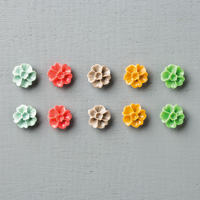
  10. Add an In Colour Blossom Accent resin flower with a drop of Chrystal Effects; finish with a few basic rhinestones


How to Contact or Follow Me


Kim Tolton, Independent Stampin Up Demonstrator.
Card & Papercraft Tutorials
Please feel free to comment below, and ask away with any questions. You can also find me via the links below


Blog:

Online Store:

Stamping @ The Warren Craft Forum:

Email:
kim.tolton@googlemail.com

youTube


Pinterest:

Google +

Facebook:

Twittert:

Instagram:
@kim.tolton

LinkedIn:


Thursday, 5 May 2016

Marquee Messages Sneak Peak New In Colour Watercolour Technique Stampin Up! UK

Today I am sharing with you another Sneak Peak Stamp Set from the up-coming 2016 - 2017 Stampin Up! Catalogue.
This stamp set is called Marquee Messages, and it lends itself perfectly with watercolour techniques. And that is what I have done today. So you have a Double Sneak Peak as I am using the new In Colours, and that has produced a lovely rainbow coloured background. Using this technique, demonstrates how well, stampin up ink pads complement one another. I used Shimmery White Cardstock for the technique, rather than watercolour paper, and a blender pen for the watercolouring.
The card was finished very simply using the Gold Wink of Stella Glitter Glue Brush.

_____

Feel free to CASE any of my creative projects (Copy & Paste Everything)


Watch The Video Below

Tutorial

  1. Trim a piece of Bermuda Bay Cardstock to 24 x 12 cms; score at 12 cms; fold & Burnish
  2. Trim a piece of Shimmery White Cardstock to 10 x 11 cms
  3. Dampen the surface of the cardstock by squeezing drops of water from the Aquapainter Brush, and brush the water all over the cardstock. Pick up ink from the well of Emerald Envy ink pad and apply to the panel; repeat with each of the new In Colours, blending each ink, into it's neighbor, to create a striped rainbow effect on the cardstock. Leave to dry thoroughly
  4. Once dry, Ink up the Marquee stamp with Archival Black Ink Pad, and stamp onto the cardstock; Then stamp the It's You and Birthday sentiments in the same ink.
  5. Mat onto a piece of Mint Macaron Cardstock measuring 10.4 x 11.4 cms using Stampin Dimensionals for added lift.
  6. Mount onto the card base, again, using Stampin Dimensionals.
  7. Finish by applying a touch of gold glitter using the Gold Wink of Stella brush, for the stars and dots.


How to Contact or Follow Me


Kim Tolton, Independent Stampin Up Demonstrator.
Card & Papercraft Tutorials
Please feel free to comment below, and ask away with any questions. You can also find me via the links below


Blog:

Online Store:

Stamping @ The Warren Craft Forum:

Email:
kim.tolton@googlemail.com

youTube


Pinterest:

Google +

Facebook:

Twittert:

Instagram:
@kim.tolton

LinkedIn:


Tuesday, 3 May 2016

Beautiful Bunch Tissue Box Cover Using the New In Colours From Stampin Up! UK

I was scratching my brains trying to think of an artistic way to to share with you all the new In Colours that will be in the new Stampin Up! Catalogue.
And what I really wanted to demonstrate, is how well these colours work together to give both a complimentary and contrasting effect with one another.
I decided that a 6" square Tissue Box Cover would work really well. So here is is.
As always there is a Video that accompanies the tutorial, and you will find it further down today's blog post.


________________________________________


Feel free to CASE any of my creative projects (Copy & Paste Everything)


Click on the icons below to view/order any of the products used in today's tutor
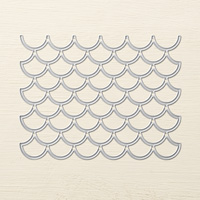
Table built using Product Table Builder by The Crafty Owl - Independent Stampin' Up! Demonstrator.


Watch the Video Below

Tutorial

  1. BASE - Trim two pieces of Thicker Whisper White Cardstock to 12 x 24 cms; With the Long side at the top of the Metric Scoring Board, score at 1 & 11.5 cms
  2. TOP - Trim a piece of Thicker Whisper White Cardstock to 17 x 17 cms; Score all sides ar 2.5 cms
  3. STAMP - all pieces using the 5 new In Colours )2016 - 2018) with a combination of five of the rubber stamps from the Beautiful Bunch Stamp Set
  4. On the back of the Lid, mark a cross in the centre and die cut an aperture. You will need to fold in the two sides for it to fit through the Big Shot
  5. Fold & Burnish the score lines on the lid; Cut two tabs to the first score line on one edge. Rotate the cardstock by 180 degrees and repeat; Use Tombow Liquid Glue to form the 4 corners of the lid.
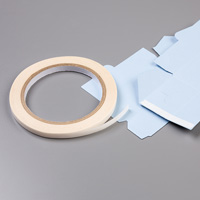
  6. BASE - Fold and Burnish the score lines on the two base pieces, and run a strip of tear & tape adhesive along the two 1cm fold lines. Removing backing tape and join the two pieces of Cardstock together to create the four sides (WATCH THE VIDEO)

How to Contact or Follow Me

Kim Tolton, Independent Stampin Up Demonstrator.
Card & Papercraft Tutorials
Please feel free to comment below, and ask away with any questions. You can also find me via the links below


Blog:

Online Store:

Stamping @ The Warren Craft Forum:

Email:
kim.tolton@googlemail.com

youTube


Pinterest:

Google +

Facebook:

Twittert:

Instagram:
@kim.tolton

LinkedIn:


Thursday, 24 March 2016

Weekly Deals
This weeks Deals are offering great savings. To find out more 

Banner Banter Clear Mount Stamp Set


Build A Banner Kit


Everyday Chic Designer Washi Tape

Hexagonal Hive Thinlets Die

Tuesday, 22 March 2016

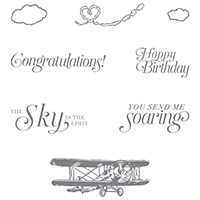
Sale A Bration Perfectly ArtisticThe Skye's The Limit Masculine Birthday Card Stampin Up! UK

Today's card is one that I made for my younger son's 29th Birthday last week.
He loves all things aviation, and was in the Air Training Corps in his teens. Asthma prevented a career in the RAF, but this has not caused his love of all things plane orientated one jot. He particularly loves the vintage armed forces planes, and loves attending the annual season of Air Shows here in the UK

So when Stampin Up! Brought out this limited edition rubber stamp set as part of the Sale A Bration promotion this year.. it was an absolute must have for me.


_______________________________________________________________

As you scroll down today's blog post, you will find :

·        icons of all the products used to create today's card - click on them to visit my online store;
·        A Video Tutorial
·        & a typed tutorial
Feel free to CASE any of my creative projects (Copy & Paste Everything)


Click on the icons below to view/order any of the products used in today's tutor

Table built using Product Table Builder by The Crafty Owl - Independent Stampin' Up! Demonstrator.

Watch the Video Below

Tutorial

  1. Trim a piece of Thicker Whisper White Cardstock to 12.5 c 27 cms (5" square card base); Score the long side at 13.5 cms (5"); fold & Burnish
  2. Trim a piece of Tip Top Taupe Perfectly Artistic Designer Series Paper (DSP) to 13 x 13 cms & mat (layer) onto your card base.
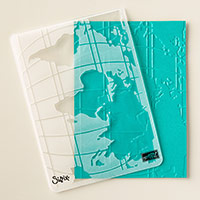
  3. Trim a piece of Crumb Cake Cardstock to 13 x 13 cms & tear along the diagonal &using your Big Shot, dry emboss using the World Traveller TIEF (embossing folder), adhere to the card front.
  4. Trim a piece of Very Vanilla Cardstock to 8 x 8 cms & randomly stamp the plane image using Archival Basic Black ink pad.
  5. Punch a 1/2" circle of White Vellum, and using a Paper Piercing Tool, make a hole in the centre, and also a hole in the centre of one of your stamped plane propellers. Pop a Mini Silver Brad through the vellum and cardstock and secure on the back. 
  6. Mat onto a piece of Lost Lagoon Perfectly Artistic DSP measuring 8.4 x 8.4 cms; add stampin dimensionals to the back and mount at an angle onto your card front.
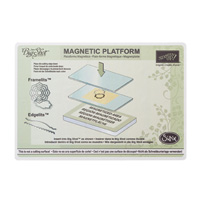
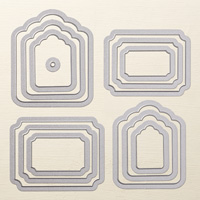
  7. Stamp the Birthday Greeting from the stamp set using Archival Black ink pad, onto a scrap of Very Vanilla Cardstock, and die cut using the Tags & Labels Framelits Dies, with your Big Shot and either the Multi-Purpose Platform on Tab 2 OR preferably the Magnetic Platform. Mount onto the card front using Stampin Dimensionals


How to Contact or Follow Me
Kim Tolton, Independent Stampin Up Demonstrator.
Card & Papercraft Tutorials
Please feel free to comment below, and ask away with any questions. You can also find me via the links below


Blog:

Online Store:

Stamping @ The Warren Craft Forum:

Email:
kim.tolton@googlemail.com

youTube


Pinterest:

Google +

Facebook:

Twittert:

Instagram:
@kim.tolton

LinkedIn: