You have probably guessed by now, that there are a LOT of men in my family
And so here is another Masculine card for you.
Yes it is a Grungy version of the One Wild Ride card I posted previously.
This one, is the celebrate my middle son getting a new job.
He is a mechanic and has been working with a tool hire company since he got his qualification 10 years ago. He was employed as a mechanic, but worked not only on the companies fleet vehicles, but also stood in with the domestic hire & Repair work.
The company recently moved him into a more sales & accounts manager, taking him more and more away from what he loves
And that is being up to his armpits in grease
He is also a keen on and off road motorcyclist.
He finally decided to go for it, and specialise
And he was offered not just one, but two jobs, working 100% of the time maintaining and repairing Plant Machinery
And he went with the company that not only is more local, but also the one offering a more competitive salary. I am SO proud of him. He starts in a weeks time and is a bundle of nerves, as most of us are when to make a career change, as we question our ability to do the job.
So I decided a Card From Mum is what he needed. I hope you like it?

Feel free to CASE any of my creative projects (Copy & Paste Everything)
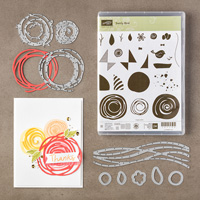
STAMP SET
ONE WILD RIDE
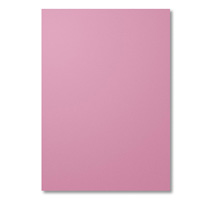
CARDSTOCK
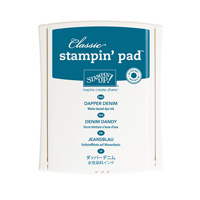
DAPPER DENIM
VERY VANILLA
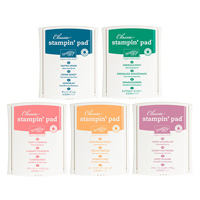
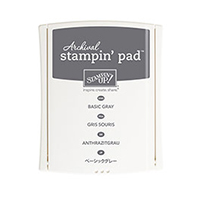
INK PADS
DAPPER DENIM,
SAHARA SAND
SAHARA SAND
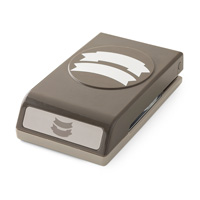
PUNCH
BADGE PUNCH
EMBOSSING FOLDER
BRICK WALL
ACCESSORIES
METALLIC THREAD
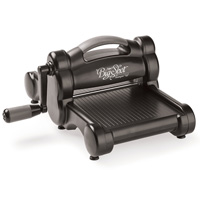
TOOLS
BIG SHOT
STAMPIN TRIMMER
BONE FOLDER
PAPER SNIPS
Tutorial
- CARD BASE - Trim a piece of Dapper Denim Cardstock to 21 x 14.8 cms; score at 10.5 cms; fold & burnish
- Trim a piece of Very Vanilla Cardstock to 14.4 x 10.1 cms , Using the Sahara Sand Ink Pad. Randomly Stamp the panel using the Tools Stamp from Guy Greetings Stamp Set.
- Dry Emboss using the Brick Wall Textured Impressions Embossing Folder (TIEF)
- Using the Dapper Denim Ink Pad, randomly stamp the panel with the grungy soot stamp; then over-stamp with the motorbike stamp; Mat onto the Card Base
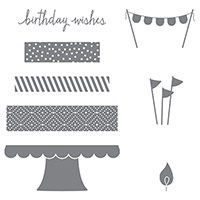
- On some scraps of Very Vanilla Cardstock, stamp the Badge & the Congratulations Sentiment.
- Punch out the Badge using the Badge Punch, and trim the Congrats sentiment to size
- Adhere some loose coils of Gold Thread onto the top section of the back of the badge and
- adhere to the front of the panel using Stampin Dimensionals
- Add some Dimensionals to the back of the Congrats sentiment and add to the card front.

How to Contact or Follow Me
Kim Tolton, Independent Stampin Up Demonstrator.
Card & Papercraft Tutorials
Please feel free to comment below, and ask away with any questions. You can also find me via the links below
Blog:
Online Store:
Stamping @ The Warren Craft Forum:
Email:
kim.tolton@googlemail.com
youTube
Pinterest:
Google +
Facebook:
Twitter:
Instagram:
@kim.tolton
LinkedIn: