google-site-verification: google70410e9e92d4fda2.html
Showing posts with label Craft Supplies. Show all posts

Friday, 19 August 2016

One Wild Ride Meets Better Together Masculine Birthday Card Using Stampin' Up! Products UK

Today I have another version of that super charged Handmade  Motorcycle Stamp Masculine (or feminine) Card using the 

ONE WILD RIDE

Stamp Set

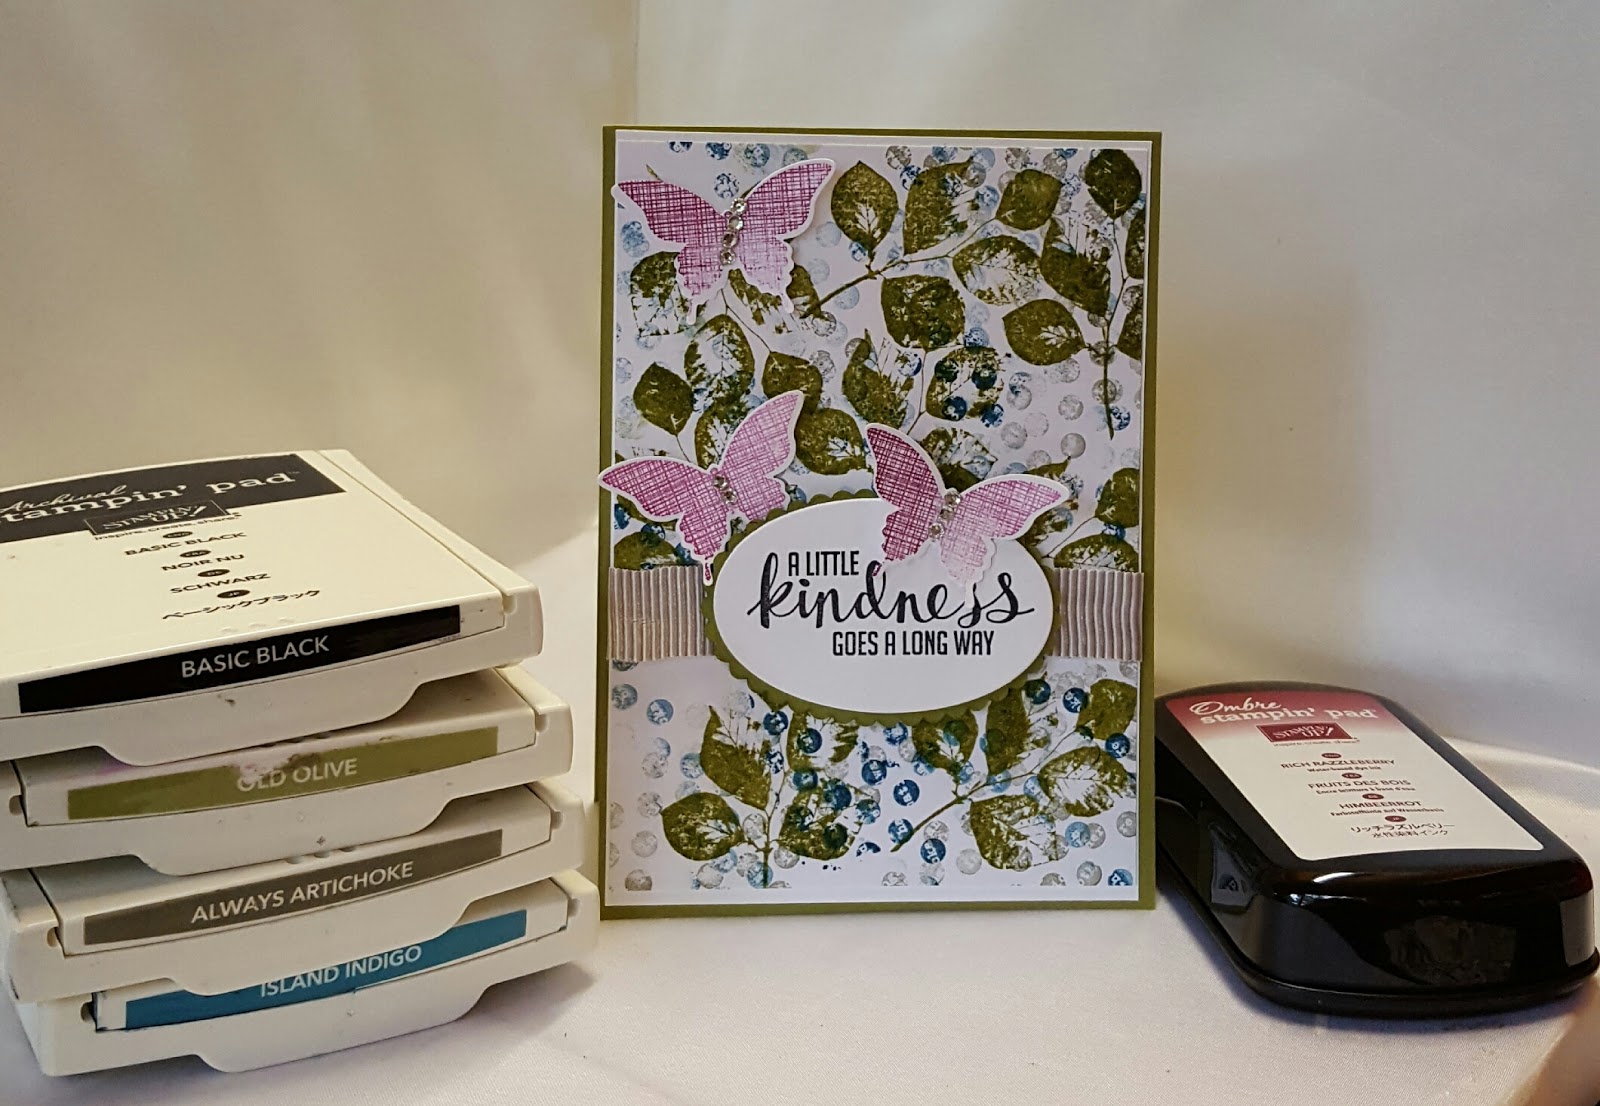
This time I am using a Random Stamping Technique, with Very Vanilla Cardstock as the main panel to create a more grungy feel to the card. Island Indigo Ink Pad was used for the birthday sentiment, motorbike images and the sentiment, and Archival Gray for the tread marks

I have coupled the One Wild Ride with a fabulous  all occasion  sentiment stamp set called

BETTER TOGETHER

This set has a combination of large, medium and small sized rubber stamps, with some being quite traditional in style, and others are more quirky. 
I have found myself using this stamp set  a LOT 

The card was accessories with Night of Navy Enamel Shapes (I used stars), and some Silver Thread. The Banner was stamped onto a scrap of Very Vanilla Cardstock and fussy cut out (i.e. cut out by hand using paper snips.

Below you will find a list of the products used today, dimensions of the cardstock, Y the accompanying Video Tutorial


Feel free to CASE any of my creative projects (Copy & Paste Everything)


PRODUCTS USED

STAMP SETS
One Wild Ride
Better Together

INK PADS
Island Indigo
Archival Grey

CARDSTOCK
Very Vanilla (or Whisper White)
Island Indigo

ACCESSORIES
Regals Enamel Shapes
Silver Thread

ADHESIVES
Tombow Multi-Purpose Liquid Glue
Stampin Dimensionals

TOOLS
Stampin Trimmer
Acrylic Blocks (unless you have wood mount)
Paper Snips
Bone Folder

cardstock dimensions:

  • CARD BASE - Island Indigo 30 x 10.5 cms
  • INSIDE PANEL - Whisper White 14.4 x 10.1 cms
  • FRONT PANEL - Very Vanilla 14.4 x 10.1 cms
  • SCRAP CARDSTOCK  - Very Vanilla for banner
Watch the Video Below


How to Contact or Follow Me


Kim Tolton, Independent Stampin Up Demonstrator.
Card & Papercraft Tutorials
Please feel free to comment below, and ask away with any questions. You can also find me via the links below


Blog:

Online Store:

Stamping @ The Warren Craft Forum:

Email:
kim.tolton@googlemail.com

youTube


Pinterest:

Google +

Facebook:

Twitter:

Instagram:
@kim.tolton

LinkedIn:

Saturday, 13 August 2016

Collage Background for Handmade Cards Using Kinda Eclectic Stamp Set from Stampin' Up! UK

I hope you have a great weekend planned, and that the weather is as lovely as it is here in Essex UK?
We have our grandchildren staying with us, and will be taking them and our dogs to the Park for some fun time together

Before we go. I wanted to share with you the third of three cards with you featuring the

KINDA ECLECTIC
STAMP SET
 from Stampin' Up!

Kinda Eclectic is a Versatile Collage Stamp Set that is perfect for creating your own Designer Series Papers.
Despite using the same stamp set and ink pads for all three cards, each card has a unique look, just by altering the design template, dies and accessories

In this sample, the Island Indigo (blue) is much more prominent in this card.
The Rich Razzelberry Ombre Ink Pad, has again been used for the butterflies, and by using a different area of the ombre ink pad, you get different shades of colour for the butterflies.
I have kept the accessories simple with some Tip Top Taupe Mini Stripped Ribbon and Basic Rhinestones.

You can find a list of all the products used to create today's card listed below, and a link to my online store


Feel free to CASE any of my creative projects (Copy & Paste Everything)


PRODUCTS USED TODAY

STAMP SET
Kinda Eclectic

CARDSTOCK
Whisper White
Old Olive

INK PADS
island indigo
old olive
always artichoke
memento or archival black
Rich Razzelberry Ombre Ink Pad


DIES/PUNCHES
Elegant Butterfly Punch
Layering Ovals Framelits Dies

ACCESSORIES
Tip Top Taupe Mini Stripped Ribbon
Basic Rhinestones

TOOLS
Stampin Trimmer
Acrylic Blocks
Big Shot Die Cutting Machine
Magnetic Platform
bone folder
paper snips
paper piercing tool

ADHESIVES
mini glue dots
stampin dimensionals
tombow mutipurpose liquid glue
tear & tape adhesive


How to Contact or Follow Me

Kim Tolton, Independent Stampin Up Demonstrator.
Card & Papercraft Tutorials
Please feel free to comment below, and ask away with any questions. You can also find me via the links below


Blog:

Online Store:

Stamping @ The Warren Craft Forum:

Email:
kim.tolton@googlemail.com

youTube


Pinterest:

Google +

Facebook:

Twitter:

Instagram:
@kim.tolton

LinkedIn:

Tuesday, 9 August 2016

Kinda Eclectic Stamp Set & Creating Unique Backgrounds for your Handmade Cards Stampin' Up! UK

Today I am sharing with you the second card in a set of three that I made recently. They feature the Kinda Eclectic Stamp Set, and I used a combination of the stamps in the set to create a unique hand-stamped Designer Series Paper. This is always a great favourite technique in my Card & Papercraft Classes. Half the fun is getting really inky fingers to show the loving effort you put into creating  your card

The Colour-scheme is
Always Artichoke
Old Olive
Island Indigo &
Rich Razzelberry Ombre Ink Pad
The card base is Island Indigo to tie in with the stamped background on  

This set of cards, are very resourceful to make if you purchase one of the Ink Pad & Cardstock Assortment Bundles, giving you a saving compared to purchasing the items individually
In this case Most of the ink pads, come from the Regals Color Collection
The great thing about these colour collections, is that they are co-ordinated within their own colour collection AND all the other colour collections in the current Stampin' Up! Catalogue.

So if you are a novice card maker, or you are returning to Card making (or memory keeping), you can start creating immediately, as all the colour combo work is already done for you.

Plus, there is a large range of co-ordinating products, from ribbons, to decorative papers, rhinestones, pearls & ,much more
So have a go at creating your own backgrounds, then follow my Stamping At The Warren Community Pinterest Board (see the side bar on this blog) and I will invite you to join the board, where you can begin pinning your own creations (full details at the bottom of today's blog post

You will also find a list of products used today, a typed tutorial and a link to my online store

Feel free to CASE any of my creative projects (Copy & Paste Everything)


PRODUCTS USED TODAY

STAMP SET
Kinda Eclectic

INK PADS
Island Indigo
Always Artichoke
Old Olive
Memento Black
Rich Razzelberry Ombre Ink Pad

CARDSTOCK
Island Indigo
Whisper White

ACCESSORIES
Basic Rhinestones
Regals Enamel Shapes
Crumb Cake Stitched Satin Ribbon

PUNCH/FRAMELITS DIES
Layering Ovals
Elegant Butterfly

TOOLS
Big Shot Die Cutting Machine
Magnetic Platform
Stampin Trimmer
Paper Piercing Tool
Acrylic Blocks
Paper Snips
Bone Folder

ADHESIVES
Tombow Multi-purpose Liquid Glue
Stampin Dimensionals
Mini Glue Dots

Tutorial


  1. CARD BASE - Trim a piece of Island Indigo Cardstock to 30 x 10.5 cms; score long side at 14.9 cms; fold & Burnish
  2. Trim a piece of Whisper White Cardstock to 14.4 x 10.1 cms & adhere to the inside of the card base for your to write your greeting on (I used Tombow)
  3. Trim another piece of Whisper White Cardstock to 14.4 x 10.1 cms, this is going to be stamped to make your background; Begin by stamping the Ombre Ink Pad several times across the centre of the card base (horizontally) ... this gives a grungy feel to the background.
  4. Randomly Over-stamp this panel with the dotty stamp using Island Indigo Ink Pad, with 4th generation stamping technique (this means you ink up the stamp & stamp the cardstock four times before re-inking the stamp) 
  5. Using the Island Indigo Ink Pad, stamp the Sunburst twice without re-inking (second generation stamping technique)
  6. Take the Leaf Stamp and onto scrap Whisper White Cardstock, stamp one leaf using Always Artichoke Ink Pad, and another using the Old Olive Ink Pad; Fussy cut these out using Paper Snips (remember to rotate the cardstock and not the scissors when fussy cutting)
  7. Stamp your sentiment onto another scrap of Cardstock in black ink and Die cut using the best fit Layering Oval Framelits Die
  8. Next, using the Ombre Ink Pad, stamp the larger butterfly three times onto scrap white cardstock, using a different area of the ink pad to get tonal differences.; Punch these out using the elegant Butterfly Punch.
  9. Wrap around a piece of Stitched Satin Ribbon and tie a bow.
  10. Mat this panel onto the card base; add stampin dimensionals to the back of the sentiment and the leaves you cut out and mount into the card front; Add the butterfly's using Mini Glue Dots, Finish with some Enamel Shapes and basic Rhinestones


How to Contact or Follow Me


Kim Tolton, Independent Stampin Up Demonstrator.
Card & Papercraft Tutorials
Please feel free to comment below, and ask away with any questions. You can also find me via the links below


Blog:

Online Store:

Stamping @ The Warren Craft Forum:

Email:
kim.tolton@googlemail.com

youTube


Pinterest:

Google +

Facebook:

Twitter:

Instagram:
@kim.tolton

LinkedIn:

Wednesday, 3 August 2016

Moroccan Nights Are Better Together Emboss Resist Technique using Stampin' Up! Products

Hi Folks, I hope you are having a good day, and I also hope that today's card will give you a warm fuzzy feeling with the impact of the MOROCCAN Stamp Set and the EMBOSS RESIST technique using inks from the Regals Colour Collection.

I adore these rich colours, and for me it always signals that the transition from Summer to Autumn will be on us soon, I am also a BIG fan of middle eastern culture, from food, to silks and Spices. These things were my inspiration for today's card.
I used the Layering Circles Die to add a little added interest to the card, and mat that onto a die cut circle from the same Nestable Framelits Dies; this was then popped up using Stampin Dimensionals, before mounting onto the card base

You will find the Tutorial and List of Products used today, below

I would also love to see your own version of this card, so if you are not already following my Community Pinterest board, just click on the Pinterest board on the left hand side of my blog & select Follow. I will then send you an invite to begin pining on the board. All samples MUST have some Stampin' Up! products on them, and NO Digi Stamps 
I look forward to seeing your creations

Feel free to CASE any of my creative projects (Copy & Paste Everything)


PRODUCTS USED TODAY

STAMP SET
Moroccan Nights
Better Together

INK PADS
Crushed Curry
Night of Navy
Cajun Craze
Versamark

CARDSTOCK
Night of Navy
Whisper White

FRAMELITS DIES
Layering Circles
ACCESSORIES
Metallic Enamel Dots
TOOLS
Big Shot
Magnetic Platform
Stampin Trimmer
Acrylic Block Bundle
Heat Tool
Embossing Buddy
Clear Embossing Powder
Stampin Sponge
Craft Sheet
Bone Folder
Paper Snips


ADHESIVES
Tombow Multipurpose Liquid Glue
Stampin Dimensionals

Watch the Video Below

Tutorial

  1. Trim a piece of Night of Navy Cardstock to 30 x 10.5 cms; Score long side @ 14.9 cms; Fold & Burnish
  2. Trim a piece of Whisper White Cardstock to 14.4 x 10.1 cms; Using Versamark, randomly stamp the largest stamp three times, re-inking with versamark each time; Dust with Clear Embossing Powder; remove excess & heat set
  3. Cut a Stampin Sponge into wedges, and sponge your first colour (crushed Curry); Repeat with the other two colours (Cajun Craze & Night of Navy) allowing the inks to blend together; Remove excess ink from the embossed images using a piece of Kitchen Towel; Mat onto the Card Base
  4. Stamp one of the Lanterns onto a scrap of Whisper White Cardstock using Night of Navy Ink Pad; Die Cut using the Layering Circles Framelits Dies, and then a scallop circle (next size up) using the same Framelits dies pack, & night of Navy Cardstock, layer up the topper using Stampin Dimensionals
  5. Stamp your sentiment onto a strip of Whisper White Cardstock  measuring 2 x 10.1 cms, using the Night of Navy Ink Pad. Mount onto your card front, and add your layered topper
  6. Finish by adding some Metallic Enamel Shapes for a bit of bling

How to Contact or Follow Me

Kim Tolton, Independent Stampin Up Demonstrator.
Card & Papercraft Tutorials
Please feel free to comment below, and ask away with any questions. You can also find me via the links below


Blog:

Online Store:

Stamping @ The Warren Craft Forum:

Email:
kim.tolton@googlemail.com

youTube


Pinterest:

Google +

Facebook:

Twitter:

Instagram:
@kim.tolton

LinkedIn:

Sunday, 31 July 2016

Build A Masculine Birthday with Country Living & Masked Watercolour Technique with Stampin' Up! Products


Well I have just got back from walking the dogs over the park with my husband. An outing we regularly make at weekends that I look forward to.
Now that I am home I can get share with you today's card, inspired by the park where we walk the dogs.
This particular card is for my son's 32nd Birthday next week.

It combines three of my favourite Paper Craft Techniques

EMBOSS RESIST
WATERCOLOUR
& MASKING

Below, you will find not just today's tutorial, but also the accompanying YouTube video

I have also included a list of all the products used today & the link for my online store where you can view or purchase your Craft Supplies

Feel free to CASE any of my creative projects (Copy & Paste Everything)


TODAY'S PRODUCTS

STAMP SETS
BUILD A BIRTHDAY
COUNTRY LIVIN
LOVELY AS A TREE

INK PADS
VERSAMARK
SOFT SUEDE
CHOC CHIP
EARLY ESPRESSO
CUCUMBER CRUSH
EMERALD ENVY

CARDSTOCK
SOFT SKY
WHISPER WHITE

EMBOSSING POWDER
CLEAR

ACCESORIES
SOLID BAKERS TWINE

TOOLS
HEAT TOOL
EMBOSSING BUDDY
AQUAPAINTER
STAMPIN TRIMMER
ACRYLIC BLOCK BUNDLE
PAPER SNIPS
BONE FOLDER


STAMPIN WRITE MARKERS
EARLY ESPRESSO
BASIC GREY
BASIC BLACK

ADHESIVES
TOMBOW MULTIPURPOSE LIQUID GLUE
MINI GLUE DOTS


Watch the Video Below

Tutorial

  1. CARD BASE - Trim a piece of Soft Sky Cardstock to 30 x cms 10.5 cms; score long side @14.9 cms; fold & burnish
  2. Trim a piece of Whisper White Cardstock to 14 x 10.1 cms
  3. Make a Mask of the Truck, by stamping the truck image onto a large Pot it Note, ensuring part of the image is stamped over where the sticky strip is. Cut out the image, place to one side.
  4. Wipe the surface of the whisper White panel with the Embossing Buddy, to remove static from the card
  5. clean the truck stamp and stamp the truck onto the Whisper White Panel toward the lower segment of the Whisper White panel using VERSAMARK ink; dust with clear embossing powder; remove the excess powder. & heat set
  6. Be sure you do not get the cardstock too wet.
  7. Using the Aquapainter, pick up ink from the well of the Soft suede ink pad, and add the paint to the truck Allow to dry
  8. Next, add highlights and definition to the image, using the Chocolate Chip Ink Pad, picking up ink with the aquapainter as before. Allow to dry
  9. Using the Cucumber Crush Ink Pad, add detail to the grass area beneath the truck using the aquapainter; then go over the top of this with Emerald Envy to add definition 
  10. add a drop of water into the well of the Emerald Envy Ink Pad, and give a watercolour wash to the foreground, background and windows. Allow to dry completely
  11. Place the Mask over the image of the Truck,; using the Early Espresso Ink Pad, Stamp your sentiment & then Stamp the Lovely As A Tree Image twice, one being slightly higher than the other to add depth
  12. Remove the mask; Mat the panel onto the Card Base using Tombow; & finish with a bow of Solid Bakers Twine (i.e. single colour).

How to Contact or Follow Me


Kim Tolton, Independent Stampin Up Demonstrator.
Card & Papercraft Tutorials
Please feel free to comment below, and ask away with any questions. You can also find me via the links below


Blog:

Online Store:

Stamping @ The Warren Craft Forum:

Email:
kim.tolton@googlemail.com

youTube


Pinterest:

Google +

Facebook:

Twitter:

Instagram:
@kim.tolton

LinkedIn: