
Today is a Technique Thursday
I have CASED (Copy & Share Everything) from the Stampin' Up! Catalogue that launches 1st June.
The Catalogue is packed full with creative ideas, and I want to share as many of them with you all as possible.
But I have to say, That rubber Stamping and Watercolour techniques really rick my boat.
And today's technique, covers both of my passions at the same time.
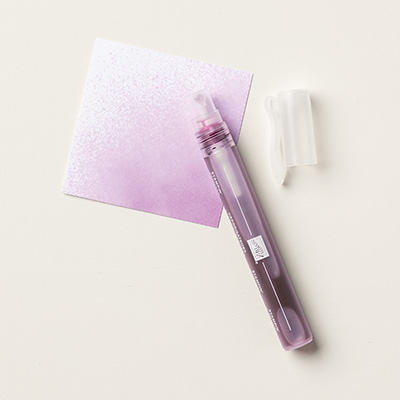
Today's Demonstration, shows you how to turn an acrylic block, into a stamp, and with the assistance of a Stampin Spritzer, that then turns the 'stamp' into a watercolour background for a card or scrapbook page.
The Stamp Set is the Happy Happenings, From Stampin Up! and you can order all of the supplies used in today's project via my
The tutorial and video can be found by scrolling down today's Blog Post,
Please share your own creations using this technique via my Pinterest Community Board.
All you have to do is start following the board, and I so long as I can see on your own boards, that you are into or yearn to be into Papercraft, I will send you an invitation to join the board.
The board is strictly for Papercraft Projects only

Feel free to CASE any of my creative projects (Copy & Paste Everything)
Click on the icons below to view/order any of the products used in today's tutor
 |  |  |  |  |  |
 |  |  |  |  |  |
 |  |  |  |  |  |
 |  |  |  |  |  |
 |  |  |  |  |
Table built using Product Table Builder by The Crafty Owl - Independent Stampin' Up! Demonstrator.
Watch the Video Below
Tutorial
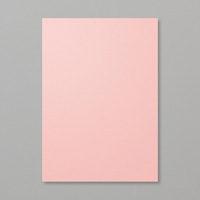
- Card Base - Trim a piece of Blushing Bride Cardstock to 21 x 14.8 cms; score at 10.5cms; fold & Burnish
- Trim a piece of Watercolour Paper to 14 x 9.7 cms; Moisten the paper using water and a Stampin Spritzer
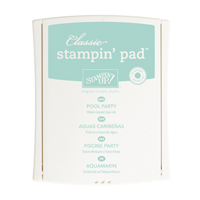
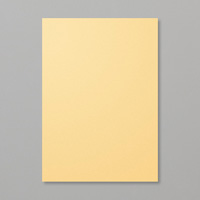
- Ink up the acrylic block with 1/3 Blushing Bride Ink, 3rd Pool Party Ink & 3rd So Saffron; Mist with water and stamp onto the watercolour paper, holding it down to allow the inks to soak into the paper. Dry with a heat tool if you wish.
- Trim a piece of White Vellum to 14 x 3 cms and using Fast Fuse, overlay the dried watercolour paper.
- Heat emboss a strip of Basic Black Cardstock, measuring 10.5 x 1.5cms, using the smallest Birthday greeting from the Happy Happenings Stamp Set, with Versamark Ink Pad, dust with White embossing Powder & Heat set.
- Using paper snips, create Banner Ends to your label & mount on top of the Vellum using Stampin Dimensionals.
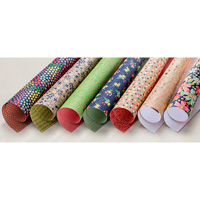
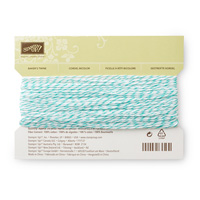
- Punch 3 Butterflies using 3 of the papers from the Affectionately Yours Designer Series Paper Pack, with the Elegant Butterfly Punch & using Mini Glue Dots, adhere them to the card front. Mat onto the Card Base using Fast Fuse or Tear & Tape & finish with a few Basic Rhinestones and a Bermuda Bay Bakers Twine Bow.

How to Contact or Follow Me
Kim Tolton, Independent Stampin Up Demonstrator.
Card & Papercraft Tutorials
Please feel free to comment below, and ask away with any questions. You can also find me via the links below
Blog:
Online Store:
Stamping @ The Warren Craft Forum:
Email:
kim.tolton@googlemail.com
youTube
Pinterest:
Google +
Facebook:
Twittert:
Instagram:
@kim.tolton
LinkedIn:
No comments:
Post a Comment