
Today I have another old Catalogue/New Catalogue Combo Card for you.
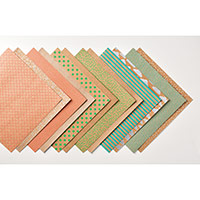
I have used the Birthday Blossoms Stamp Set in wood mount with a combination of Flirty Flamingo and Sweet Sugarplum Inks to create the background and the Pansy Petals. There is also a sneak Peak of one of the new Designer Series Papers (DSP) that will be in the new catalogue in June. I have used Mint Macaron Cardstock from the Rolling Over In Colour Collection, and demonstrates how carefully Stampin Up co-ordinates it's entire range, so that colour Collections not only contrast with one another, but how they compliment too ... and this follows over into all the accessories.
It makes card making & Scrapbooking so much easier!
The fill tutorial and video can be found further down today's blog post

 |  |  |  |  |  |  |
 |  |  |  |  |  |  |
 |  |  |  |  |
TUTORIAL
- CARD BASE Trim a piece of Mint Macaron Cardstock to 30 x 10.5 cms; Score at 14.8 cms; fold & Burnish
- Trim a piece of Shimmery White Cardstock to 14 x 9.7 cms; Randomly stamp the blossom stamp using a combination of Flirty Flamingo & Sweet Sugarplum Ink Pads to create the background.
- Mat the stamped panel onto a piece of Affectionately Yours Designer Series Paper (I have substituted this with the Shine On DSP Pack that is in the retiring Bin on my website) Measuring 14.4 x 10.1 cms & mount onto the card base using Stampin Dimensionals
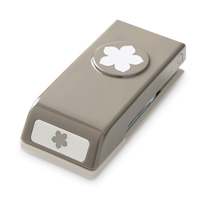
- Onto scraps of Shimmery White Cardstock, stamp x3 Pansy Flowers in a combination of Flirty Flamingo & Sweet Sugarplum ink pads. Punch out the flowers using the Pansy Punch
- Stamp 3 leaves using Emerald Envy Ink Pad, and Fussy Cut them out using Paper Snips.
- Trim a strip of Shimmery White Cardstock to 3 x 10.5 cms & another of the same size using contrasting DSP.
- Stamp the Shimmery White Panel with the birthday sentiment/banner using Archival Black ink Pad. Mat these onto the card front at opposing angles and snip off any excess cardstock
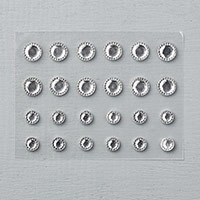
- Mount the flowers onto the card front using Stampin Dimensionals, and add a couple of Ices Rhinestones to finish.

How to Contact or
Follow Me
Kim Tolton, Independent Stampin Up Demonstrator.
Card & Papercraft Tutorials
Please feel free to comment below, and ask away with any questions. You
can also find me via the links below
Blog:
Online Store:
Stamping @ The Warren Craft Forum:
Email:
kim.tolton@googlemail.com
youTube
Pinterest:
Google +
Facebook:
Twittert:
Instagram:
@kim.tolton
LinkedIn:
No comments:
Post a Comment