First things First
Here is this months Hostess Code
Now yesterday, I promised you another Watercolour Card, and here it is.
I love this card and if you look to the right hand side, you will see there is a wind break fence.
Does it look familiar to you? No?
Well yesterday's card gave you a sneak peak of the Marquee Sayings Stamp Set, and it is one of the borders on that stamp, that I masked off to create the wind break
I do struggle sometimes, to look outside the box. This was one of those stamps, and then I woke in the early hours of one morning, and thought, I wonder??? And it worked a dream. So I hope you enjoyed it. Be warned that the die I used to create the label is in the retiring bin, so get in there quick!
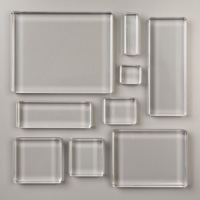
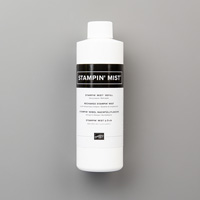
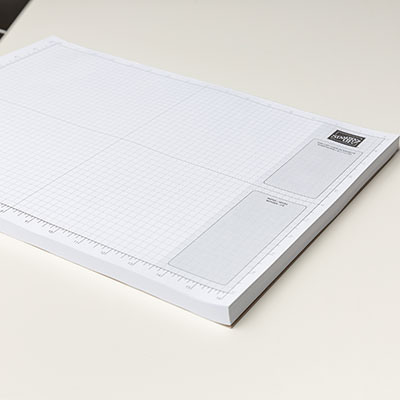
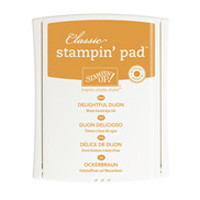
Just click on the product icons below this picture, and it will take you to my online store.
Table built using Product Table Builder by The Crafty Owl - Independent Stampin' Up! Demonstrator.
VIDEO
Tutorial
- Trim a piece of A4 Tip Top Taupe Cardstock to 30 x 10.5 cms; score in the middle of each piece at 14.8 cms, and you will have two card bases. One for now, and one for later!
- Trim a piece of Shimmery White Cardstock to 14 x 9.7 cms
- Moisten the surface of the shimmery cardstock, using drops of water from your aquapainter
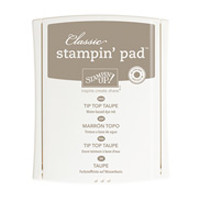
- Paint the sand using Delightful Dijon ink, with some Tip Top Taupe blended in to tone down the yellow.
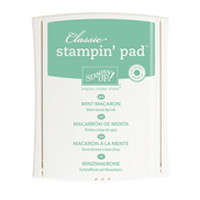
- Above that, create the sky using Mint Macaron Ink
- The last bit of watercolour is adding a little watered down Delightful Dijon ink for the sun coming though the Skye Allow the cardstock to completely dry
- Begin by stamping that wind break using the Marquee Messages Stamp Set in Tip Top Taupe ink. I used some scrap paper to Mask off the rest of the stamp
- Stamp the Ducks just below the horizon using Early Espresso Ink
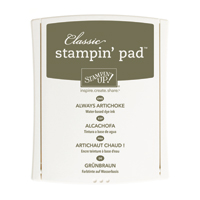
- Then randomly stamp a load of grass using a combination of Crumb Cake & Always Artichoke ink pads
- Stamp the sentiment onto a scrap of Shimmery White Cardstock using Early Espresso Ink & Die cut using one of the Dies from the Project Life Cards & Labels Framelets Dies
- Cut another two labels using Lost Lagoon cardstock (watch the video to see how to layer the label. Pop the label onto the card front using Stampin Dimensionals Add some Linen Thread and you are done.
How to Contact or
Follow Me
Kim Tolton, Independent Stampin Up Demonstrator.
Card & Papercraft Tutorials
Please feel free to comment below, and ask away with any questions. You
can also find me via the links below
Online Store:
Stamping @ The Warren Craft Forum:
Email:
kim.tolton@googlemail.com
youTube
Pinterest:
Google +
Facebook:
Twittert:
Instagram:
@kim.tolton
LinkedIn:








No comments:
Post a Comment