Daydream Medallions
is the order of the day
This versatile stamp set can be made to look contemporary, vintage or even Steampunk just by changing the colour schemes
Here I have gone with the contemporary with a vintage twist
by using Blackberry Bliss which is so on trend right now, with Soft Suede to tone it down, and a Vintage Button tied with Linen Thread.
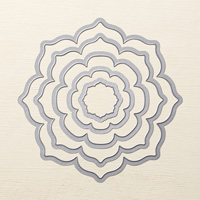
The stamp set co-ordinates perfectly with the Floral Frames Framelits which has created that layered look. I have used Stampin Dimensionals between each layer (including the button.) I know it will have to be posted as a large letter, but sometimes those extra pennies are worth the love and attention to give to your card making when it is for someone you love and care about.

I heat embossed in alternating layers of Blackberry Bliss and Soft Suede.
You need to use the following Heat Embossing technique to achieve this:
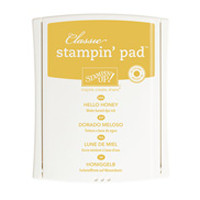
Ink up your stamp with Versamark Ink (this is slow drying so there is no rush) and without stamping, you need to ink your stamp with your chosen colour classic ink pad (i.e. Blackberry Bliss or Soft Suede), STAMP onto Whisper White cardstock, Dust with CLEAR Embossing Powder .
Melt the embossing powder with your heat tool.
The embossing powder should melt very quickly. DO NOT wiggle your heat tool about or your cardstock will warp. Instead, slowly move the heat tool around the stamped image as the ink melts.
For best results, I always let my heat tool warm up for 30 seconds before starting to heat the image.
If you haven't done any heat embossing, start with a metallic embossing powder, such as gold, as the transformation is spectacular and is very visual with regards to just how quickly the powder melts, and it cools just as quickly.

Once you have Heat Embossed each of the Medallions, you need to die cut them using the Floral Framelits.
You will need to trim a piece of Whisper White Cardstock to 13.8 cms x 9.5 cms. Mat this onto a piece of Blackberry Bliss cardstock measuring14.3 cms x 10 cms
Mount your layered Medallions onto the card front, thread your Vintage Button with Linen Thread and attach a Stampin Dimensional to the reverse and adhere the button to your top layer of Medallions.
Finally, is the label. I trimmed a piece of Whisper White cardstock to 1 cm x 12 cm and stamped this with the Just Because Sentiment from the A Dozen Thoughts stamp set in Blackberry Bliss ink. This was trimmed to size using the Banner Punch by inserting the label in through the top of the punch and guide it between the cutting plates and punch. (practice this technique on some scrap cardstock first). Rotate and repeat with the opposite end.
Mat (layer) this onto a piece of Blackberry Bliss cardstock measuring 1.5 cms x 13 cms and trim to size using the Banner Punch as above. Attach Stampin Dimensionals to the reverse of the label and position on your card front.

If you
would like to join my Pinterest community board where you will be able to post
your own Stampin Up creations. Simply email me and I will add you to the board
kim@stampinupatthewarren.com
If you would like
to ask any questions on techniques or products, or anything else related to my
blog posts, please feel free to ask away
Happy Stamping
Kim xxx
Contact me to
order:
Telephone/Txt:
07759587004
Email: kim@stampinupatthewarren.com
Or Order
Online 24/7
Or Click on the
image of the products used below and it will take you straight to my online
store
 |  |  |  |  |
 |  |  |  |  |
 |  |  |  |  |
 |  | 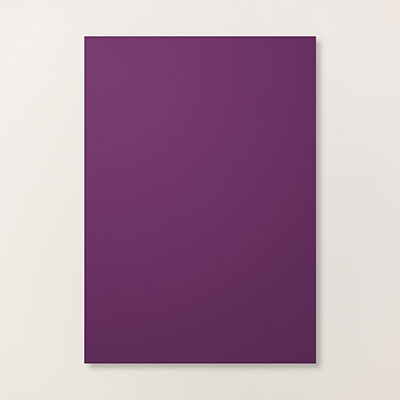 |
Table built using Product Table Builder by The Crafty Owl - Independent Stampin' Up! Demonstrator.