google-site-verification: google70410e9e92d4fda2.html
Showing posts with label my digital studio;. Show all posts

Wednesday, 18 March 2015

Sale A Bration 2015 Week 11 Day 2


Daydream Medallions 
is the order of the day

This versatile stamp set can be made to look contemporary, vintage or even Steampunk  just by changing the colour schemes 

Here I have gone with the contemporary with a vintage twist
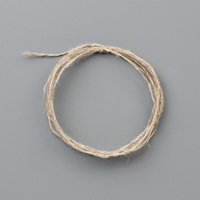
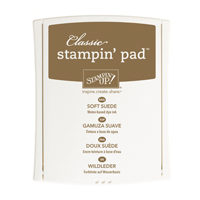
by using Blackberry Bliss which is so on trend right now, with Soft Suede to tone it down, and a Vintage Button tied with  Linen Thread.

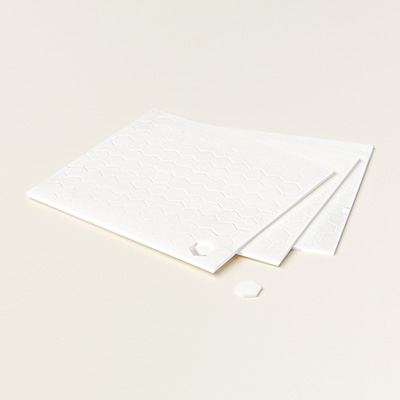
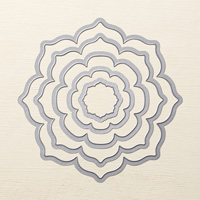
The stamp set co-ordinates perfectly with the Floral Frames Framelits which has created that layered look. I have used Stampin Dimensionals between each layer (including the button.) I know it will have to be posted as a large letter, but sometimes those extra pennies are worth the love and attention to give to your card making when it is for someone you love and care about.

I heat embossed in alternating layers of Blackberry Bliss and Soft Suede.
You need to use the following Heat Embossing technique to achieve this:

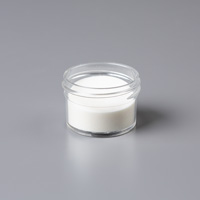
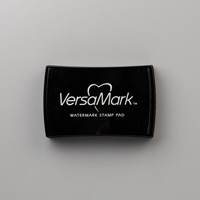
Ink up your stamp with Versamark Ink (this is slow drying so there is no rush) and without stamping, you need to ink your stamp with your chosen colour classic ink pad (i.e. Blackberry Bliss or Soft Suede), STAMP onto Whisper White cardstock, Dust with CLEAR Embossing Powder .
Melt the embossing powder with your heat tool.

The embossing powder should melt very quickly. DO NOT wiggle your heat tool about or your cardstock will warp. Instead, slowly move the heat tool around the stamped image as the ink melts. 

For best results, I always let my heat tool warm up for 30 seconds before starting to heat the image.

If you haven't done any heat embossing, start with a metallic embossing powder, such as gold, as the transformation is spectacular and is very visual with regards to just how quickly the powder melts, and it cools just as quickly.


Once you have Heat Embossed each of the Medallions, you need to die cut them using the Floral Framelits.
You will need to trim a piece of Whisper White Cardstock to 13.8 cms x 9.5 cms. Mat this onto a piece of Blackberry Bliss cardstock measuring14.3 cms x 10 cms

Mount your layered Medallions onto the card front, thread your Vintage Button with Linen Thread and attach a Stampin Dimensional to the reverse and adhere the button to your top layer of Medallions.

Finally, is the label. I trimmed a piece of Whisper White cardstock to 1 cm x 12 cm and stamped this with the Just Because Sentiment from the  A Dozen Thoughts stamp set in Blackberry Bliss ink. This was trimmed to size using the Banner Punch by inserting the label in through the top of the punch and guide it between the cutting plates and punch. (practice this technique on some scrap cardstock first). Rotate and repeat with the opposite end.
Mat (layer) this onto a piece of Blackberry Bliss cardstock measuring 1.5 cms x 13 cms and trim to size using the Banner Punch as above. Attach Stampin Dimensionals to the reverse of the label and position on your card front.


If you would like to join my Pinterest community board where you will be able to post your own Stampin Up creations. Simply email me and I will add you to the board
kim@stampinupatthewarren.com

If you would like to ask any questions on techniques or products, or anything else related to my blog posts, please feel free to ask away
Happy Stamping
Kim xxx

Contact me to order:
Telephone/Txt: 07759587004
Email: kim@stampinupatthewarren.com

Or Order Online 24/7
                                                                                               
Or Click on the image of the products used below and it will take you straight to my online store
Table built using Product Table Builder by The Crafty Owl - Independent Stampin' Up! Demonstrator.



Sunday, 8 March 2015

Sale A Bration 2015 Week 9 Day 7

Friendship is a Sheltering Tree
Isn't that just the most wonderful sentiment?
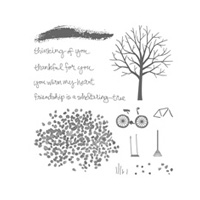
This fab Stamp Set can provide you with a year round stamp set.
Change the colour scheme and the addition of the other teeny stamps in the set, can produce a versatile stamp set that can be used for any of the seasons.


Here, I have treated the stamp set simply.

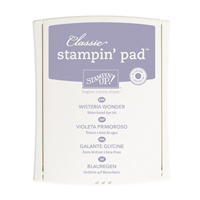
The colours and the stamps used remind me of the early morning sky at this time of year, with the winds blowing around the remaining leaves.Begin by trimig a piece of Whisper White cardstock to 14.3 x 10 cms. I have used a combination of Blushing Bride and Wisteria Wonder ink pads.
I began by stamping the tree in Wisteria Wonder ink, using 1st & 2nd generation stamping technique, This was overstamped with Blushing Bride ink (again, 1st & 2nd generation stamping technique which results in an almost a three dimensional effect to the cardstock.


Next came the solid mound, again stamped in Wisteria Wonder ink,
The sentiment was stamped onto Whisper White cardstock using Basic Black ink. once dry, overstamp this with the same stamps and colours as was used in the main card. Trim the strip to 1cm x 14.3 cms. Add stampin Dimensionals to the reverse and adhere to the bottom section of the card.
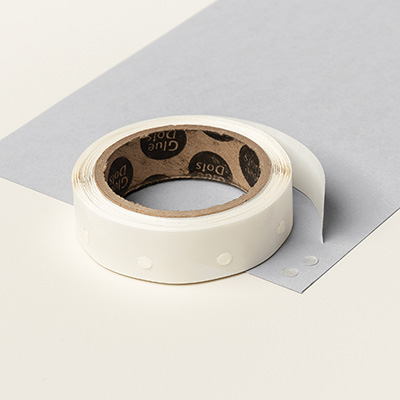
Add a few Wisteria Wonder / Perfect Plum Designer Buttons (from Regals and/or Subtles colour collection, using Glue Dots.

And it is as simple as that.
What say you?


If you would like to join my Pinterest community board where you will be able to post your own Stampin Up creations. Simply email me and I will add you to the board
kim@stampinupatthewarren.com

If you would like to ask any questions on techniques or products, or anything else related to my blog posts, please feel free to ask away
Happy Stamping
Kim xxx

Contact me to order:
Telephone/Txt: 07759587004
Email: kim@stampinupatthewarren.com

Or Order Online 24/7
                                                                                               

Or Click on the image of the products used below and it will take you straight to my online store
Table built using Product Table Builder by The Crafty Owl - Independent Stampin' Up! Demonstrator.


Sunday, 1 March 2015

Sale A Bration 2015 Week 8 Day 7


Firstly, my apologies for not posting yesterday
I am waiting on a replacement Spinal Cord Stimulator to be fitted as my existing one has reached it#s end of life early January, and I am waiting on confirmation that the funding for the replacement has been renewed. In the meantime, life is a bit grim as despite increasing my regular and break through pain medications, life is a challenge right now, my pain is out of control (I know, it sucks!) but yesterday was especially grim and all the additional opiate I needed to get me through the long night and day, ended up with me falling into a deep sleep until awoken by my hubby in the early hours and frogmarched (ha ha) to bed . I am hoping to receive funding approval very soon, and will then be out of action for a week or so until the wounds have healed well enough to be able to sit and type. 
It might not even be that long as I find that distracting myself with things that I can get engrossed in, helps my pain perception enormously!
In the meantime, I will keep business as usual as best as I can, but please be gentle with me if I am not getting posts out daily.

Now back to the fun part .... Making cards!

Todays card is using the Painted Petals Stamp Set from the  Spring/Summer Seasonal Catalogue (page 19)
I didn't initially order this stamp set, but after using it at one of our Team Meetings, I decided to add it to my order, and I am SO pleased I did as I have had loads of fun playing around with it.

Instead of posting a list of products used here, you can scroll to the bottom of this post (below my contact details) and you will find product icons that will take you straight to the item in my store so you can browse or order easily


And here I have used a combination of the following Classic Ink Pads using a Stamping Off technique to create the pastel tones:

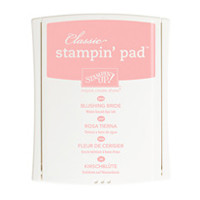
Blushing Bride
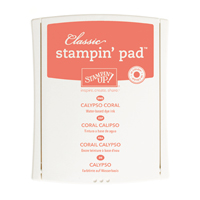
Calypso Coral
Crisp Cantaloupe
Rich Razzelberry

and the  leaves using
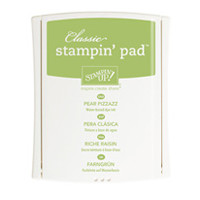
Pear Pizazz


I stamped the images onto Whisper White Cardstock.
I then hen Mat (layered) this panel onto Rich RaRazzleberryardstock and trimmed a 1cm strip of the same cardstock and attached it across the lower third of the card front.

Next I stamped the Thank You Sentiment in the same Stamp Set using Rich Razzleberry on Whisper White Cardstock and punched the label out using the Curly Label Punch.
I also punched two more labels using the Curly Label Punch from Rich Razzleberry cardstock.
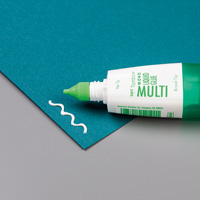
Cut each one in half and attach them to the back of the  stamped label using tiny amounts of Tombow Multi-Purpose Liquid Glue to create a layered label.
Attach Stampin Dimensionals to the reverse an attach to the bottom of the card front at an angle.
Glue the card front to your A6 White Card Blank
Finish by adding a few Basic Rhinestones


If you would like to join my Pinterest community board where you will be able to post your own Stampin Up creations. Simply email me and I will add you to the board

If you would like to ask any questions on techniques or products, or anything else related to my blog posts, please feel free to ask away
Happy Stamping
Kim xxx

Contact me to order:
Telephone/Txt: 07759587004

Or Order Online 24/7
                                                                                               
Or Click on the image of the products used below and it will take you straight to my online store
Table built using Product Table Builder by The Crafty Owl - Independent Stampin' Up! Demonstrator.