
Today, Ladies and Gentlemen, I have another Wedding Project that has been Cased from the Stampin Up Annual Catalogue (pg 153). In my Wedding Workshop, these were being made into Place Cards and will be presented in vintage Teacups with saucers ... beautifully Kitch and Shabby Chic
And here is your Products List:
Tea Party Stamp Set
Subtles Designer Series Paper Stack
Subtles Stampin Write Markers
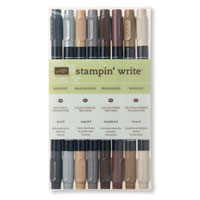
Neutrals Stampin Write Markers
Whisper White Cardstock
Kraft Cardstock
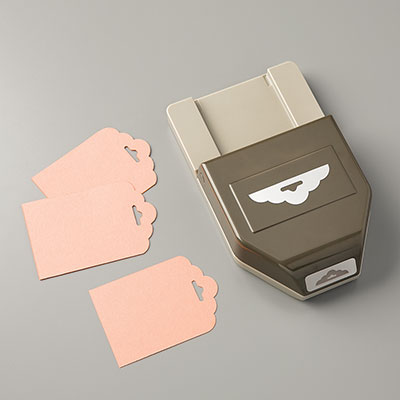
Scallop Tag Topper Punch
Project Life Corner Punch
Banner Punch
Ovals Framelits
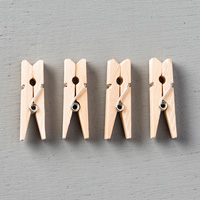
Clothespins
Chevron Ribbon (pear Pizzaz, Marina Mist & Blushing Bride)
Linen Thread
Stampin Dimensionals
Tombow Multi-purpose Glue

This is great fun to do with a group of you ... it could be the bridesmaids, best man & ushers, and parents of the bride and groom.
But you could also easily adapt this into a greetings card in it's own right.
Begin by Colouring your Stamp using a combination of Stampin Write Markers from the Subtles and Neutrals Packs, stamping onto Whisper White cardstock.
We used Soft Suede to colour the frame/surround and sentiment, and subtles markers for the flowers.
Stamp out as many as you you need in one go, then clean the stamp and just ink up the sentiment with the neutrals markers and again stamp our as many as you require. You will need to re-colour the stamps after each stamping.

Next, you need to cut out the stamped images using Oval Framelits. When doing this in large numbers is much less frustrating if you have a Magnetic Platform on your Big Shot as it will give you well positioned die cuts each time.
Apply Stampin Dimensionals to the reverse of the ovals.
Then die cut the next size up framelits, using Kraft Cardstock.
Mount the Stamped Ovals on top of the Kraft Card Ovals and apply Dimensionals tot he reverse,
Next, Trim the sentiments you stamped to just approx 1cm each side of the sentiment, and 1.5 cms wide. Then use your Banner Punch to create Banner ends to the labels. To do this, you need to insert the cardstock in through the top of the Banner Punch and guide the cardstock between the cutting blades and punch. Apply Dimensionals to the reverse of these too and attach them on top of the sentiment that was stamped onto your ovals.
Measure the width of your oval and the height and trim a piece of Subtles Designer Series Paper to 1cm wider and taller than the largest Oval layer.
Round the corners of the DSP using the Project Life Corner Rounder Punch.
Next, Trim a piece of Whisper White Cardstock to 5 x 11 cms and use the Scallop Tag Topper Punch to create the shapely top to the tag. Adhere this to the back of the DSP using small amounts of Tombow Multi-Purpose Glue
Thread a little Subtles Chevron Ribbon and secure it by tying a knot/bow with the Linen Thread.
It is time consuming when doing large amounts, but if you do it as piece work, (i.e. do one job at a time before moving onto the next task..)
Sharing the task of making your own wedding stationary etc, can make it a fun exercise and provides a very unique and personal Wedding!
What I offer is support as you plan and a couple of classes to help you on the way!

If you
would like to join my Pinterest community board where you will be able to post
your own Stampin Up creations. Simply email me and I will add you to the board
kim@stampinupatthewarren.com
If you would like
to ask any questions on techniques or products, or anything else related to my
blog posts, please feel free to ask away
Happy Stamping
Kim xxx
Contact me to
order:
Telephone/Txt:
07759587004
Email: kim@stampinupatthewarren.com
Or Order
Online 24/7
Or Click on the
image of the products used below and it will take you straight to my online
store
 |  |  |  |  |
 |  |  |  |  |
 |  |  |  |  |
 |  |  |  |  |
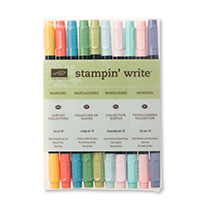 |
Table built using Product Table Builder by The Crafty Owl - Independent Stampin' Up! Demonstrator.


No comments:
Post a Comment