
Now then, I wonder how many of you really take note of my daily ramblings?
Because, I made a BIG blooper of an error between yesterday and today's post.
My question is ... What is that error?
Leave me a message below or on my Google Plus account, or my Facebook page, if you think you know what I have done wrong :)
Leaving that behind for a moment, today's card features Butterfly Basics Stamp set
Combined with the Perpetual Birthday Calendar Stamp Set.
And here is your supplies list:
Stamp Set:
Butterfly Basics
Perpetual Birthday Calendar
Punch's:
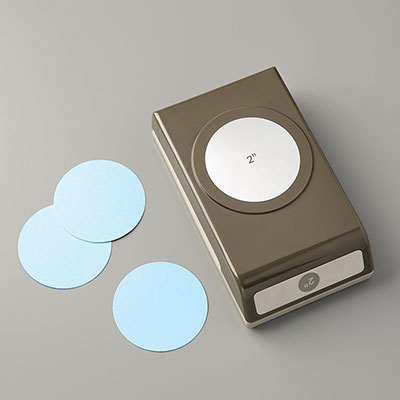
2" Circle
2 3/8" Scallop Circle
Banner
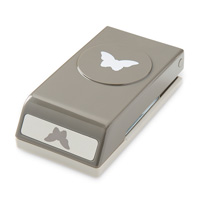
Bitty Butterfly
Cardstock:
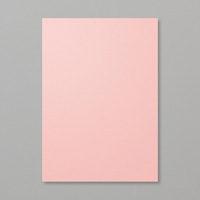
Blushing Bride
Pear Pizzazz
Calypso Coral
Whisper White
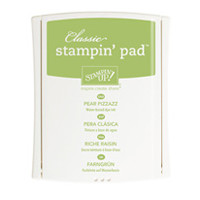
Classic Ink Pads:
Pear Pizzazz
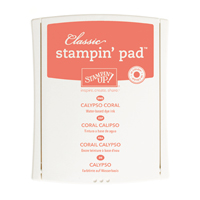
Calypso Coral
Blushing Bride
Basic Black
Accessories:
Basic Rhinestones
Tools:
Stampin Trimmer
Stampin Sponges
Paper Piercing Tool
Stampin Pierce Mat
Adhesives:
Stampin Dimensionals
Tombow Multi-Purpose Glue
Glue Dots

And here is how to make it .... don't worry, it is painless and very quick to make, I promise!
Begin by trimming a piece of Pear Pizzazz cardstock to 14.3 x 10 cms
Trim a piece of Whisper White cardstock to 13.8 x 9.5 cms.
Now you are going to start stamping the Whisper White Panel.
First, take the butterfly stamp from the Perpetual Birthday Calendar Stamp Set and randomly stamp the cardstock using Blushing Bride ink.
Next, select the small floral stamp from the same stamp set, and randomly stamp the cardstock using the Calypso Coral ink. And then stamp the fern stamp a couple of times from Butterfly Basic Stamp Set to the right side of the card front, using Pear Pizzaz ink.
Sponge the edges of the stamped panel using Pear Pizzazz ink.
Next Trim a piece of Calypso Coral Cardstock to 1.5 x 13.8 cms and stick to the left hand side of the card front using a little Tombow MP Liquid Glue.
Now trim a piece of Blushing Bride Cardstock to 2 x13.8 cms.
Make a Banner end to the Blushing Bride strip of cardstock by inserting the cardstock in through the top of the Banner Punch and guide it between the cutting blades, and punch. Attach the banner to the centre of the card front,

Next, use the 2" Circle Punch to punch a circle of Whisper White cardstock
Stamp this circle using the Honeycomb stamp from Butterfly Basics Stamp Set.
Over Stamp this with the Caterpillar sentiment stamp using Basic Black ink.
Punch a 2 3/8" scallop circle in Pear Pizzazz cardstock.
Now you will need a piercing Tool and the Stamping Pierce Mat.
Lay the scallop Circle on top of the piercing mat and regularly pierce small hole all the way around the scallop edge,
Mount the Circle on to of the scallop Circle using Stampin Dimensionals.
Apply stampin Dimensionals to the reverse of the scallop circle and mount just off centre of the card front.
Stamp 3 small butterflies from the Butterfly Basic Stamps Set using Calypso Coral ink onto Whisper White cardstock.
Punch out the butterflies using the Bitty Butterfly Punch. Ink the edges of the Butterfly wings and attach them aesthetically on the card front and embellish the butterflies using a few Basic Rhinestones.
Mount the card front onto your A6 White Card Blank and the work is complete!

If you
would like to join my Pinterest community board where you will be able to post
your own Stampin Up creations. Simply email me and I will add you to the board
If you would like
to ask any questions on techniques or products, or anything else related to my
blog posts, please feel free to ask away
Happy Stamping
Kim xxx
Contact me to
order:
Telephone/Txt:
07759587004
Email: kim@stampinupatthewarren.com
Or Order
Online 24/7
Or Click on the
image of the products used below and it will take you straight to my online
store
 |  |  |  |  |
 |  |  |  |  |
 |  |  |  |  |
 |  |  |  |  |
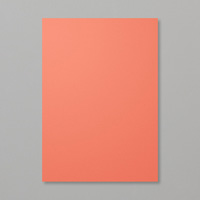 | 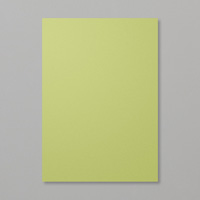 |  |  | 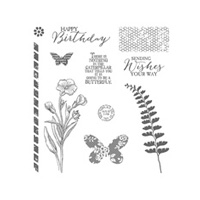 |
Table built using Product Table Builder by The Crafty Owl - Independent Stampin' Up! Demonstrator.


No comments:
Post a Comment