
I am really pleased with today's card. You know the way you make a cup of tea or coffee, and most of the time it is OK, occasionally it is pants, and barely drinkable, but every once in a while you get that Cuppa Spot On?
Well the same is true with card making. Despite the creative idea's saying something should work, it doesn't always come together and ends up in the bin. and every once in a while everything clicks. And that is how I feel about this card.
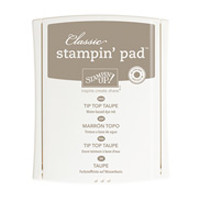
I am certain it is due to how cleverly Stampin Up's Design Team have developed the new In Colours Collection, and although four of the 5 colours are intense and bright, the Tip Top Taupe, balances out those colours, toning them down a tad.
Add to that the contrast of that rich Early Espresso that I have used for the ship, just makes that topper pop up at you.
If only all my cards were so successful lol

Anyway, here are the products I have used today.
Just click on the product icons below to view or purchase them
 |  |  |  |  |
 |  |  |  |  |
 |  |  |  |  |
Table built using Product Table Builder by The Crafty Owl - Independent Stampin' Up! Demonstrator.

And here is how I made it:
I began by making my A6 card blank using Tip Top Taupe Cardstock
Remember that the Stampin Up Trimmer comes with both cutting and scoring blades.
Next trim a piece of Very Vanilla Cardstock so that it has just a narrow border when mat (layered) onto the card base (I make mine 4 mm narrower and shorter than the card front).
Now you are going to use an Ink Pad Drag Technique
It is a great way of creating striking backgrounds and works really well with the World Map stamp.
you are going to gently swipe the following ink pads over the Very Vanilla cardstock, overlapping them and also leaving some areas without additional ink:
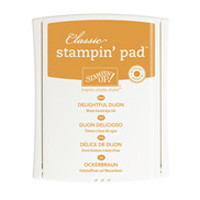
Delightful Dijon
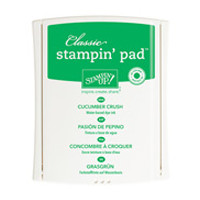
Cucumber Crush
Mint Macaroon
Next , ink up the World Map background rubber stamp using theTip Top Taupe Classic Ink Pad and over-stamp the background you have just created.
Adhere this to your card front sparingly using Tombow Multi-Purpose Liquid Glue (it doesn't warp the cardstock like other liquid glues)
Now stamp your Ship p onto a 7 cm x 7 cm square of Very Vanilla Cardstock using the Early Espresso Classic Ink Pad.
Once the ink is dry, Mat onto a piece of Mint Macaroon Cardstock,
Apply Stampin Dimensionals to the reverse and attach to the centre of the card front.
Finally, stamp your chosen greeting from the And Many More Stamp Set using Tip Top Taupe classic ink pad, onto a scrap of Very Vanilla Cardstock.
Trim to 1cm wide and use the Banner Punch to create banner ends (slot the cardstock through the top of the punch and guide between the cutting plates)
Mat onto a piece of Mint Macaroon Cardstock, add Stampin Dimensionals to the reverse and mount at the top of your card front.
And there you have a lovely birthday or Farthers Day card for a special man in your life, be it son, partner or Father.

Would like to JOIN my Pinterest Community
Board where you will be able to post your own Stampin Up! Makes?
If the answer is YES
please email me via
Click the banner below to vie the retiring Stampin Up! Products

If you have any
questions on techniques, orders, products etc, please ask away by adding
comments below, or you contact me via:-
Email me: kim@stampinupatthewarren.com
Text: 07759587004 OR
Order Online: http://www.stampinupatthewarren.stampinup.net

No comments:
Post a Comment