
Now then ladies .... I am sure many of you will be feeling Fifty Shades as you view this stamp set for the first time! Oh Yes!!
You should have heard the ooooh's and aaaahhhh's in the room as this card was Demonstrated At the Stampin Up! Demonstrator Event at the weekend.
I know that once you have the new Annual Catalogue in your hands, you are going to zoom in on this stamp set and need to sit down and take some deep breaths.
For me, this IS the stamp set of the catalogue as it is an amazing background builder set, and what is more, it is the perfect companion to the Butterfly Basics Stamp Set.

Here are the products used for today's card
Just click on the product icon to view the product in more detail, or to place and order
you will have to wait for the new catalogue release to view or order the stamp sets used today
 |  |  |  |  |
 |  |  |  |  |
 |  |  | 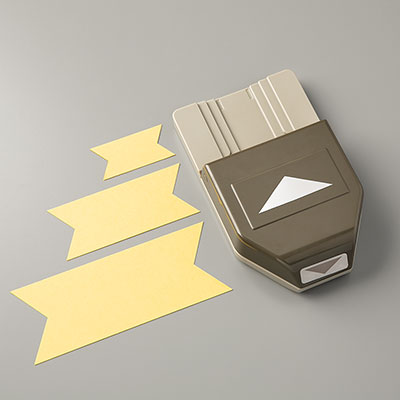 |  |
Table built using Product Table Builder by The Crafty Owl - Independent Stampin' Up! Demonstrator.
The Card Base was made using one of the new Incolours - Mint Macaroon.
Using Mint Macaroon ink pad and the flower from the Awesomely Artistic Stamp Set, ink up the stamp and stamp off onto some scrap paper, and use the second generation stamp on the cardstock
#################################################################################
{STAMPING OFF & SECOND GENERATION STAMPING TECHNIQUE}
This technique is used when you want a lighter (less intense) tone of ink for your project
To do this, ink up your stamp, stamp off onto some scrap paper (this is the first generation stamping), this will leave a residue of ink on the stamp, so WITHOUT RE-INKING your stamp you then stamp onto your project cardstock, you will have a less intense colour than the first generation stamp, but the same tone (second generation stamping). Some colours are very intense in colour, and you can get up the fourth generation stamping and still have colour when stamped onto cardstock
#################################################################################

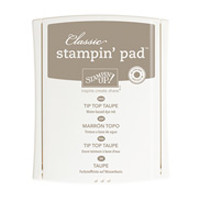
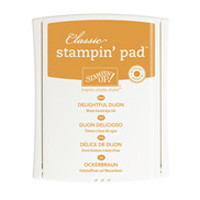
The Dragonfly was stamped onto a separate piece of Whisper White Cardstock using the Delightful Dijon Classic ink Pad and cut out with paper snips., I used Tip Top Taupe to stamp the teeny dotty background stamp in a couple of places. Add a couple of Stampin Dimensionals to the reverse of the dragonfly and attach to your cardstock.
Using Fast Fuse adhesive, attach a strip of Burlap Ribbon to the bottom of your Whisper White cardstock,
Finally, Select your Thank you stamp from the new sentiment stamp set (in the new catalogue) One Big Meaning and stamp onto whisper White cardstock using Mint Macaroon ink.
Apply a few stamping Dimensionals to the revers, and put a little Fast Fuse on the reverse too, and before adhering the sentiment to the card front, you need to roll up a little Linen Thread around you fingers to create some loops of the thread, attach these to the Fast Fuse on the back of the sentiment. Now you can stick down the sentiment (if you want, create some banner ends to the sentiment)
Attach the card front to your Mint Macaroon Card Base, add a few Basic Pearls, and there you have a stylish card that could be used for just about any occasion.
Trying making it in neutral /sepia tones, without the flower, and more of the background stamps in the set, and you could also have a masculine card, especially for the fisherman in your life!

Would like to JOIN my Pinterest Community
Board where you will be able to post your own Stampin Up! Makes?
If the answer is YES
please email me via

Click on the Banners above or below to view retiring, clearance rack and sneek a peek at new products

If you have any
questions on techniques, orders, products etc, please ask away by adding
comments below, or you contact me via:-
Email me: kim@stampinupatthewarren.com
Text: 07759587004 OR
Order Online: http://www.stampinupatthewarren.stampinup.net
No comments:
Post a Comment