
Today is box card day
No not a card in a box, but a card that is a box
I'm making preparations for a Wedding Workshop
And coming up with projects for the attendees to make.
And whilst these box cards have that WOW factor, they are actually very simple to make
Ideally you want a Simply Scored Tool, with the Metric Board, and use the small end of the stylus
You could also use the scoring blade on your Stampin Trimmer!
I have gone with White, Silver and Mint Macaron Colour Scheme
But you can change this for the colour of the wedding if you chose.
I used the Smokey Slate DSP, since it has a silver look, for covering the box
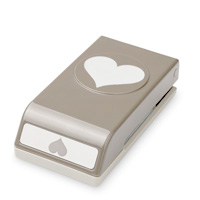
And dry embossed the punched Sweetheart Hearts using the Spring Flowers TIEF
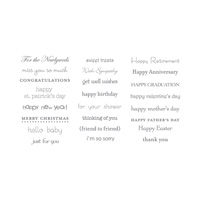
The sentiment is from Teeny Tiny Sentiments Stamp set, and although the sentiment is straight, it will fit inside the curved Bitty Banner, giving the appearance of a curved sentiment.

And here are the products i used to create this Box Card
Click on the item icons for more information
 |  |  |  |  |
 |  |  |  |  |
 |  |  |  |  |
 |  |  |  |
Table built using Product Table Builder by The Crafty Owl - Independent Stampin' Up! Demonstrator.

And this is how you can re-create this card
Trim a piece of A4 Thicker Whisper White Cardstock to 25 cms x 15 cms.
With the long side at the top of your Metric Scoring Board, Score at 6, 12, 18, & 24 cms
Rotate the cardstock by 90 degrees, so the short side is at the top of the scoring board, and score at 8 cms
Next, you need to use your Craft Scissors to cut to the first score like ont the 7cm wide section (this is going to make the flaps of the card. Where there is the 1cm wide tab at the end, trim this little bit off completely to that first score line.
Round the corners of each of the 4 flaps using your Project Luft corner Punch, or the Corner Punch on your Envelope Punch Board.
Place a piece of F Tear & Tape Adhesive on the small tab remaining on the scored box, and adhere the small tab to the same area on the opposite end of the box. You will now have a box (with no base) and 4 flaps
The last bit of the construction is to put in the cross bar that you will attach your decoration to
Trim a piece of Whisper White cardstock to 1 cm x 8 cms Score the long side at 1 cm, rotate by degrees, and score the other end at 1 cm also.
Use your bone folder to fold this stripp into a Z Fold
Attach a piece of Finger Lift Tape to each of the small tabs, and adhere across the middle of the box, from left to right
That is the basic construction done

Now for the decorating
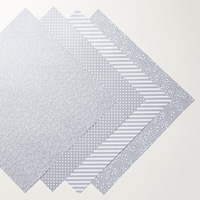
Trim the following pieces of Neutrals Designer Series Paper Stack
Make sure if you are using a one way pattern, that you trim it in the correct orientation!
You will need:
2 x pieces of DSP measuring 5.6 cms x 14.6 cms (the back panel)
Use Tombow Multipurpose Liquid Glue to adhere the above to DSP the front and back of the Base and top flap (to give Stability to this longer panel.
3 pieces of DSP measuring 5.6 cms x 7.6 cms
3 pieces of DSP measuring 5.6 cms x 6.6 cms
3 pieces of DSP measuring 5.6 cms x 7.6 cms (Contrast)
3 pieces of DSP measuring 5.6 cms x 6.6 cms (Contrast
Next, round the corners of the DSP for the 'Flaps'
Adhere the above to the to the box using small amounts of Tombow
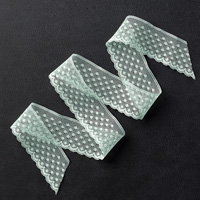
Use some Mint Macaron Dotty Lace Trim to wrap around the back panel, and tie a bow at the front of the panel (see photo's)
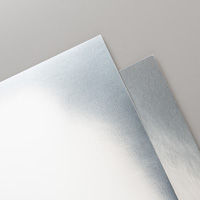
Next, punch out some Sweetheart Hearts from Whisper White, Mint Macaron & Silver Foil Cardstock
Dry emboss the hearts using the Spring Flowers TIEF
Attach 3 of the Foil Heart, one on each of the flaps using Stampin Dimensionals, and one white, and one Mint Macaron Heart to the back panel.
With the remaining hearts, attach these to the centre bar, and the inside front of the box in a randmon maner
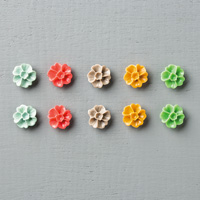
Finally, add contrast by attaching a Delightful Dijon In Colour Blossom Accent to the back panel, using a small amount of Crystal Effects as the adhesive
And there is one job remaining ...
Stamp your Wedding Sentiment onto Whisper White Cardstock using Black Memento Ink
Die cut the sentiment, using the curves Bitty Banner Framelit
Attach to the back panel using those waste edge bots of the Stampin Dimensional Packs, and stick onto the back panel
I hope you enjou my WOW Wedding Card, and enjoy re-creating one of your own.
Remember that you can share your photo'son my Community Pinterest Board,
Just follow the board by clicking on the board in the left hand side bar and I will sent you and invitation. As soon as you accept the invitation, you will be able to start pinning your own papercraft projects,
We love you to showcase Stampin Up Products, but so long as your project is make with ink, paper and stamps, feel free to join in!
Happu Stamping
Kim
No comments:
Post a Comment