

- Begin by creating your card base by trimming a piece of Thicker A4 Whisper White Cardstock to 21 cms x 14.8 cms
- score the long side at at 10.5 cms using either the Scoring Blade on your Stampin Trimmer, or using the Scoring Tool (with the metric plate in place); fold along the score line and run your Bone Folder along the fold to create a crisp edge.
- Trim a piece of Whisper White Cardstock to 14 cms x 13.7 cms
- Using Night of Navy Classic Ink Pad, randomly stamp the Whisper White Cardstock with the Snowflake stamp from the Wonderland Stamp Set;
- Next, using the branch stamp from the Wonderland Stamp Set, stamp a border around the above panel, again using the Night of Navy Classic Ink Pad.
- Mat (layer) this panel onto a piece of Night of Navy Cardstock measuring 14.4 cms x 10.1 cms (I used Fast Fuse Adhesive for this.
- Next, trim a piece of Whisper White Cardstock to 5 cms x 13.7 cms
- repeatedly Stamp this panel with the Tree Stamp from Wonderland, using Night of Navy Classic Ink Pad, until there is no longer any residual ink on the stamp ... this will create a foggy haze and give the feeling of a snowy forest and a misty sky.
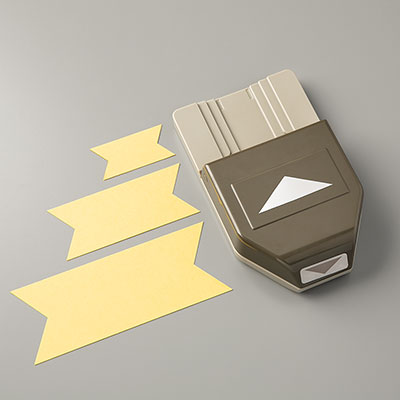
- Create Banner Ends to the bottom of the panel using the Triple Banner Punch.
- Mat this onto a piece of Night of Navy Cardstock measuring 14 cms x 5.4 cms
- Attach this to the right hand side of your card front.
- Now for the tag.
- Stamp the Christmas Tree stamp from the Antique Tags Stamp set using the Night of Navy Classic Ink Pad onto a scrap of Whisper White Cardstock
- Punch the tag out using the Note Tag Punch,
- Add a few Stampin Dimensionals to the back of the tag and attach to the card front
- Mount the card front onto your Card Base using Fast Fuse Adhesive.
- Finishing Touches- tie a neat bow using Night of Navy Seam Binding Ribbon, attached to the top of the tag using a couple of Glue Dots
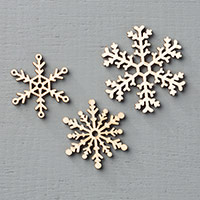
- Apply a Stampin Dimensional to the back of a Snowflake Element
- Pop a Metal Rimmed Pearl to the centre of the Snowflake Element. & mount above the ribbon on the Tag
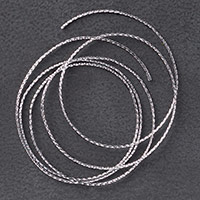
- Finally, using Silver Cording Trim, make a teeny bow, leaving the long ends to curl over the card front.

and below are the products used to create today's card.
Simply click on the product links to view/order them in my online store
 |  |  |  |  |
 |  |  |  |  |
 |  |  |  |  |
 |  |
Table built using Product Table Builder by The Crafty Owl - Independent Stampin' Up! Demonstrator.

JOIN my Pinterest Community Board
Where you will be able to post your own
Stampin Up! Makes
Simply follow my
Community Pinterest Board
(See the left hand side
bar of this Blog)
And I will sent you
an invitation to start pinning
If you have any
questions on techniques, orders, products
OR
Joining my Team as an Independent Stampin
Up! Demonstrator
contact me via:-
Email me: kim.tolton@googlemail.com
Text: 07759587004
Order Online 24/7
No comments:
Post a Comment