

Below you will find the products used today
click on the products to view or order them in my online store
Then keep scrolling down for the tutorial


TUTORIAL
- Create your card base by trimming a piece of Thicker Whisper White Cardstock to 21 cms x 14.8 cms
- Score the long side at 10.5 cms, fold along the score line and run your Bone Folder along the crease; Place to one side
- Trim a piece of Crumb Cake Cardstock to 14.4 cms x 10.1 cms
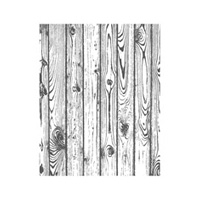
- Stamp this panel with the Hardwood Background Stamp using Soft Suede Classic Ink Pad & mount onto your card base using Fast Fuse Adhesive
- Now for the topper - stamp the little angel onto Whisper White Cardstock using the new Archival Black Ink Pad.
- now for the colouring - using a blender pen, select the Blushing Bride Classic Ink Pad, and squidge the ink pad lids together to transfer some ink from the pad to the well. Open the ink pad
- Pick up some ink from the well using a Blender Pen. and add colour to her features and hands
- Repeat the same technique using the Hello Homey Classic Ink Pad, and begin by picking up ink using the same blender pen, and adding colour around the lines of the hair and drawing the ink into the waves of her hair.
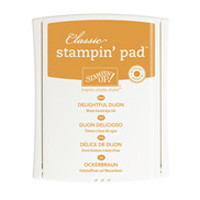
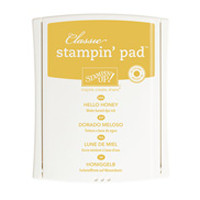
- Add additional lowlights by repeating this process with the Delightful Dijon Classic Ink Pad. and finally add colour to her Halo.
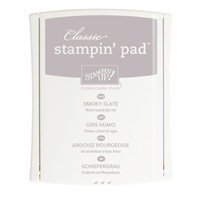
- Finally, using the same technique again, and the same blender pen, and the Smokey Slate Classic Ink Pad, add some shadow/shading .... again, to give a hazy ethereal appearance.
- Be gentle for best results, and always use either Whisper White or Very Vanilla Cardstock for this technique.
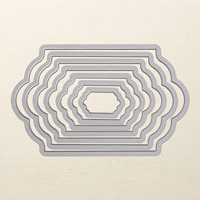
- Die cut your Angel using the Lots of Labels Framelits Die with your Big Shot and the Magnetic Platform.
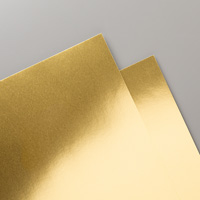
- Then Die Cut the next size up Framelit using Gold Foiled Cardstock
- Apply Stampin Dimensionals to the back of the two die cuts and layer them up.
- Before attaching the labels to your card, just add a strip of scrap Designer Series Paper (DSP) across the centre of the card front.
- Stamp your sentiment onto a scrap of Whisper White Cardstock using the Archival Black ink pad.
- Punch the sentiment out using the Washi Label Punch. Add Stampin Dimensionals to the reverse of the label and attach on top of the strip of DSP
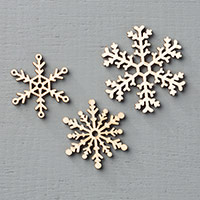
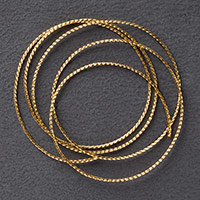
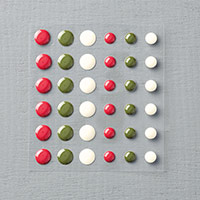
- Embellish your card front with some loops of Gold Cording Trim, a Snowflake Element and a Home For Christmas Enameled Dot. .... and Ta Dah!
- Now it is your turn to CASE this card and share away

JOIN my Pinterest Community Board
Where you will be able to post your own
Stampin Up! Makes
Simply follow my
Community Pinterest Board
(See the left hand side
bar of this Blog)
And I will sent you
an invitation to start pinning
If you have any
questions on techniques, orders, products
OR
Joining my Team as an Independent Stampin
Up! Demonstrator
contact me via:-
Email me: kim@stampinupatthewarren.com
Text: 07759587004
Order Online 24/7
http://www.stampinup.net/esuite/home/stampinupatthewarren/
No comments:
Post a Comment