
Although at first glance, today's box has a lot of steps to it, it is actually a lot easier than it looks. It took me forever to work out the measurements of the box, as I am mathematically challenged ... but I like a good challenge every now and then. I probably could have CASED the measurements from someone else, but I wanted to gain a better insight into designing my own box ... and yes, I know a box, is a box, is a box lol, but I made his one to take a candle I bought as a Christmas Gift for a friend, and wanted it to be a snug fit.
Do here is my Hexagonal Gift Box
WATCH THE VIDEO FIRST and then the typed tutorial below should make sense ...

Click on the product icons below to view or order them via my
 |  |  |  |  |  |  |
 |  |  |  |  |  |  |
 |  |  |  |  |  |  |
 |  |  |  |  | 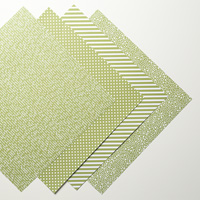 |
Table built using Product Table Builder by The Crafty Owl - Independent Stampin' Up! Demonstrator.
watch the video below
TUTORIAL
- Make the lid - Trim a piece of Blushing Bride Cardstock to 27 cms x 13.5 cms
- using a pencil, mark the long side of the cardstock at 4.3; 8.6; 12.9; 17.2; 21.5; 25.8 cms
- Use the Metric Scoring Plate with your Scoring Tool
- With the long side of the cardstock at the top of the scoring tool, score at: 4.3; 8.6; 12.9; 17.2; 21.5 & 25.8 cms
- Rotate the cardstock by 45 degrees so the short side is at the top of the scoring tool, & score at: 4 & 10 cms
- Fold & burnish all score lines using a bone folder.
- WATCH THE VIDEO to see where to cut; stick & fold the box
- BASE: Trim a piece of Smokey Slate Cardstock to 25 x 15.5 cms
- With the long side at the top of the metric scoring plate, score at 4; 8; 12; 16; 20; & 24 cms
- Rotate by 45 degrees, & with the short side at the top of the metric scoring plate, score at 4 & 12 cms
- fold & burnish all score lines using a bone folder
- WATCH THE VIDEO for instructions on how to assemble the box.
- Using the 2 1/2" Circle Punch, punch out x2 circles from Smokey Slate cardstock and x2 from Blushing Bride cardstock
- Using Tombow Multipurpose Liquid Glue' Adhere one circle to the base of each box; and another circle of cardstock to the inside base of the box.
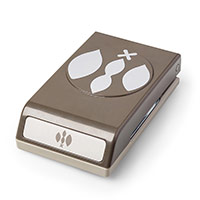
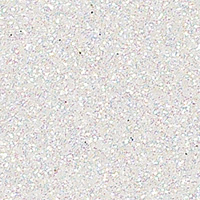
- Using Dazzling Diamonds Glimmer Paper & the flower Builder Punch, punch out 6 of each element.
- Make pairs of each small, medium & large petals , joining them with Glue Dots
- Then make a cross with the remaining pair of each petals, using Glue Dots; Adhere these on top of your flower in the same way.
- Then again using Glue Dots, adhere the MEDIUM flower in top of the LARGE flower; and the small flower, on top of the Medium Flower. Stagger the petals as you go to give a more natural look.
- Add 4 Stampin Dimensionals to the u underside of your flower,; & using a Paper Piercing Tool. Carefully make a small hole in one of the large petals
- Trim a piece of Blushing Bride Designer Series Paper from the Subtles DSP Stack to 27 cms x 4 cms
- Wrap the DSP around the box using your fingers to form a crease at each edge, remove and use your Bone Folder to burnish each fold; add a piece of Tape & Tear Adhesive to the inside of one end of the DSP strip, wrap around tour box & adhere the ends together
- Put a strip of Tape & Tear across the centre of the Lid top. wrap around a piece of Very Vanilla Satin Ribbon and secure with the adhesive.
- Mount the Flower on top of the box lid.
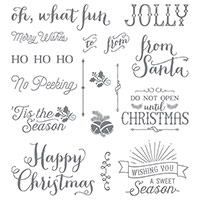
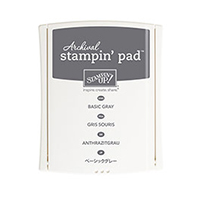
- Stamp your sentiment from the Oh What Fun Stamp Set. using Archival Basic Grey Classic Ink Pad, onto a piece of Shimmery White Cardstock
- Punch out the sentiment using the Decorative Label Punch
- Punch out a second label using Smokey Slate Cardstock
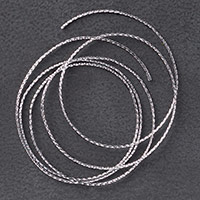
- Punch a 1/8" hole through one corner of both labels; thread with Silver Cording Trim and thread through the petal with the hole & tie a knot/bow

Kim Tolton, Independent Stampin Up
Demonstrator.
Card & Papercraft Tutorials
Please feel free to comment below,
and ask away with any questions. You can also find me via the links below
Blog:
Online Store:
Stamping @ The Warren
Craft Forum:
Email:
Pinterest:
Google +
Facebook:
Twittert:
Instagram:
@kim.tolton
LinkedIn:
No comments:
Post a Comment