

The products used today can be found below
Click on the product icons and you will be transported to my Demonstrator Website where you can view or order all of Stampin Up! Catalogue items


WATCH THE VIDEO BELOW

TUTORIAL
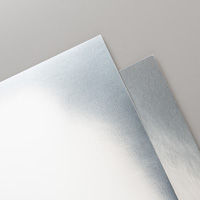
- Select the Fancy Foil Vellum Sheet of you
- r Choice
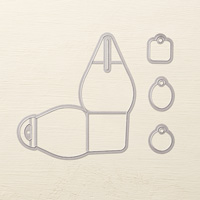
- Die Cut 2 of the Curvy Keepsake Box Dies, using the Magnetic Platform for best results, and ensure both pieces of Vellum have the same sides facing
- Using a Bone Folder, Gently fold and burnish the score lines to the base and handles of the die cuts
- Apply a square of Tape & Tear or Fast Fuse f adhesive to the base of one piece
- Before sticking the pieces together, ensure the two pointed ends are facing each other, and the same with the rounded ends ... & stick together
- Hold the two rounded handles together & fold one pointed end over the top of the handles & into the notch at the base of the handle; repeat with the other pointed end.
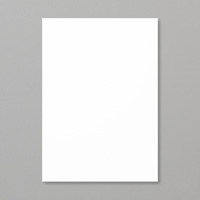
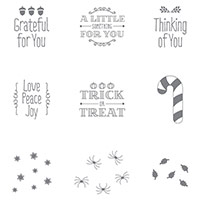
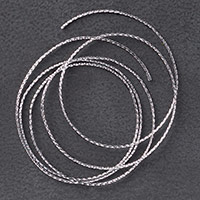
- Stamp your Little Something Sentiment using the Archival Basic Black Classic Ink Pad onto a scrap of Shimmery White Cardstock, and punch out using the 1 3/8" Circle Punch; Punch a small hole in the top, thread through some Silver Cording Trim and tie a knot near the tag apply Stampin Dimensionals to the back
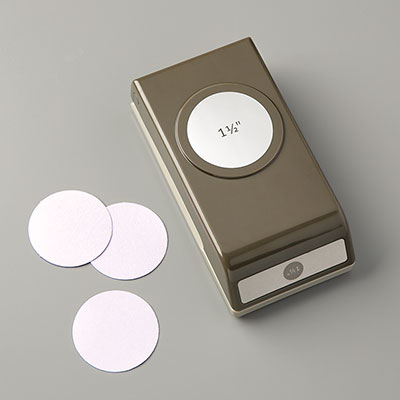
- Punch a 1 3/4" Scallop Circle from a Silver Foil Sheet,
- Layer the sentiment onto the Foil Scallop Circle & tie onto the handles of the box, leaving long looping tails of Cording Trim

Kim Tolton, Independent Stampin Up
Demonstrator.
Card & Papercraft Tutorials
Please feel free to comment below,
and ask away with any questions. You can also find me via the links below
Blog:
Online Store:
Stamping @ The Warren
Craft Forum:
Email:
Pinterest:
Google +
Facebook:
Twittert:
Instagram:
@kim.tolton
LinkedIn:
No comments:
Post a Comment