Today I have a fun Tropical themed Card for you, and I have included a video tutorial for you below.
And if you don't already feel confident Fussy Cutting cutting out elements by hand). you will be by the end of this project.
The key with fussy cutting is rotating the cardstock/paper and keeping the scissors still. In the video it can appear that I am not following my own advice, but if you watch closely, I am rotating my wrist whilst keeping the scissors stationary.
The best way too practice is to stamp a mixture of simple and complex images onto some scrap cardstock and practice, practice, practice, and all of a sudden you will have it.
I did try stamping most of the elements straight onto the cardstock, but it just wasn't doing it for me, as I wanted that lush sense of the rain forest. I have used 3 different shades of green to create the background .

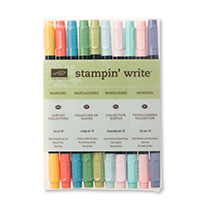
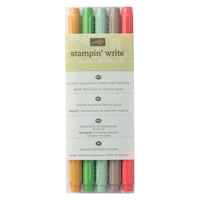
The Pineapple Layer was created using a Marker to Stamp Technique using a combination of Delightful Dijon & Mint Macaron Stampin Write Markers to keep the project co-ordinated. And the stamped border panel was then mat onto Blushing Bride Glimmer Paper to add that sparkle I associate with the Carnival Feel of this card.
Feel free to CASE any of my creative projects (Copy & Paste Everything)
And if you don't already feel confident Fussy Cutting cutting out elements by hand). you will be by the end of this project.
The key with fussy cutting is rotating the cardstock/paper and keeping the scissors still. In the video it can appear that I am not following my own advice, but if you watch closely, I am rotating my wrist whilst keeping the scissors stationary.
The best way too practice is to stamp a mixture of simple and complex images onto some scrap cardstock and practice, practice, practice, and all of a sudden you will have it.
I did try stamping most of the elements straight onto the cardstock, but it just wasn't doing it for me, as I wanted that lush sense of the rain forest. I have used 3 different shades of green to create the background .

The Pineapple Layer was created using a Marker to Stamp Technique using a combination of Delightful Dijon & Mint Macaron Stampin Write Markers to keep the project co-ordinated. And the stamped border panel was then mat onto Blushing Bride Glimmer Paper to add that sparkle I associate with the Carnival Feel of this card.
Feel free to CASE any of my creative projects (Copy & Paste Everything)
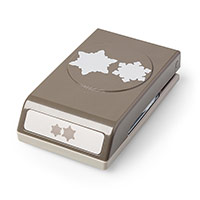
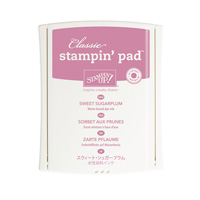
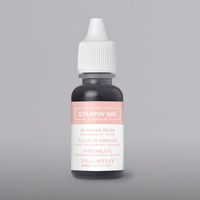
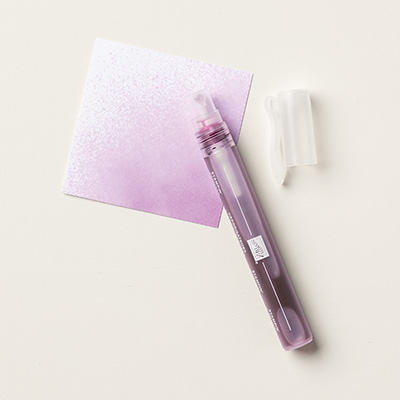
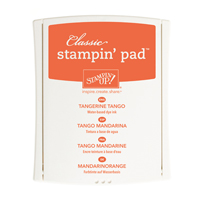
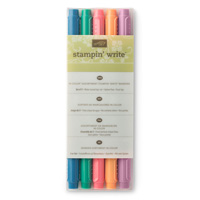
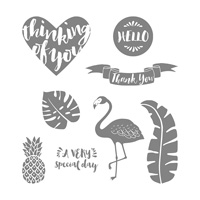
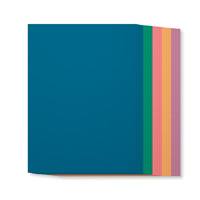
Click on the icons below to view/order any of the products used in today's tutorial


Watch the Video Below
Tutorial
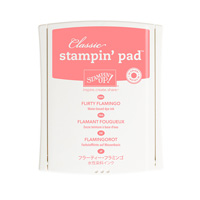
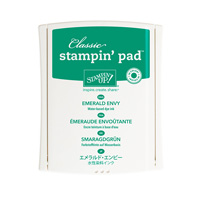
- Trim a piece of Emerald Envy Cardstock to 30 x 10.5; score at 14.8 cms; fold & Burnish (Card Base)
- Trim a piece of Flirty Flamingo Cardstock to 14.4 x 10.1 cms & mat onto the card base
- Trim a piece of Peekaboo Peach Cardstock to 14 x 9.7 cms & mat onto the card base
- Trim a piece of Whisper White Cardstock to 13.6 x 9.3 cms
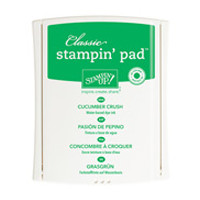
- Stamp the background creating an ambre Effect with the Lilly Pad stamp & starting at the bottom of the card with 4th generation stamping (the amount of times you stamp the image before re-inking your stamp) Start with 2 rows of Emerald Envy, above that is 2 rows of Cucumber Crush, and finally, at the top of the panel is 2 rows of Mint Macaron.
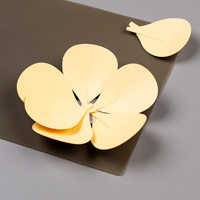
- Onto a piece of Whisper White Cardstock, stamp the following artwork: Flamingo (using Flirty Flamingo Ink) two leaves (one in Cucumber Crush ink & the other in Emerald Envy); Thank You Banner (using Archival black ink pad); & a Pineapple (Mint Macaron for the leaves & Delightful Dijon for the fruit). Fussy Cut all of these elements using Paper Snips
- Trim a piece of Whisper White Cardstock to 2 x 14 cms & stamp with w pineapple using the Marker to Stamp technique as before; & mat onto a piece of Bushing Bride Glimmer Paper measuring 13.3 x 2.5 cms Adhere to the card front using Fast Fuse Adhesive
- Add Stampin Dimensionals to the back of each element. You may need to cut down some of the Dimensionals so they cannot be seen from the front; decide on the arrangement of your art pieces and adhere to the card front; add a few Basic Rhinestones and you are all done.

How to Contact or Follow Me
Kim Tolton, Independent Stampin Up Demonstrator.
Card & Papercraft Tutorials
Please feel free to comment below, and ask away with any questions. You can also find me via the links below
Blog:
Online Store:
Stamping @ The Warren Craft Forum:
Email:
kim.tolton@googlemail.com
youTube
Pinterest:
Google +
Facebook:
Twitter:
Instagram:
@kim.tolton
LinkedIn: