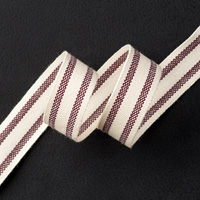
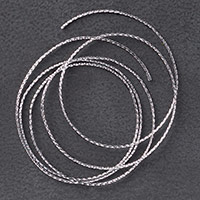
Today I have a pair of Gift Boxes for you. A simple design of a matchbox with an outer sleeve, and decorated using the Season of Cheer Designer Series Paper and Striped Ribbon wiht a little xording trim

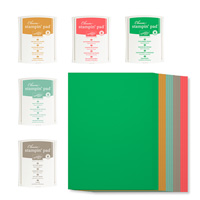
Below you will find the icons of the products used today
 |  |  |  |  |
 |  |  |  |  |
 |  |  |  |  |
 |  |  |  |  |
 |  |  |  |
Table built using Product Table Builder by The Crafty Owl - Independent Stampin' Up! Demonstrator.
Watch the Video Below for the full tutorial
- SMALL BOX - Trim a piece of Night of Navy Cardstock to 12 cms x 15 cms
- With the long side of the cardstock at the top of your Metric Scoring Plate, score at 3; 9; 12 cms
- Rotate the cardstock by 45 degrees and with the short site at the top, score at 3 & 9 cms
- Fold all score lines and burnish with a bone folder,
- SMALL BOX SLEEVE - Trim a piece of Designer Series Paper to 5.6 x 21 cms and score the long side at 1; 5; 11; 15 cms
- Fold all score lines and burnish; cut tabs as shown in the video; use a little tape to secure the Belly Band (sleeve).
- LARGE BOX - trim a piece of Night of Navy Cardstock to 12 x 15cms
- Score the long side at 1; 5; 11; 15 cms
- Rotate and score the short side at 3 & 9 cms
- Fold and burnish score lines, cut tabs as shown in the video; using Tombow to secure the tabs
- LARGE BOX SLEEVE (Belly Band) - trim a piece pf DSP to 8.6 x 21 cms; score at 1; 5; 11; 15 cms
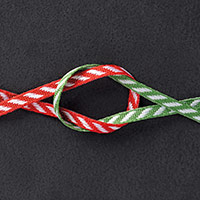
- Decorate using Co-ordinating Ribbon
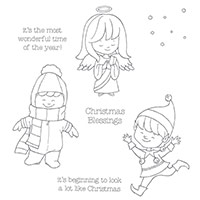
- Stamp your sentiments using the Christmas Cuties Stamp Set using Archival Basic Black Classic Ink Pad
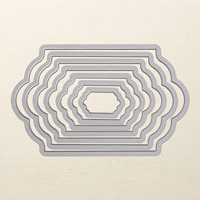
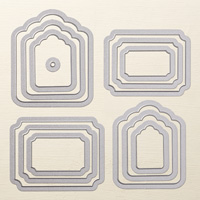
- Die cut the sentiments using the Magnetic Platform, matting onto Cherry Cobbler or Night of Navy Cardstock. I used a combination of the Lots of Labels Framelits Dies, and the Tags & Labels Framelits Dies.
- Finish with a flair of Cording Trim and some Snowflake Elements

How to contact me:
Kim Tolton, Independent Stampin Up Demonstrator.
Card & Papercraft Tutorials
Please feel free to comment below, and ask away with any questions. You can also find me via the links below
Blog:
Online Store:
Stamping @ The Warren Craft Forum:
Email:
Pinterest:
Google +
Facebook:
Twittert:
Instagram:
@kim.tolton
LinkedIn: