

________________________________________
As you scroll down
today's blog post, you will find :
·
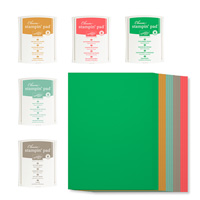
icons of all the products used to create today's card - click on them to
visit my online store;
·
A Video Tutorial
·
& a typed tutorial
Feel free to CASE
any of my creative projects (Copy & Paste Everything)
Click on the icons
below to view/order any of the products used in today's tutor


Watch the Video
Below
Tutorial
- Make your Card Base by Trimming a piece of Tip Top Taupe Cardstock to 30 x 10.5 cms; Score aat 14.8cms; Fold & Burnish
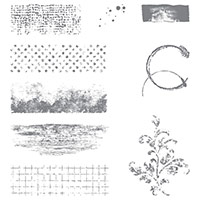
- Trim a piece of Very Vanilla Cardstock to 14 x 9.7 cms' Stamp the edges of the cardstock using the frayed paper stamp from the Timeless Textures Stamp Set, using Watermelon Wonder Ink Pad and an inking off technique to remove a little ink from the stamps surface, before stamping onto the cardstock
- Using Delightful Dijon Ink Pad, Randomly stamp some of the curled lavender ring stamp, leaving a rough oval of Very Vanilla Cardstock in the middle.
- Stamp the oval center section of the cardstock with the Grid lines stamp, using Mint Macaron Ink Pad, and 2nd generation Stamping Technique (i.e. stamp the card twice before re-inking the stamp).
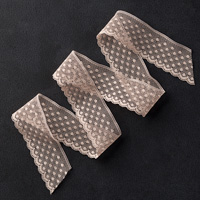
- Wrap a piece of Sahara Sant Lace Trim across the centre of the cardstock, and secure on the back of the panel using Tear & Tape. or Fast Fuse Adhesive
- Mat onto a piece of Watermelon Wonder Cardstock measuring 14.4 x 10.1 cms; Mount onto the Card Front using Stampin Dimensionals for lift.
- Stamp your sentiment onto a strip of Very Vanilla Cardstock using Chocolate Chip Ink Pad and create Banner Ends using the 1" square Punch
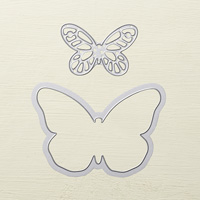
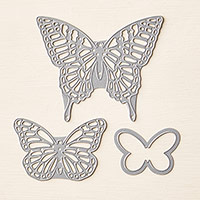
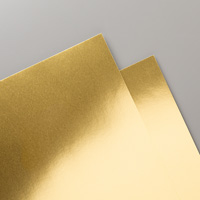
- Die Cut a Bold Butterfly Framelit using the Botanical Blooms Vellum Stack papers; and a detailed butterfly using the co-ordinating Thinlet & Gold Foiled Cardstock. Stack then on top of each other after gently folding in half. I used Stampin Dimensionals between the layers.
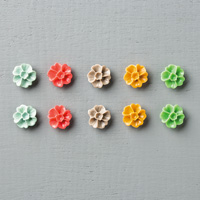
- Using Crystal Effects, adhere an In Colour Blossom Accent (resin Flower), Position the topper on the card front, then slot in the sentiment label, using a couple of Stampin Dimensionals
- Finish with a few Basic Rhinestones
How to Contact or
Follow Me
Kim Tolton, Independent Stampin Up Demonstrator.
Card & Papercraft Tutorials
Please feel free to comment below, and ask away with any questions. You
can also find me via the links below
Blog:
Online Store:
Stamping @ The Warren Craft Forum:
Email:
kim.tolton@googlemail.com
youTube
Pinterest:
Google +
Facebook:
Twittert:
Instagram:
@kim.tolton
LinkedIn:
No comments:
Post a Comment