google-site-verification: google70410e9e92d4fda2.html
Showing posts with label punches; blendabilites. Show all posts

Monday, 9 March 2015

Sale A Bration 2015 Week 10 Day 1

Today I am bringing you a combination of the Painted Petals Stamp Set and the Spring Flowers Textured Impressions Embossing Folder (TIEF)
I have also used a cool faux chalk effect by Dry Embossing some White Vellum and using Stampin Write Markers on the De-bossed side to create that subtle pastel chalk effect as the colour shows through to the embossed side of the Vellum
The card is finished with the You Are Amazing Stamp from the Painted Petals stamp set.

I began by trimming a piece of Baked Brown Sugar cardstock to 13.8 x 9.5 cms
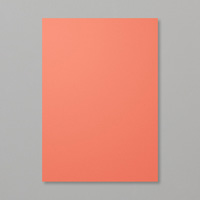
I mat (layered) this onto a piece of Blushing Bride Cardstock measuring 14.3 x 10 cms


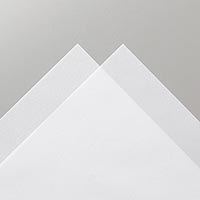
Next trim a piece of White Vellum to 13.8 x 4.5 cms
Dry emboss the Vellum using the Spring Flowers TIEF
Turn the vellum over so the De-bossed side is facing you (i.e. the flowers and leaves should create hollows on the de-bossed side.

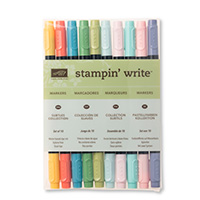
I used the a combination of the Subtles Stampin Write Marker Pens to colour the leaves, stems and flowers on the de-bossed side (i.e. use the brush tip of the markers and pant inside the hollows)

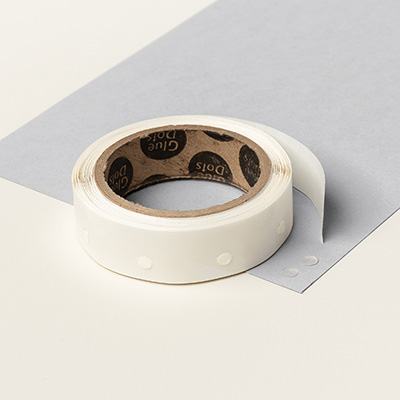
Once coloured, turn the embossed strip of Vellum onto the Embossed side (i.e. has the raised leaves and flowers facing you). Attach this to the card front using about 6 Glue Dots.

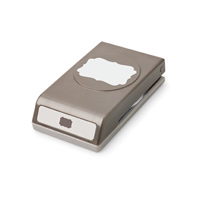
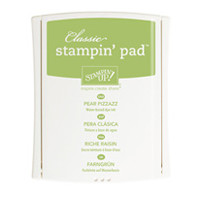
Next, stamp the sentiment onto Whisper White cardstock using Pear Pizzazz ink. Use the decorative Label Punch to cut out the sentiment.
Now punch an additional 2 Decorative Labels from Blushing Bride Cardstock.
Cut one of these in half on the vertical, and the other in half on the horizontal.
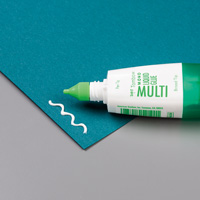
Use tiny amounts of Tombow Multi-Purpose Liquid Glue to adhere the corresponding pieces of the labels to the back of the stamped label. Attach Stampin Dimensionals to the reverse of the layered label and attach to the card front.
Lastly, adhere the card front onto an A6 White Card Blank.
A pretty card for an amazing person in your life .... and since it is Mothering Sunday this weekend, perhaps that amazing person could be your Mum ...

If you would like to join my Pinterest community board where you will be able to post your own Stampin Up creations. Simply email me and I will add you to the board

If you would like to ask any questions on techniques or products, or anything else related to my blog posts, please feel free to ask away
Happy Stamping
Kim xxx

Contact me to order:
Telephone/Txt: 07759587004

Or Order Online 24/7
                                                                                               
Or Click on the image of the products used below and it will take you straight to my online store
Table built using Product Table Builder by The Crafty Owl - Independent Stampin' Up! Demonstrator.


Sunday, 22 February 2015

Sale A Bration 2015 Week 7 Day 7

Now, I know I am known for my card making projects, but today I cased a little project from the  page 71 in the Stampin Up Annual Catalogue
This was a project I used in a recent Wedding Planning Workshop
And it went down a storm,
They are going to be used as favour bags for homemade cookies.


And here are the the products to make this yourself:

Big News Stamp Set

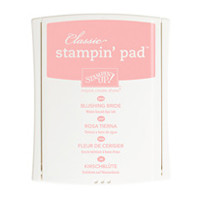
Blushing Bride Classic Ink Pad
Basic Black Classic Ink Pad

Punches - 1 3/4" scallop Circle and 2 3/8" scallop Circle, Hand Held Mini Stapler & Bird Builder Punch

Polka Dot Tag A Bag Gift Bag

Subtles Collection DSP Stack

Whisper White & Pear Pizzaz Cardstock
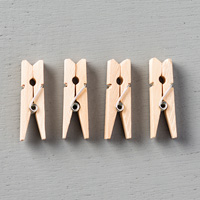
Clothespins

Filter Paper

Stampin Sponges

117191

Most of it is easy to work out, so I will just describe how to make the flower
Begin by punching a scallop circle for both the 1 3/4" & the 2 3/8"  punches from Whisper White cardstock.
Then you need  to punch 4 layers of filter paper using each of these punches (the punches will cut through all 4 layers in one go).
Separate the layers of filter paper and one at a time, place a scallop circle filter paper onto the same size whisper white scallop circle and sponge the edges of the filter paper using Blushing Bride ink.

Once all 8 pieces of filter paper have been sponged, layer up the largest 4 scallop circles on top of each other, and on top of those, the 4 smaller circles. Secure in the middle using the hand held mini stapler.
Next, you want to tightly scrunch each layer at a time, and once you have done this, start unravelling the layers again, You may need to repeat the scrunching until you are happy with the effect.
Punch 2 leaves using the Bird Build Punch and Pear Pizzaz ink. Adhere these to the back of the flower using Glue Dots and also use Glue Dots when you pace the flower onto the belly band.


 If you would like to join my Pinterest community board where you will be able to post your own Stampin Up creations. Simply email me and I will add you to the board
kim@stampinupatthewarren.com

If you would like to ask any questions on techniques or products, or anything else related to my blog posts, please feel free to ask away
Happy Stamping
Kim xxx

Contact me to order:
Telephone/Txt: 07759587004
Email: kim@stampinupatthewarren.com

Or Order Online 24/7
                                                                                               
Or Click on the image of the products used below and it will take you straight to my online store
Table built using Product Table Builder by The Crafty Owl - Independent Stampin' Up! Demonstrator.


Sunday, 8 February 2015

Sale ABration 2015 Week 6 Day 1

You're So Sweet
Yes, you really truly are

And this is one of my favourite cards I have made for the coming weeks blog posts.
Easy to make with few products needed, so here goes


Stamp Set:
You Plus Me
Something Lacy

Die:
Apothecary Accents

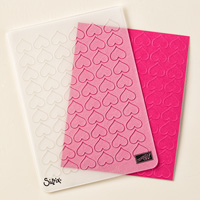
TIEF:
Happy Heart

Classic Ink Pads:
Basic Black
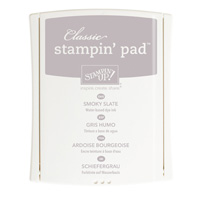
Smokey Slate

Cardstock:
Cherry Cobbler
Basic Black
Smokey Slate
Whisper White

Accessories:
Something Borrowed Embellishments

Tools:
Big Shot
Texture Boutique

Adhesives:
Tombow Multi-Purpose Liquid Glue
Glue Dots
Stampin Dimensionals


Trim a piece of Whisper White cardstock to 13.3 x 9 cms
Trim a piece of Smokey Slate cardstock to 13.8 x 9.5 cms
Trim a piece of Cherry Cobbler Cardstock to 14.3 x 10 cms

Take the piece of Whisper White Cardstock and stamp it using the Something Lacy stamp set and Smokey Slate Cardstock.
Mat (layer) this onto the piece of Smokey Slate cardstock using a small amount of Tombow Glue
And mat that onto the Cherry Cobbler Cardstock, again, using Tombow

Next, Stamp the sentiment from the You plus Me stamp set using Basic Black ink onto a scrap of Whisper White cardstock.
Die cut this using one of the dies in the Apothecary Accents Framelits.
Using the sake die, cut an additional 2 labels using Cherry Cobbler cardstock and 2 labels from Basic Black cardstock. You are going to use these to create a layered label for that lovely sentiment.
With the two Cherry Cobbler Labels, cut one in half in the Vertical, and the other in half on the Horizontal. Then attach the corresponding pieces to the sentiment using tiny amounts of Tombow,
Repeat this process using the 2 black die cut labels,
Apply Stampin Dimensionals to the reverse of the Layered label.
Next, trim a piece of Basic Black cardstock to 3 x 13.3cms and Dry Emboss this panel using the Happy Heart TIEF using your Big Shot or Texture Boutique
Attach this across the centre of the card (landscape)
To finish, mount the layered sentiment label to the centre of the card and add a Something Borrowed Embellishment using a few Glue Dots .... And mount onto your A6 Card Blank


If you would like to join my Pinterest community board where you will be able to post your own Stampin Up creations. Simply email me and I will add you to the board

If you would like to ask any questions on techniques or products, or anything else related to my blog posts, please feel free to ask away
Happy Stamping
Kim xxx

Contact me to order:
Telephone/Txt: 07759587004
Email: kim@stampinupatthewarren.com

Or Order Online 24/7
                                                                                              
Or Click on the image of the products used below and it will take you straight to my online store
Table built using Product Table Builder by The Crafty Owl - Independent Stampin' Up! Demonstrator.