google-site-verification: google70410e9e92d4fda2.html

Wednesday, 27 May 2015

For The New Two Stamp Set with Blackberry Bliss & Gold & Mobile Phones

Mobile Phones .... OMG What a Day!!
I very recently upgraded my mobile phone, but like a fool didn't back up my contacts, photo's etc to my desktop!
So there I was at 2am this-morning, trying to finish the 100 Hostess cards that I am making to go out to my customers with the new catalogue - but I didn't quite manage it before I accepted I needed to get some sleep
When this happens ....

I pick up my mobile phone to take it to my bedroom and charge overnight.
But my mobile phone slips out of my hand and drops momentarily into my glass of water!
The top of the phone barely touched the water before I grabbed it, pulled off the protective cover and dried the phone
But sadly it was too little too late.
Yes the screen flashed at me a few times and died .... arghhhhh
I was hopeful that I may still be able to transfer data before the replacement phone arrives
but the alerts I was initially receiving have stopped, and when we downloaded the transfer software programme, it is telling me there is no data on the pnone ... NOOOOOOO!!!!!!

I just hope that when the replacement phone arrives tomorrow, that the sim card is OK

As I tupe this the screen is rapidly flashing st me with a green screen .... this is new????

Oh Dear .... I feel so stupid! But lesson learnt, the first item I download from the Play Store will be Samsung Smart

That is my moan for today out of the way. Sorry for sounding off, but I am SO mad with myself!!


So today, I have a quick but beautiful Wedding card to share with you.
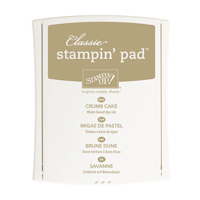
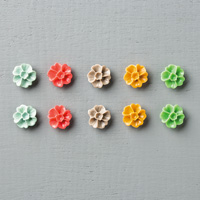
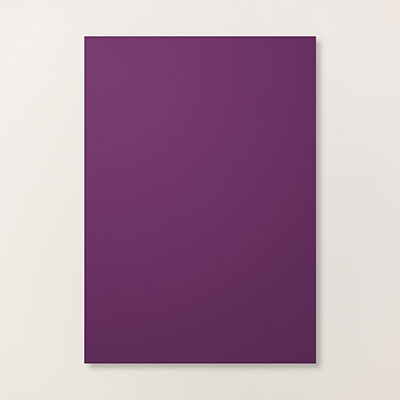
I have used the 2014-16 In Colour Cardstock with a Crumb Cake Card Blank
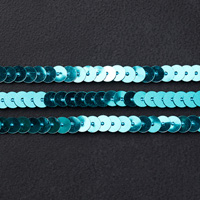
What brings this card to life is the Gold Heat Embossing on the Blackberry Bliss Cardstock

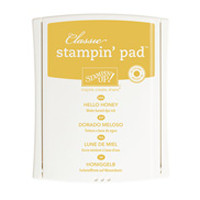
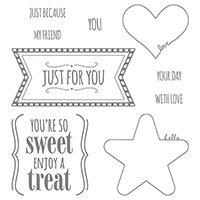
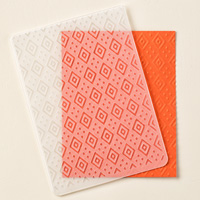
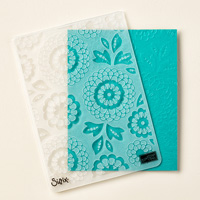
And here are the products I have used today
Simply click on the product icons below to view in more detail, or to place an order

Table built using Product Table Builder by The Crafty Owl - Independent Stampin' Up! Demonstrator.


Begin by making your A6 Card Base Using an A4 sheet of Crumb Cake Cardstock, Trim to size and score the middle, fold and give a crisp edge using a Bone Folder.
You will be working with the card blank in Landscape orientation
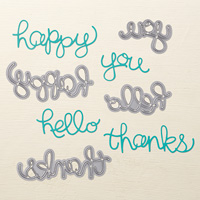
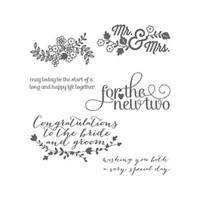
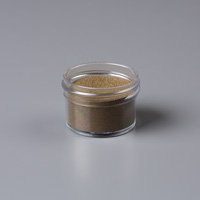
Trim a panel of Blackberry Bliss Cardstock and stamp the sentiment from For The New Two Stamp Set onto the centre of the Blackberry Bliss cardstock using Versamark ink pad.
Sprinkle with Gold Embossing Powder and heat set with a heat tool


Now trim a small piece from a Tea Lace Doily and attach it to the revers side, of the cardstock along the bottom edge of the Blackberry Bliss panel. ... I used Fast Fuse adhesive for this,
Attach this panel to the centre of the card base using Fast Fuse (this is a really strong adhesive).
Next, trim two long strips of Hello Honey cardstock to just 0.5cm wide.
Create banner ends using the Banner Punch (you will need to insert the ends of the cardstock through the top of the Punch instead of through the side, and guide the cardstock between the cutting blades.)
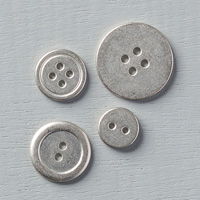
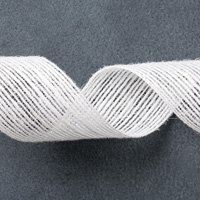
Finish by taking a long single strand of Jute Ribbon and thread a  Very Vintage Designer Button, tie a bow at the back Button, and attach a Stampin Dimensional sticky foam pad to the back of the button and mount onto the card front.
And there is your card
I hope you like it?

I am now going to stomp off and sulk at the prospect of having to manually enter all my contacts onto the new phone as only a few are on my google account hrumph! ... lesson, well and truly learnt


Tuesday, 26 May 2015

The Open Sea Stamp Set & Hello You Thinlets

I hope you all had a wonderful weekend and feel relaxed (with the extra day off over the Bank Holiday weekend)?

We had a super busy one as it seemed everyone was out looking for rabbits and guinea pigs. At one point we had four customers here at the same time, with just me and Steve, it was challenging, but fortunately, waiting customers just enjoyed out beautiful garden and the warm sunshine

So no card making over the weekend for me, but I do have one I made earlier! (that really shows my age, as that used to be the catch phrase of the Kids TV show Blue Peter)

And yes, it is another masculine card that could be easily adapted to be for a birthday or Fathers Day
But even this one would be great for giving Thanks on Fathers Day wouldn't it?


And here are today's products
To view or purchase them, just click on the product items below

Table built using Product Table Builder by The Crafty Owl - Independent Stampin' Up! Demonstrator.


I have used a combination of The Open Sea Stamp Set
&
The Hello You thinlets that co-ordinate with the Hello You Stamp Set (available as a Bundle at a 15% saving)

I made the A6 card base using Crumb Cake cardstock
This was stamped with Crumb Cake classic ink, using the Ledger stamp.
This was randomly over-stamped using Sahara Sand Classic Ink Pad, with the globe, Anchor & Compass stamps

Yhe Ship was stamped onto Whisper White cardstock using the Hello Honey classic ink pad. I used the Triple Banner Punch to create banner ends and mounted this onto the lower third of the card front using Fast Fuse Adhesive.

I trimmed a 0.5cm strip of Blackberry Bliss cardstock and mounted it where the ship label and the card blank meet.
then selected the Thanks Thinlet in the Hello You Thinlets Die pack and run it through my Big Shot (using the magnetic platform makes this task easier) using Blackberry Bliss cardstock
I then used a small amount of Tombow Adhesive to adhere the die cut to the card front.
The card was finally embellished using a Silver Basic Metal Button threaded with some thick bakers twine that I have separated the threads.
I used the 2014-2016 In Colour accessory pack that I got free during Sale A Bration earlier this year

People often ask me how I get my card projects so co-ordinated?
.
Well the answer to that is simple ... it is Stampin Up!

or more specifically, the fact that all items in the Stampin Up! catalogues are co-ordinated into 5 colour collections, and includes co-ordinated ink pads, markers, ink refills, cardstock, buttons, ribbons & other embellishments, and even their Designer Series Papers

So all that is left for me to do, is select the stamp set and the colour collection I want to work with, and the rest of the job is made incredibly easy for me

Simple!!


Would like to JOIN  my Pinterest Community Board where you will be able to post your own Stampin Up! Makes?
If the answer is YES please email me via

If you have any questions on techniques, orders, products etc, please ask away by adding comments below, or you  contact me via:-
Text: 07759587004 OR


Monday, 25 May 2015

So Sweet Mini Treat Bag Sneak Peek

Happy Whitson Holiday!
I hope all you UK workers out there are taking advantage of the Whitson Bank Holiday?
The Weather is fair, the sun keeps pocking it's head out from behind the sun
So a great day for a BBQ or a Party

And if, like me, you like to give dinner guests little Favours in handmade gift boxes, then this is the project for you

And I have again given you some current product, some retiring product, and a couple of sneak peeks of new products coming in the new catalogue that launches next week!

The Mini Treat bag comes with instructions on how to use the thinlet steel die ... so you will need a Big Shot Die Cutting Machine. And the wonder of this Die, is that is scores as well as cutting.


All you have to do is decide on the paper/cardstock you are going to use, and use a bone folder to ensure those folds on the score lines are nice and crisp
I have used Dry Embossed and sponged White Vellum

The Tags were all  made using the same colour ink as each bag, onto Whisper White Cardstock using the You're So Sweet Stamp Set
The Heart Tag was die cut using the co-ordinating die in the Mini Treat Bag Dies Set.

You will notice from the above photo that I have made 3 different sized bags, and they are made using just the same die

& Here Are Today's Products.
Just click on the Product icon below to view it in more detail or place an order

Table built using Product Table Builder by The Crafty Owl - Independent Stampin' Up! Demonstrator.


The Blackberry Bliss bag was made using two of the thin dies, creating a Pocket Envelope for a Thank You book mark.
It was dry embossed using the Lovely Lace TIEF, and some left over scraps from the Artisan Accessory Kit from the Spring/Summer Catalogue


The Mint Macaron (green) Bag was dry embossed using the Tiny Triangles TIEF and sponged.
a cardstock belly band was created using one of the 
accessory dies in the Mini Treat Bag Die Pack.

is the Lost Lagoon (Blue) Bag which is made using two of the large wide dies, and Dry Embossed using the Boho Chic TIEF. 
I trimmed a panel of Vellum to make a base, giving more of a Tub Bag look and will take more contents.
It has been trimmed with (retiring) Lost Lagoon Stitched ribbon Tea Lace Doily, Clothespin  decorated with an Incolour Blossom Accent, and some Bermuda Gay Sequin Trim


 Would like to JOIN  my Pinterest Community Board where you will be able to post your own Stampin Up! Makes?
If the answer is YES please email me via


 If you have any questions on techniques, orders, products etc, please ask away by adding comments below, or you  contact me via:-

Text: 07759587004