
Oh Yes, my order arrived safe and sound (except for a few back order items)
And what fun I had playing with my new toys
OK, so I know they are not toys, but they give me the same buzz as I used to get as a child when I received new toys. You know that feeling, don't you? You know, that feeling of all your christmas' coming at once!
And here is my first creation, and SO easy to make.
I don't know if you have noticed, but All Stampin Up! Two or Three Step Stamp Sets, now come in photopolymer.
So if you do not have a Stamp-A-Ma-Jig to help you with accurate placements of the different layers, the clear photopolymer stamps, allow easy placements.

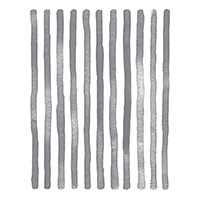
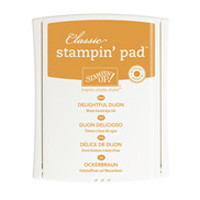
I began by inking up just over half of the Brushstrokes Stamp with Delightful Dejon ink, and the other half with Mint Macaron ink, and stamped directly onto the front of my card blank.
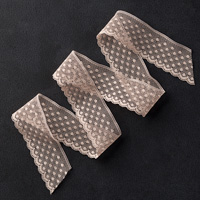
I then added a piece of Tip Top Taupe Dotty Lace Trim where the two inks meet using a strip of Fast Fuse Adhesive (see the video below for detailed instructions on how to use this very sticky tape adhesive ... I love it, now that I have got the hang of it.
And here are todays supplies.
Simply click on the product icons below to view the item in more detail, or place an order

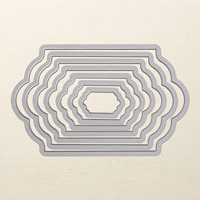

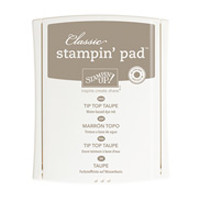


Next, I stamped the sentiment from the Watercolour Wings Stamp Set onto Very Vanilla Cardstock using Tip Top Taupe ink. This label was die cut using the new Lots of Labels Framelits Dies. and mat onto Mint Macaron cardstock using the next size up framelit.
This was adhered to the card blank, overlapping the lace, using Stampin Dimensionals.

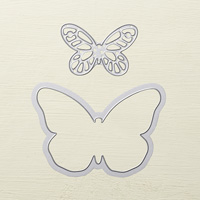
Now for the butterfly
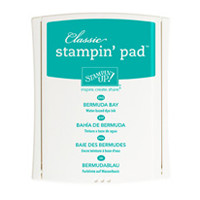
I used Bermuda Bay to stamp the base of large butterfly (the least detailed stamp).
Then I used Mint Macaron for the 2bd step stamp (outside contrast to the wings), and mint macaron for the thorax, and also the 3rd step stamp (the detail for inside the wings).
This was die cut using the large Bold Butterfly Framelit.
Next, I die cut the small detailed butterfly from the Bold Butterfly Framelits using Mint Macaron Cardstock.
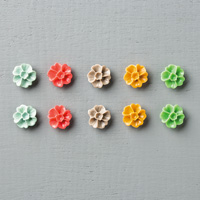
I layered the small butterfly onto the large butterfly using a small drop of Chrystal Effects. Then mounted the layered butterfly onto the card front, again, using a little Chrystal Effects, and finally, I added one of the In Colour Blossom Accent resin flowers to the centre of the butterfly using Crystal Effects once more.

And here is that Fast Fuse Adhesive Tutorial
Would you like
to join my Pinterest community board ?
where you can post your own
Stampin Up creations?
YES?
Simply email me and I will add you to the board
kim@stampinupatthewarren.com

If you would like
to ask any questions on techniques or products, or anything else related to my
blog posts, please feel free to ask away
Happy Stamping
Kim xxx
Contact me to
order:
Telephone/Txt:
07759587004
Email: kim@stampinupatthewarren.com
Or Order
Online 24/7

No comments:
Post a Comment