
Don't be too quick to pass this blog post by as after the sad bit, I get to the Crafting Bit!!
I promise!!
Today I have cried myself into a serious headache
My beautiful West Highland White Terrier has been diagnosed with a very rare cancer, and his prognosis without treatment is just 3 months.
I brought him into this world, as his shoulders were stuck, and I had to give him mouth to mouth resuscitation. I knew then that he was the Pup we would keep from the litter
He has a cheeky personality. a bum that waggles vigorously when he is excited, and has oodles of personality. He has been my faithful companion and protector through some tough times, and the love we have for each other is unconditional.
We are going to ensure that the remainder of his life is full of fun, treats and cuddles

So enough said! But do you notice what is on the floor outside my workshop?
Yes, it is a Stampin Up Box lol.
No doubt Hamish has already cocked his leg up it to leave his mark he he
Anyway, moving on, today I have another of the make an takes from my Open House event on C Day (i.e. catalogue launch day)
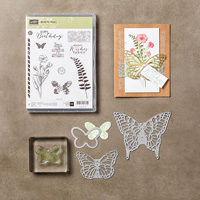
And the Stamp Set is Butterfly Basics and I used it with the Butterfly Thinlets Die
You can purchase the two items together as a Bundle, saving you 15% on the retail price when purchased separately.

For the Open Day I used the Stampin Up! Note Card with Envelopes to make it easier for me, and for the attendees as not all had crafting experience.
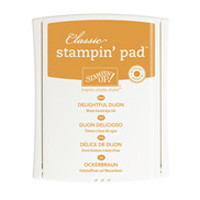
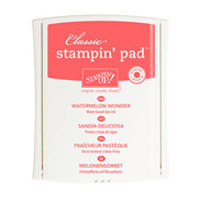
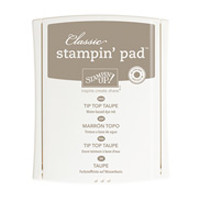
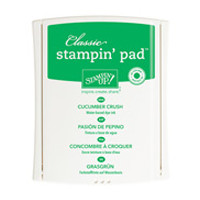
I used the new 2015-2017 In Colour Classic Ink Pads for the stamped images
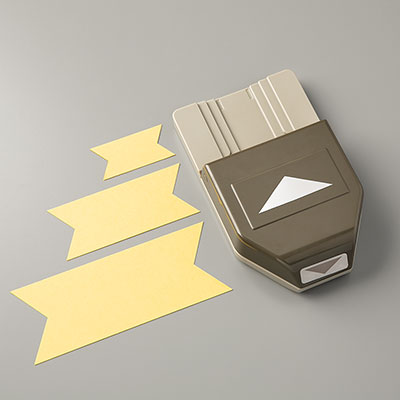
The Triple Banner Punch was used to create banner ends on the sentiment label
Click on the Product Icons below to view then in more detail, or to place an order
 |  |  |  |  |
 |  |  |  |  |
 |  |  |  |  |
 |  |  |
Table built using Product Table Builder by The Crafty Owl - Independent Stampin' Up! Demonstrator.

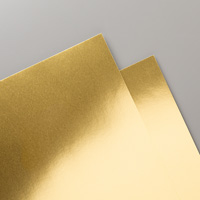
And gold Foil for the medium sizes Butterfly Thinlit Die Cut.
A little tip is to place a tumble dryer sheet underneath the cardstock, and a piece of wax paper on top of the Thinlet (cutting plate facing down)
The sandwich between your Big Shot Cutting Plates as normal and run through your big Shot
This will give you a cleaner die cut, but also the tiny bits that take forever to remove from intricate die cuts like these, just stick to the dryer sheet.
Easy Peasy!
Attach the Die cut to the card front using a glue dot.
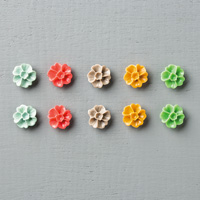
For the Resin Blossom Accent, I find Chrystal Effects to be the best adhesive for the job.

Would like to JOIN my Pinterest Community
Board where
you will be able to post your own Stampin Up! Makes
?
If the answer is YES
please email me via
To view all of Stampin Up! Wonderful products, just click on the catalogue image below to have a browse or place an order ... just make sure you have a bog mug of something wet and warm, or long and cool, you will need it ! he he

Stampin Up is giving you and your friends to earn free stamps
to find out how, click on the image below

No comments:
Post a Comment