
After almost a week, we finally have Broadband again!
At least you know now why I have been quiet he he
Another good reason is that we decided to get another companion for our grieving Westie, Megan
So yesterday, Bentley, a Miniature Schnauzer puppy, can home with us after a very long drive up to Lincolnshire.
Anyway, I have been crafting and planning despite the frustration of no Broadband. It is still running slower than normal (which is painfully slow), but we can get online
EMBOSS RESIST has to be my most favourite of techniques when coupled with sponging, and today's card combines both of these.
As always you will find links to the products used in today's creation below,
And there is also a supporting How To Video

Click on the product icons below to view or order them via my online store
 |  |  |  |  |
 |  |  |  |  |
 | 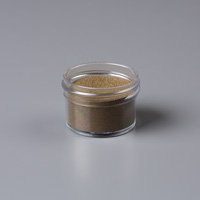 | 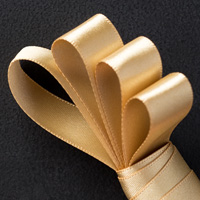 |  |  |
 |  |  |  |  |
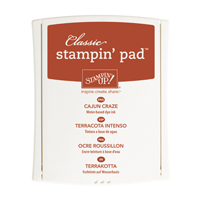 | 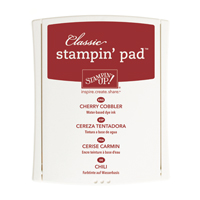 |  |
Table built using Product Table Builder by The Crafty Owl - Independent Stampin' Up! Demonstrator.
- Make your card base by trimming a piece of Thicker Whisper White Cardstock to 21 cms x 14.8 cms; Score the long side at 10.5 cms; Fold and burnish using a Bone Folder
- Trim a piece of Whisper White Cardstock to 14 cms x 9.7 cms
- Using the maple Leaf stamp & Versamark Ink Pad, stamp 3 leaves; Sprinkle with Clear Embossing Powder, remove the excess powder and Heat Set using a Heat Tool
- Using a combination of Cajun Craze, Mossy Meadow and Cherry Cobbler Classic Ink Pads & Stampin Sponges, sponge the embossed panel, allowing the colours to blend in places; Remove excess ink from embossed areas using kitchen towel
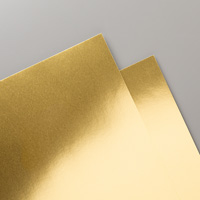
- Mat onto a piece of Gold Foiled Cardstock measuring 14.4 cms x 10.1 cms using Fast Fuse Adhesive
- Using Versamark, stamp the sentiment onto Whisper White Cardstock, dust with gold embossing powder and heat set as before.
- Punch out the sentiment using the Decorative Label Punch, sponge lightly using residual ink on the sponges.
- Punch 2 more decorative labels from Gold Foiled Cardstock; Cut one in half on the vertical, and the other in half on the horizontal
- Apply Fast Fuse or Tombow to the back of the sentiment label and attach the long sides to the back of the label, leaving a 1-2 mm border (line up using the central points
- Apply some more fast fuse / Tombow to the back of the label, and then attach the 2 ends to the label. Apply some Stampin Dimensionals and attach to your card front
- Mount the card front onto your card base using Fast Fuse
- Add a bow using Gold Satin Ribbon, and attach to the card front using Glue Dots
And there you have it ... now it is over to you to have some fun of your own
Kim xxx

JOIN my Pinterest Community Board
Where you will be able to post your own
Stampin Up! Makes
Simply follow my
Community Pinterest Board
And I will sent you
an invitation to start pinning
If you have any
questions on techniques, orders, products
OR
Joining my Team as an Independent Stampin
Up! Demonstrator
contact me via:-
Email me: kim.tolton@googlemail.com
Text: 07759587004
Order Online 24/7
Stamping @ The Warren Craft Forum:
Pinterest:
Google +
Facebook:
Twitter:
Instagram:
@kim.tolton
LinkedIn:
No comments:
Post a Comment