
The Card I am sharing with you today comes from Stampin Up!s current Annual Catalogue ... and it isn't in the Christmas Section,

Below you will find all the products I used to create today's card
Click on the product icons to View or order them via my online store
 |  |  |  |  |  |  |  |
 |  |  |  |  |  |  |  |
 |  |  |  |  |  |
Table built using Product Table Builder by The Crafty Owl - Independent Stampin' Up! Demonstrator.
Watch the Video Below

- Make your A6 Card Base by trimming a piece of Thicker Whisper White Cardstock to 21 cms x 14.8 cms; Score the long side at 10.5 cms; Fold & Burnish
- Trim a piece of regular Whisper White Cardstock to 14 cms x 9.7 cms
- Stamp the tire marks from Gorgeous Grunge Stamp Set, using Mossy Meadow 4 or 5 times without re-inking the stamp
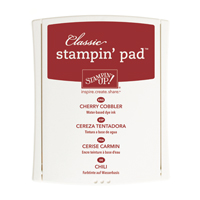
- Stamp the first hexagonal stamp to the centre of the cardstock using Sift Suede Classic Ink Pad
- Stamp the flower hexagonal twice without re-inking, using Cherry Cobbler Classic Ink Pad
- Stamp the hessian hexagonal stamp using Mossy Meadow Classic Ink Pad, twice, without re-inking
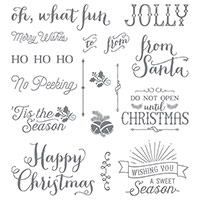
- Stamp the 'Merry Wishes' stamp in the top left corner using Soft Suede Classic Ink Pad
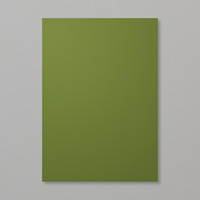
- Mount onto a piece of Mossy Meadow Cardstock measuring 14.4 cms x 10.1 cns
- Trim a piece if Dazzling Diamonds Glimmer Paper to 1 cm wide and feeding the glimmer paper in through the top of the Banner Punch and between the Cutting Plates, create Banner ends to fit along the front of your card
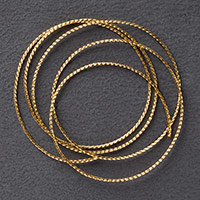
- Apply some Fast Fuse Adhesive to the back of the Glimmer Paper strip, and attach some coiled loops of Gold Cording Trim to the adhesive
- Pop some Stampin Dimensionals on the back of the glimmer paper and attach to the front of the card
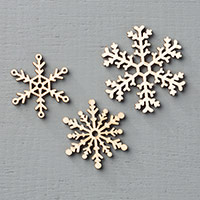
- Finish with a Snowflake Element and some Basic Rhinestones
Stamping At The Warren
Kim Tolton
Independent Stampin Up! Demonstrator (UK)
Card & Paper Craft Classes & How To Tutorials
JOIN my Pinterest Community Board
Where you will be able to post your own
Stampin Up! Makes
Simply follow my
Community Pinterest Board
And I will sent you
an invitation to start pinning
If you have any
questions on techniques, orders, products
OR
Joining my Team as an Independent Stampin
Up! Demonstrator
contact me via:-
Email me: kim.tolton@googlemail.com
Text: 07759587004
Order Online 24/7
Stamping @ The Warren Craft Forum:
Pinterest:
Google +
Facebook:
Twitter:
Instagram:
@kim.tolton
LinkedIn:
No comments:
Post a Comment